How to Book a Session
Overview
This article explains how a participant books a session. Use this to understand the participant booking experience from start to confirmation.
BOOKING YOUR SESSION
Step 1: Open the Study Link
Participants click the link in their invitation email. The welcome screen shows the study title and a brief description of what to expect.
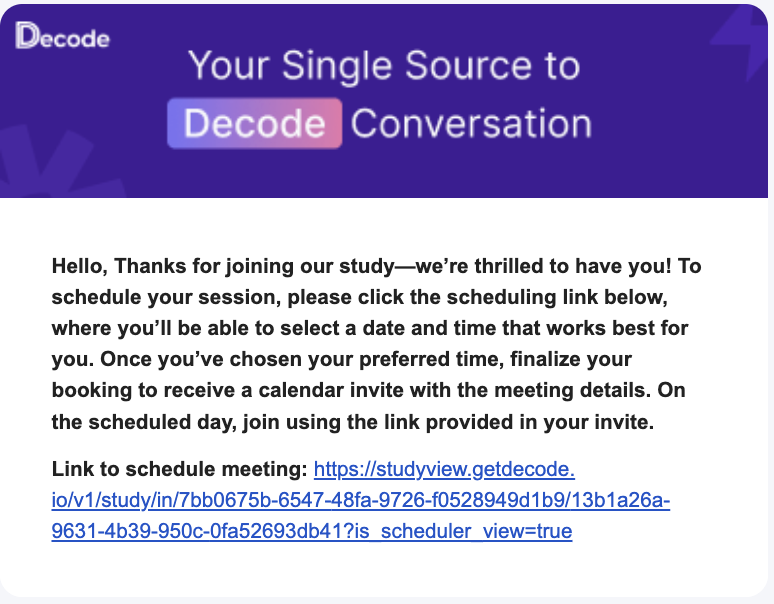
Enter your email address, check the box to accept the Privacy Policy, and click Get Started.

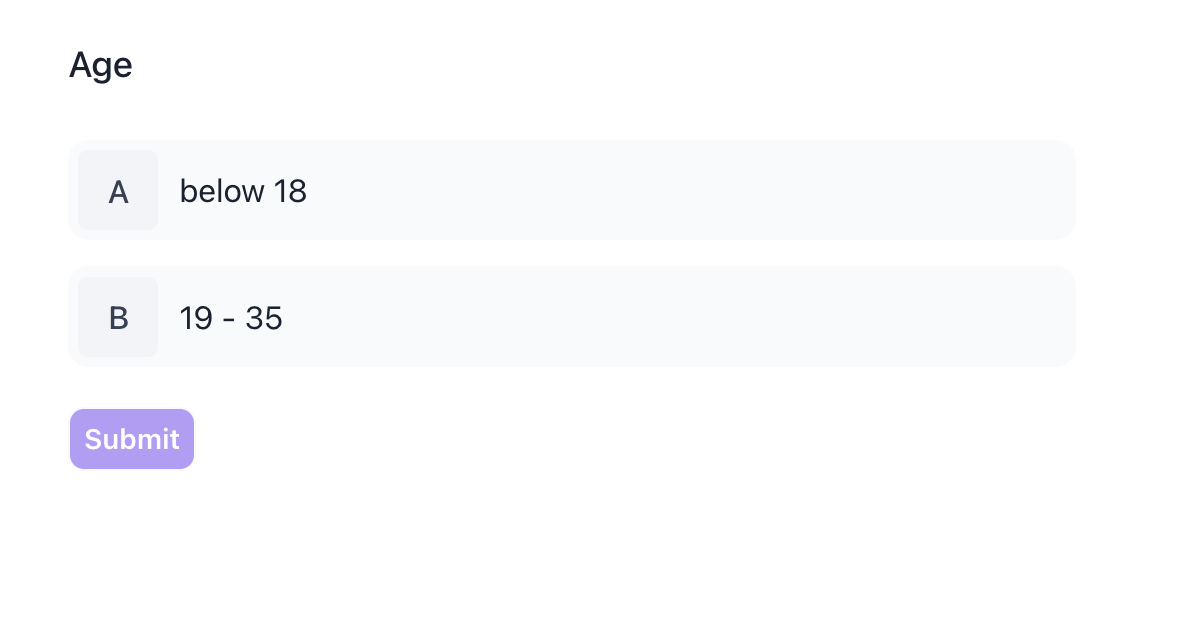
If you have set up screening questions, participants will be asked to answer them first. Those who do not meet the criteria will see the Screenout Page and cannot proceed to booking.
Step 2: Select a Date
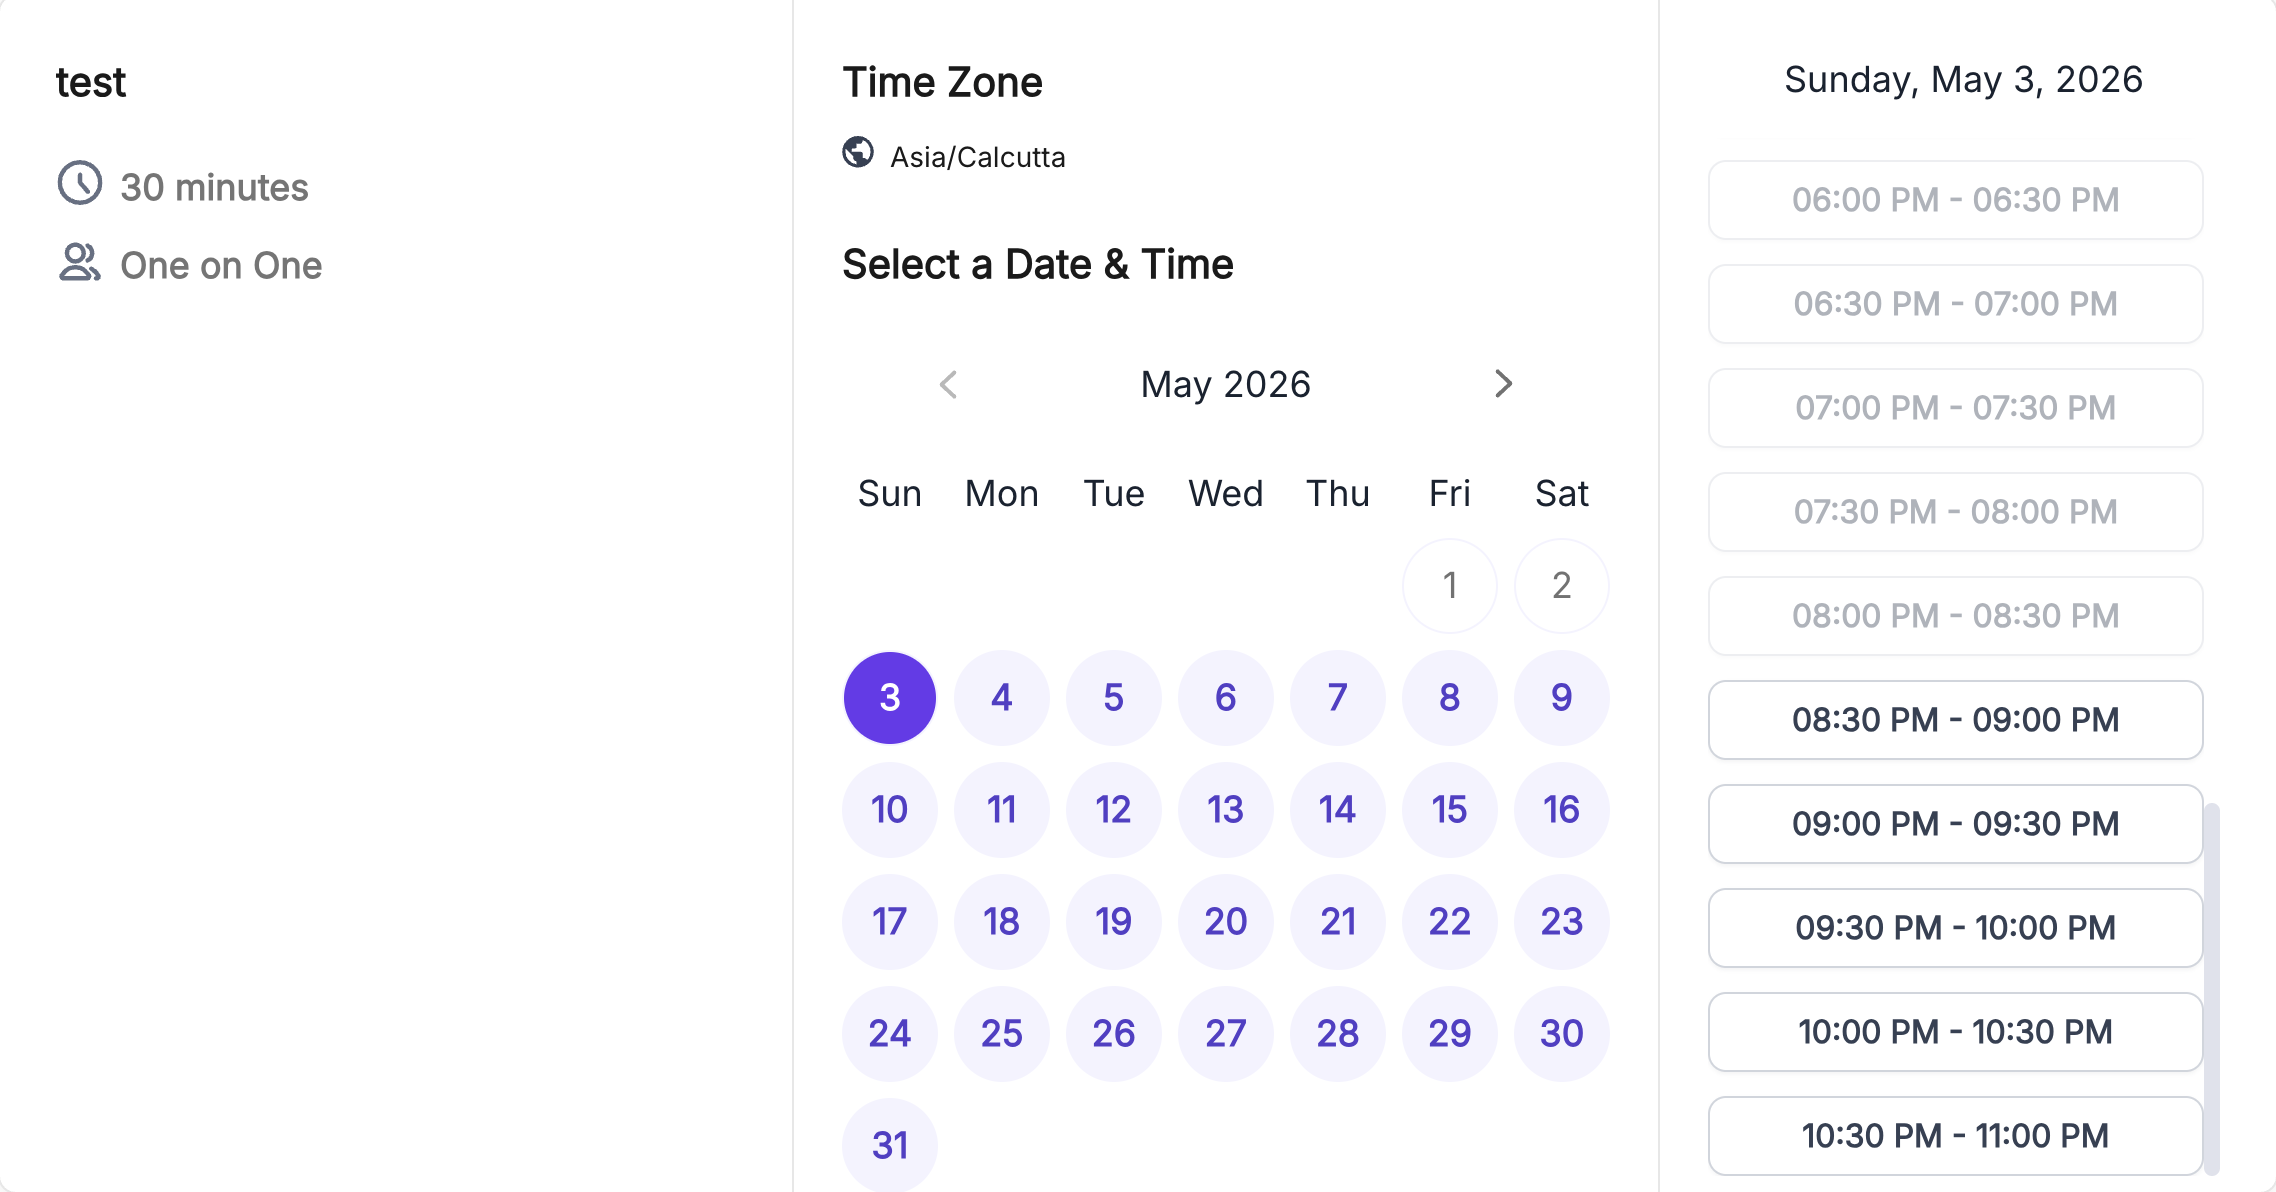
A calendar shows the available dates for the interview. The left panel shows the study name, session duration, and session format. Your local time zone is shown above the calendar.
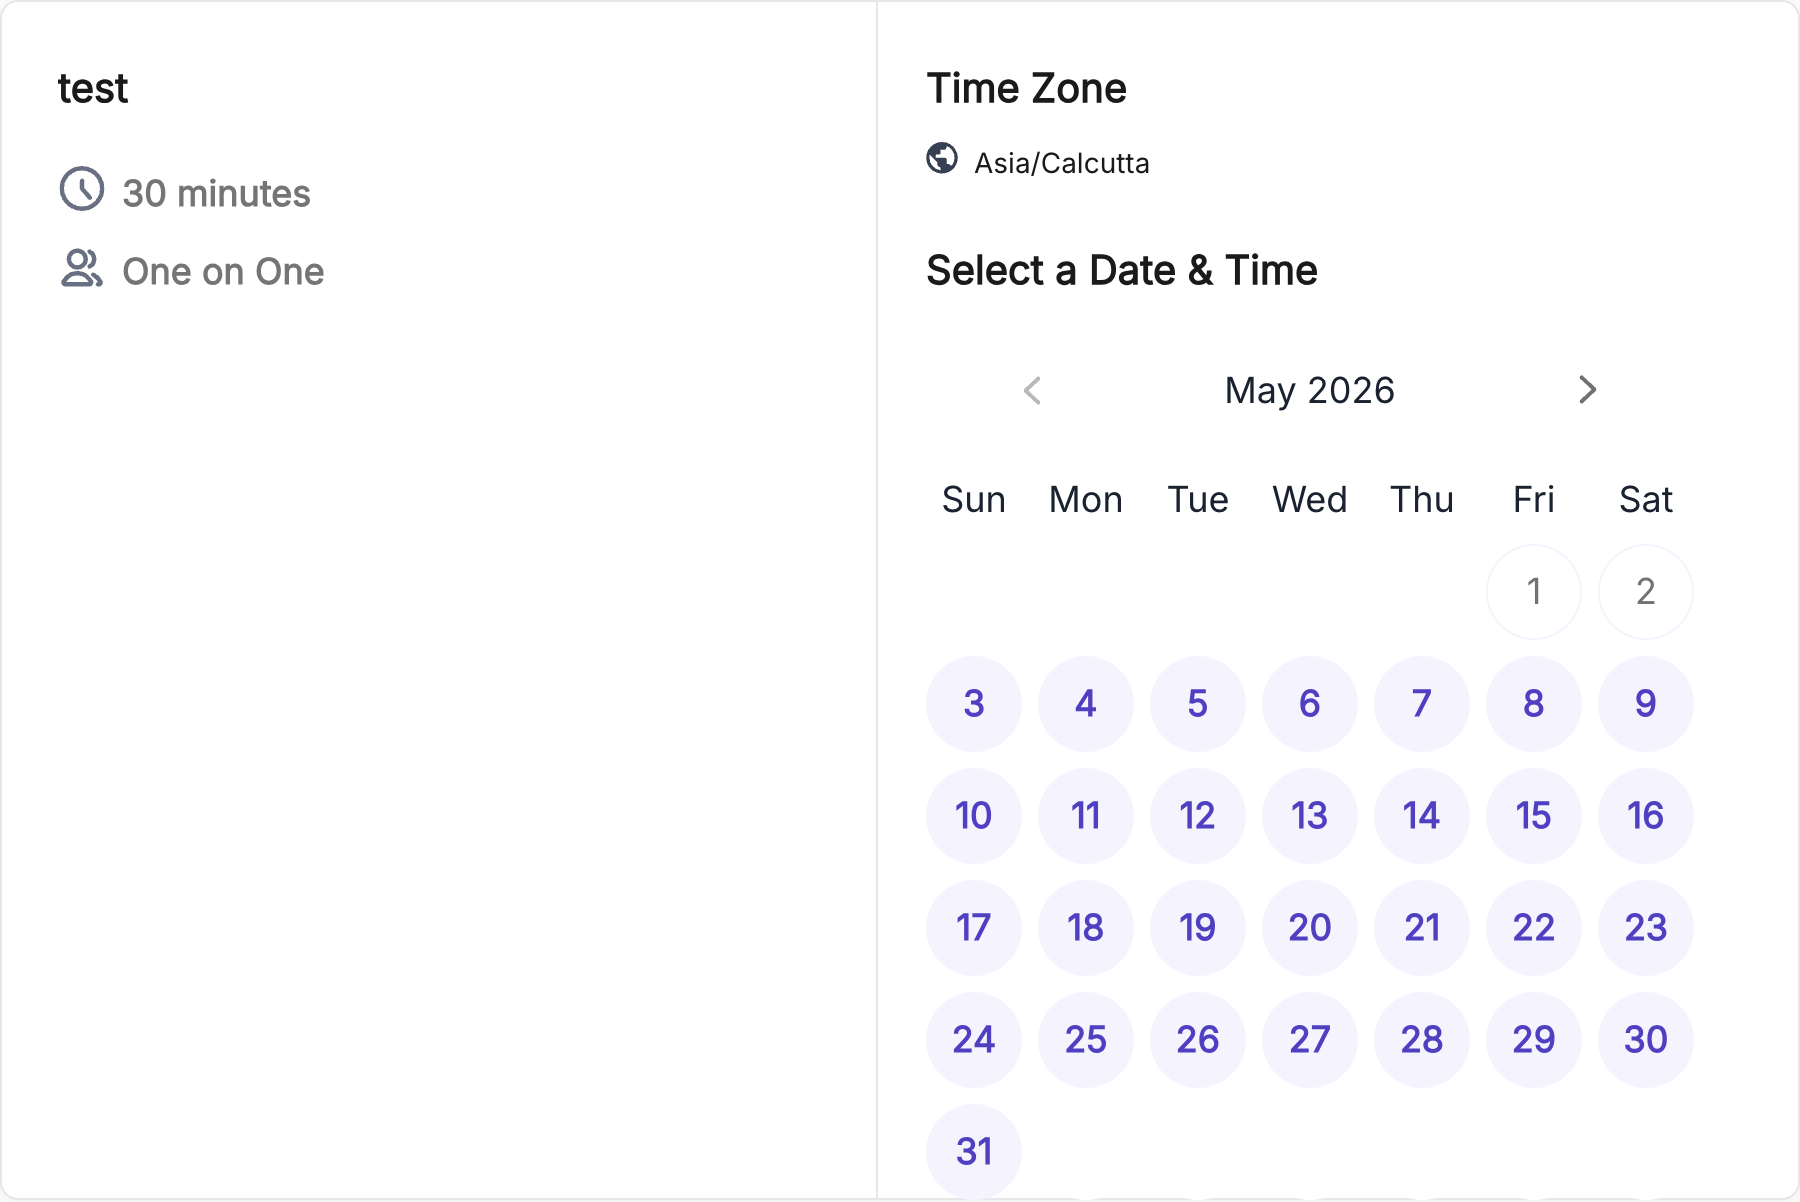
Dates available to book are highlighted with a purple circle. Dates shown in grey are already booked. Click any available date to see the time slots for that day.
Step 3: Choose a Time Slot
After selecting a date, the available time slots appear on the right side of the screen. Slots that are no longer available appear greyed out. Click any open slot to select it.
Step 4: Confirm Your Booking
When you select a slot, a Confirm button appears next to it. Click Confirm to finalise your booking.

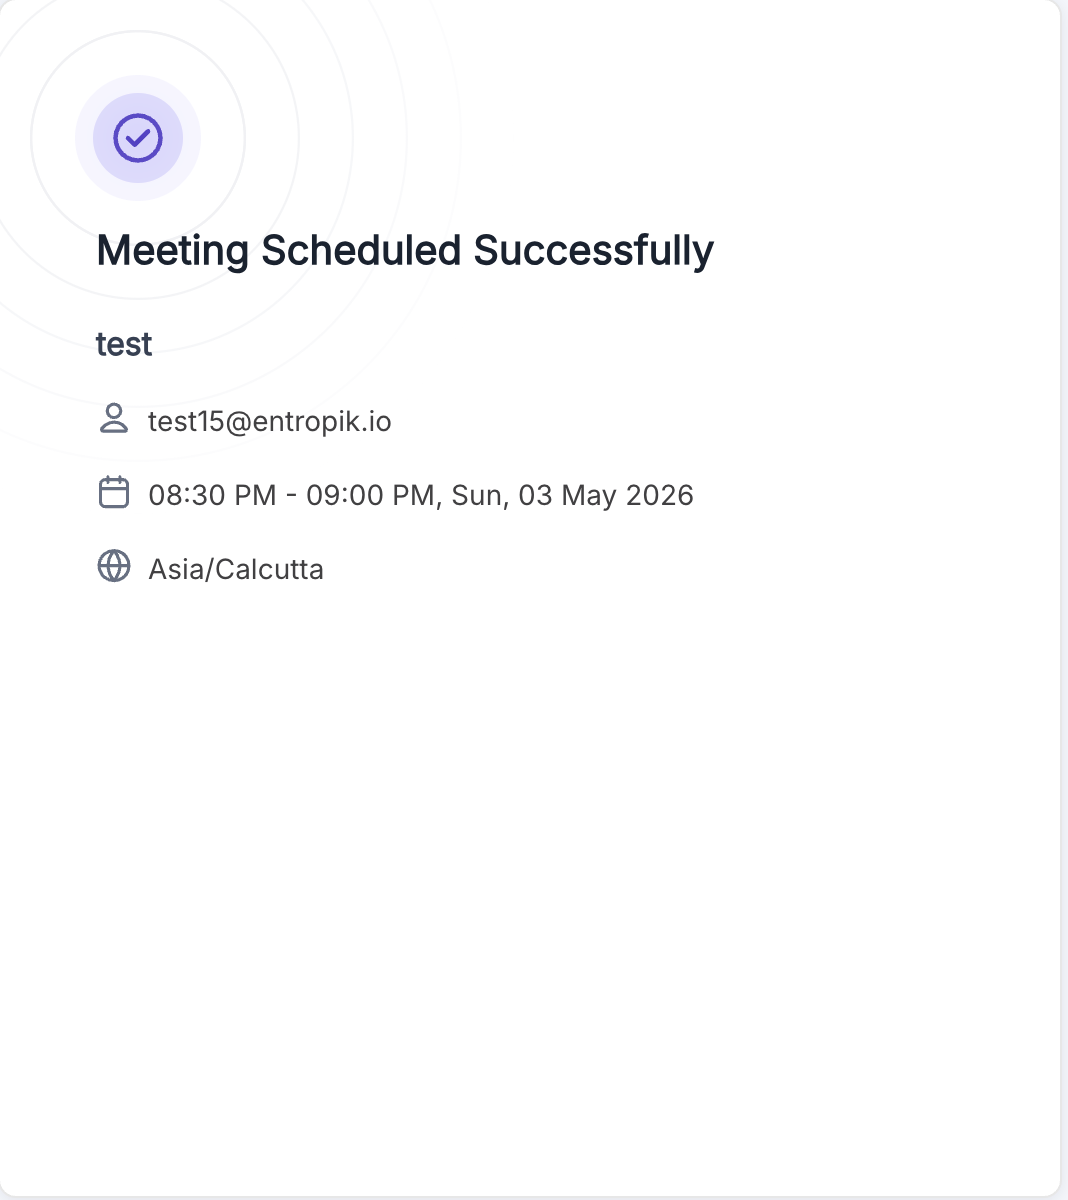
Step 5: Booking Confirmation
A Meeting Scheduled Successfully screen appears showing your email address, the date and time of your session, and the time zone. The participant receives a calendar invite with the join link for the session. The invite contains the join link for your session. Keep this to access the session on the day.