
Sign-up using Microsoft SSO
Overview
You can set up your workspace in Decode using your Email ID, Google or Microsoft account.
This article will guide you through creating your account in Decode using Microsoft Single Sign-On (SSO) and configuring your workspace so you can start exploring insights, conducting research and collaborating with your team.
Steps
Step 1: Visit the Sign-Up Page
Go to the Decode sign-up page: https://www.getdecode.io/user/signup
Step 2: Choose Microsoft SSO
On the sign-up page, you can choose to sign up using Microsoft Single Sign-On
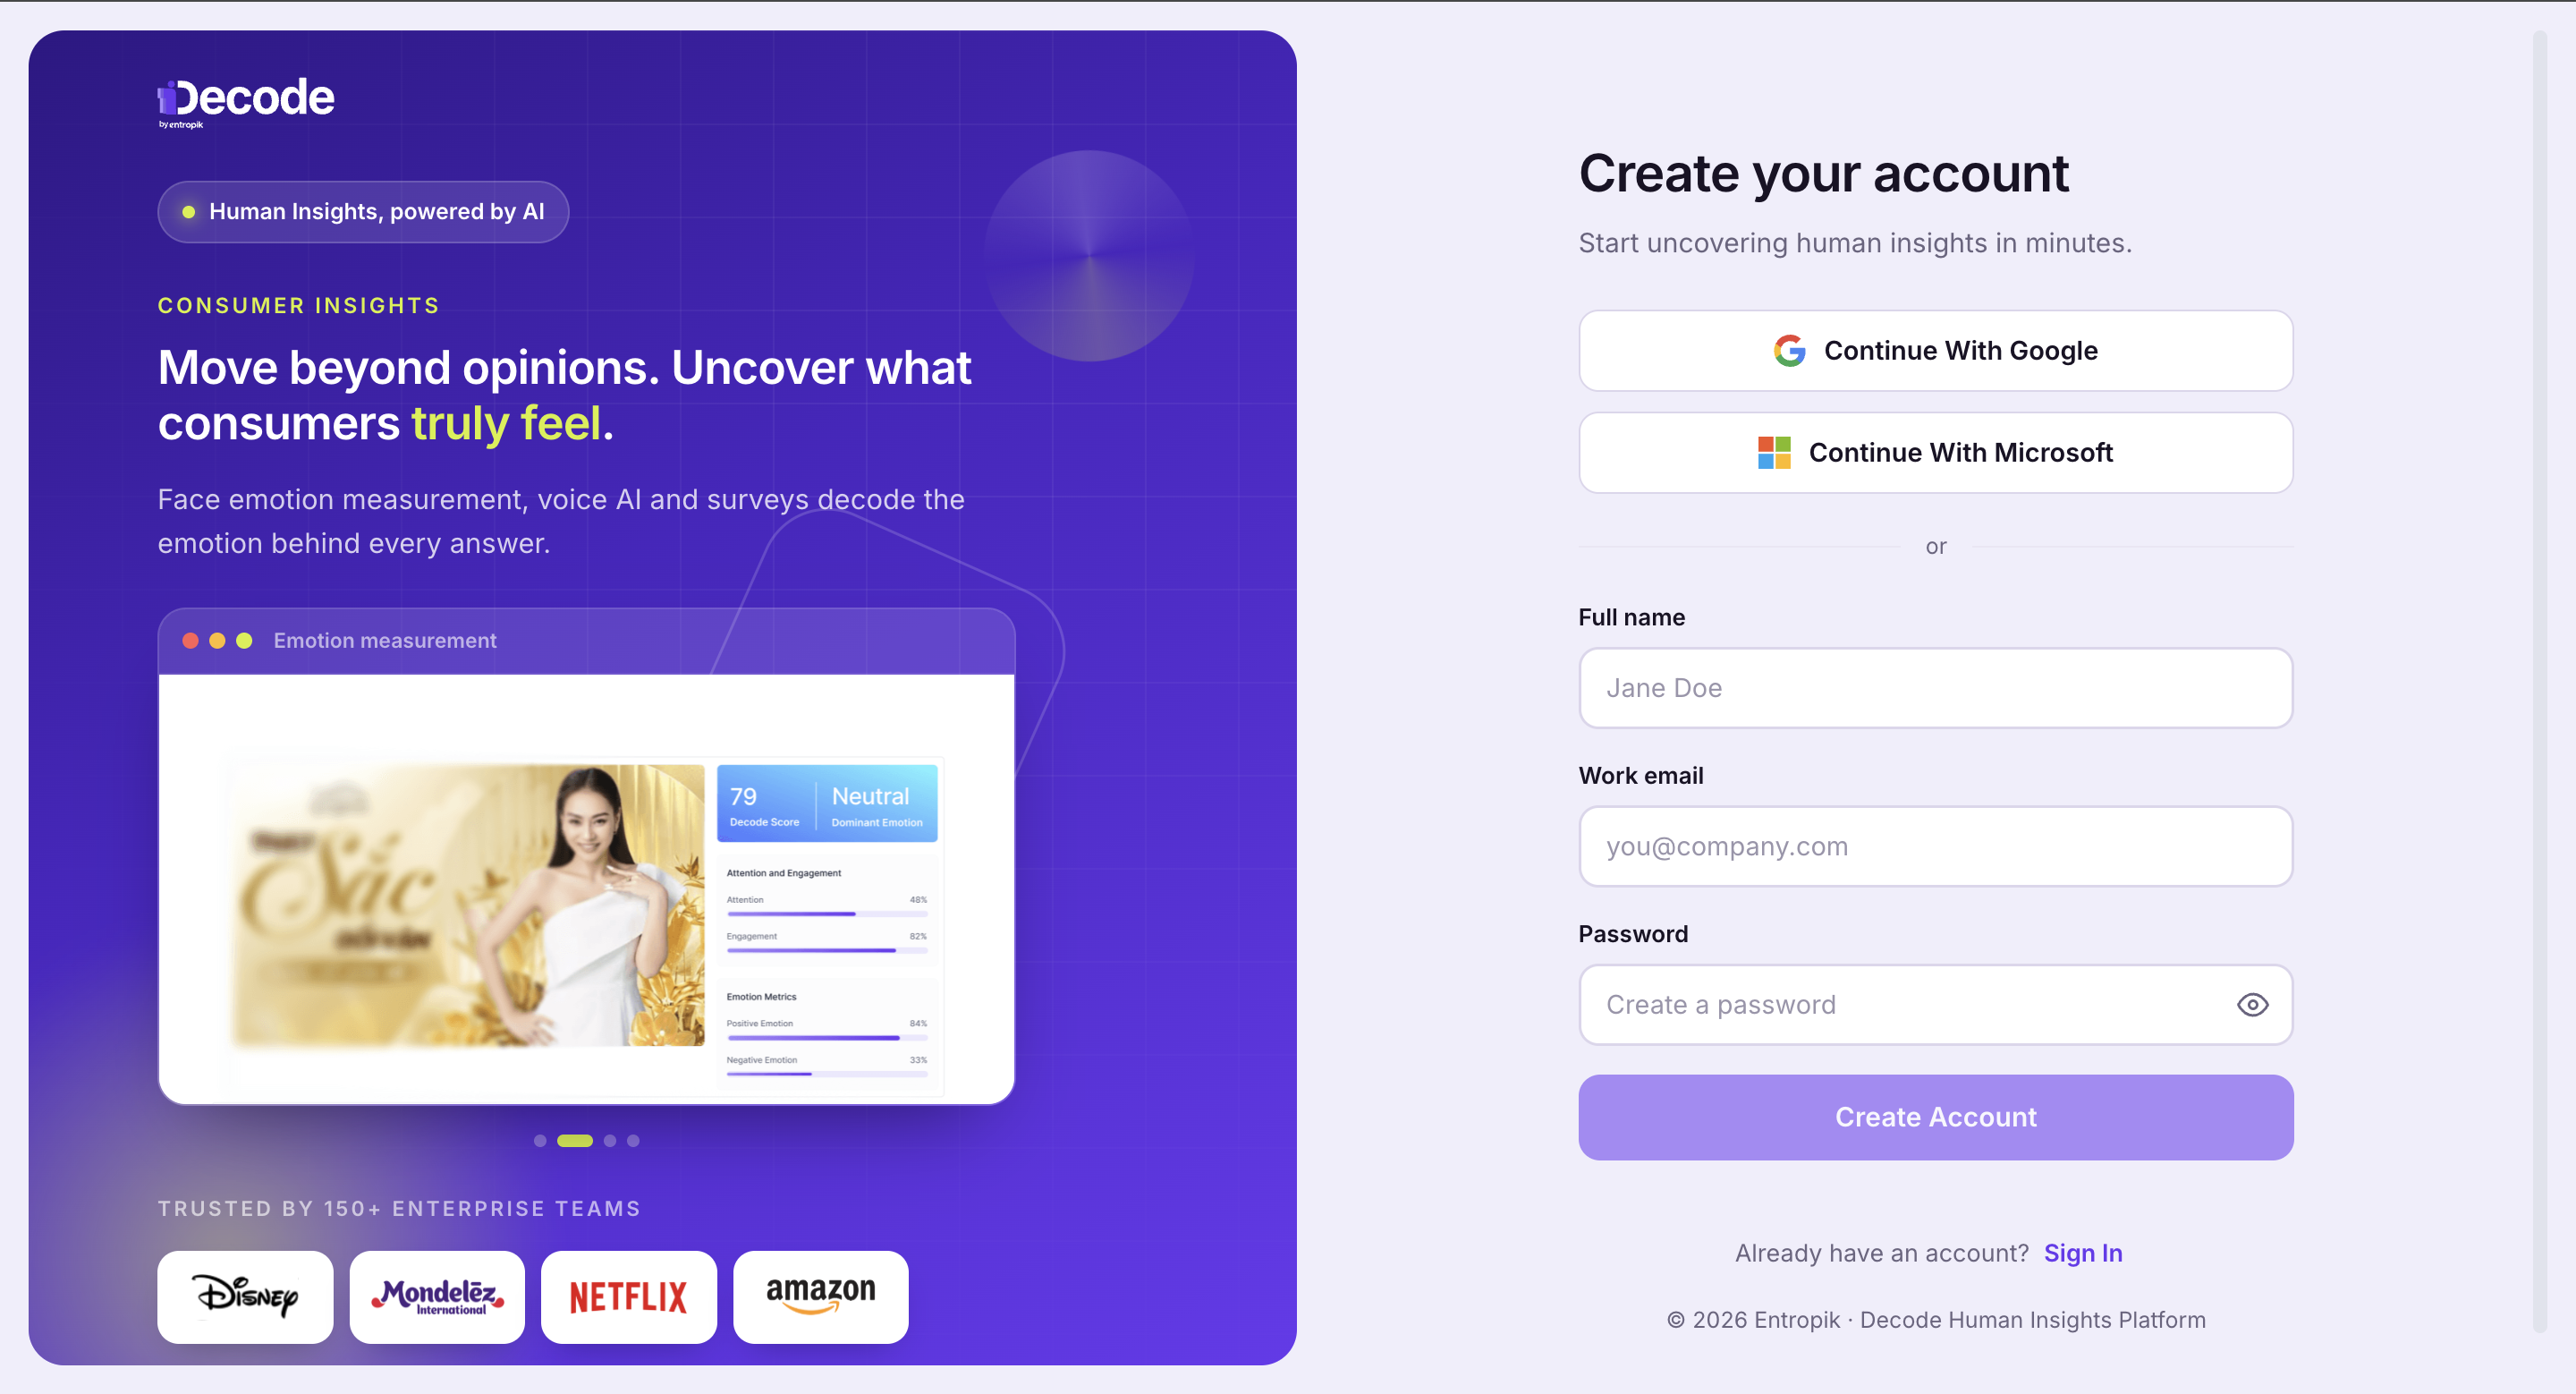
Click Continue with Microsoft option.
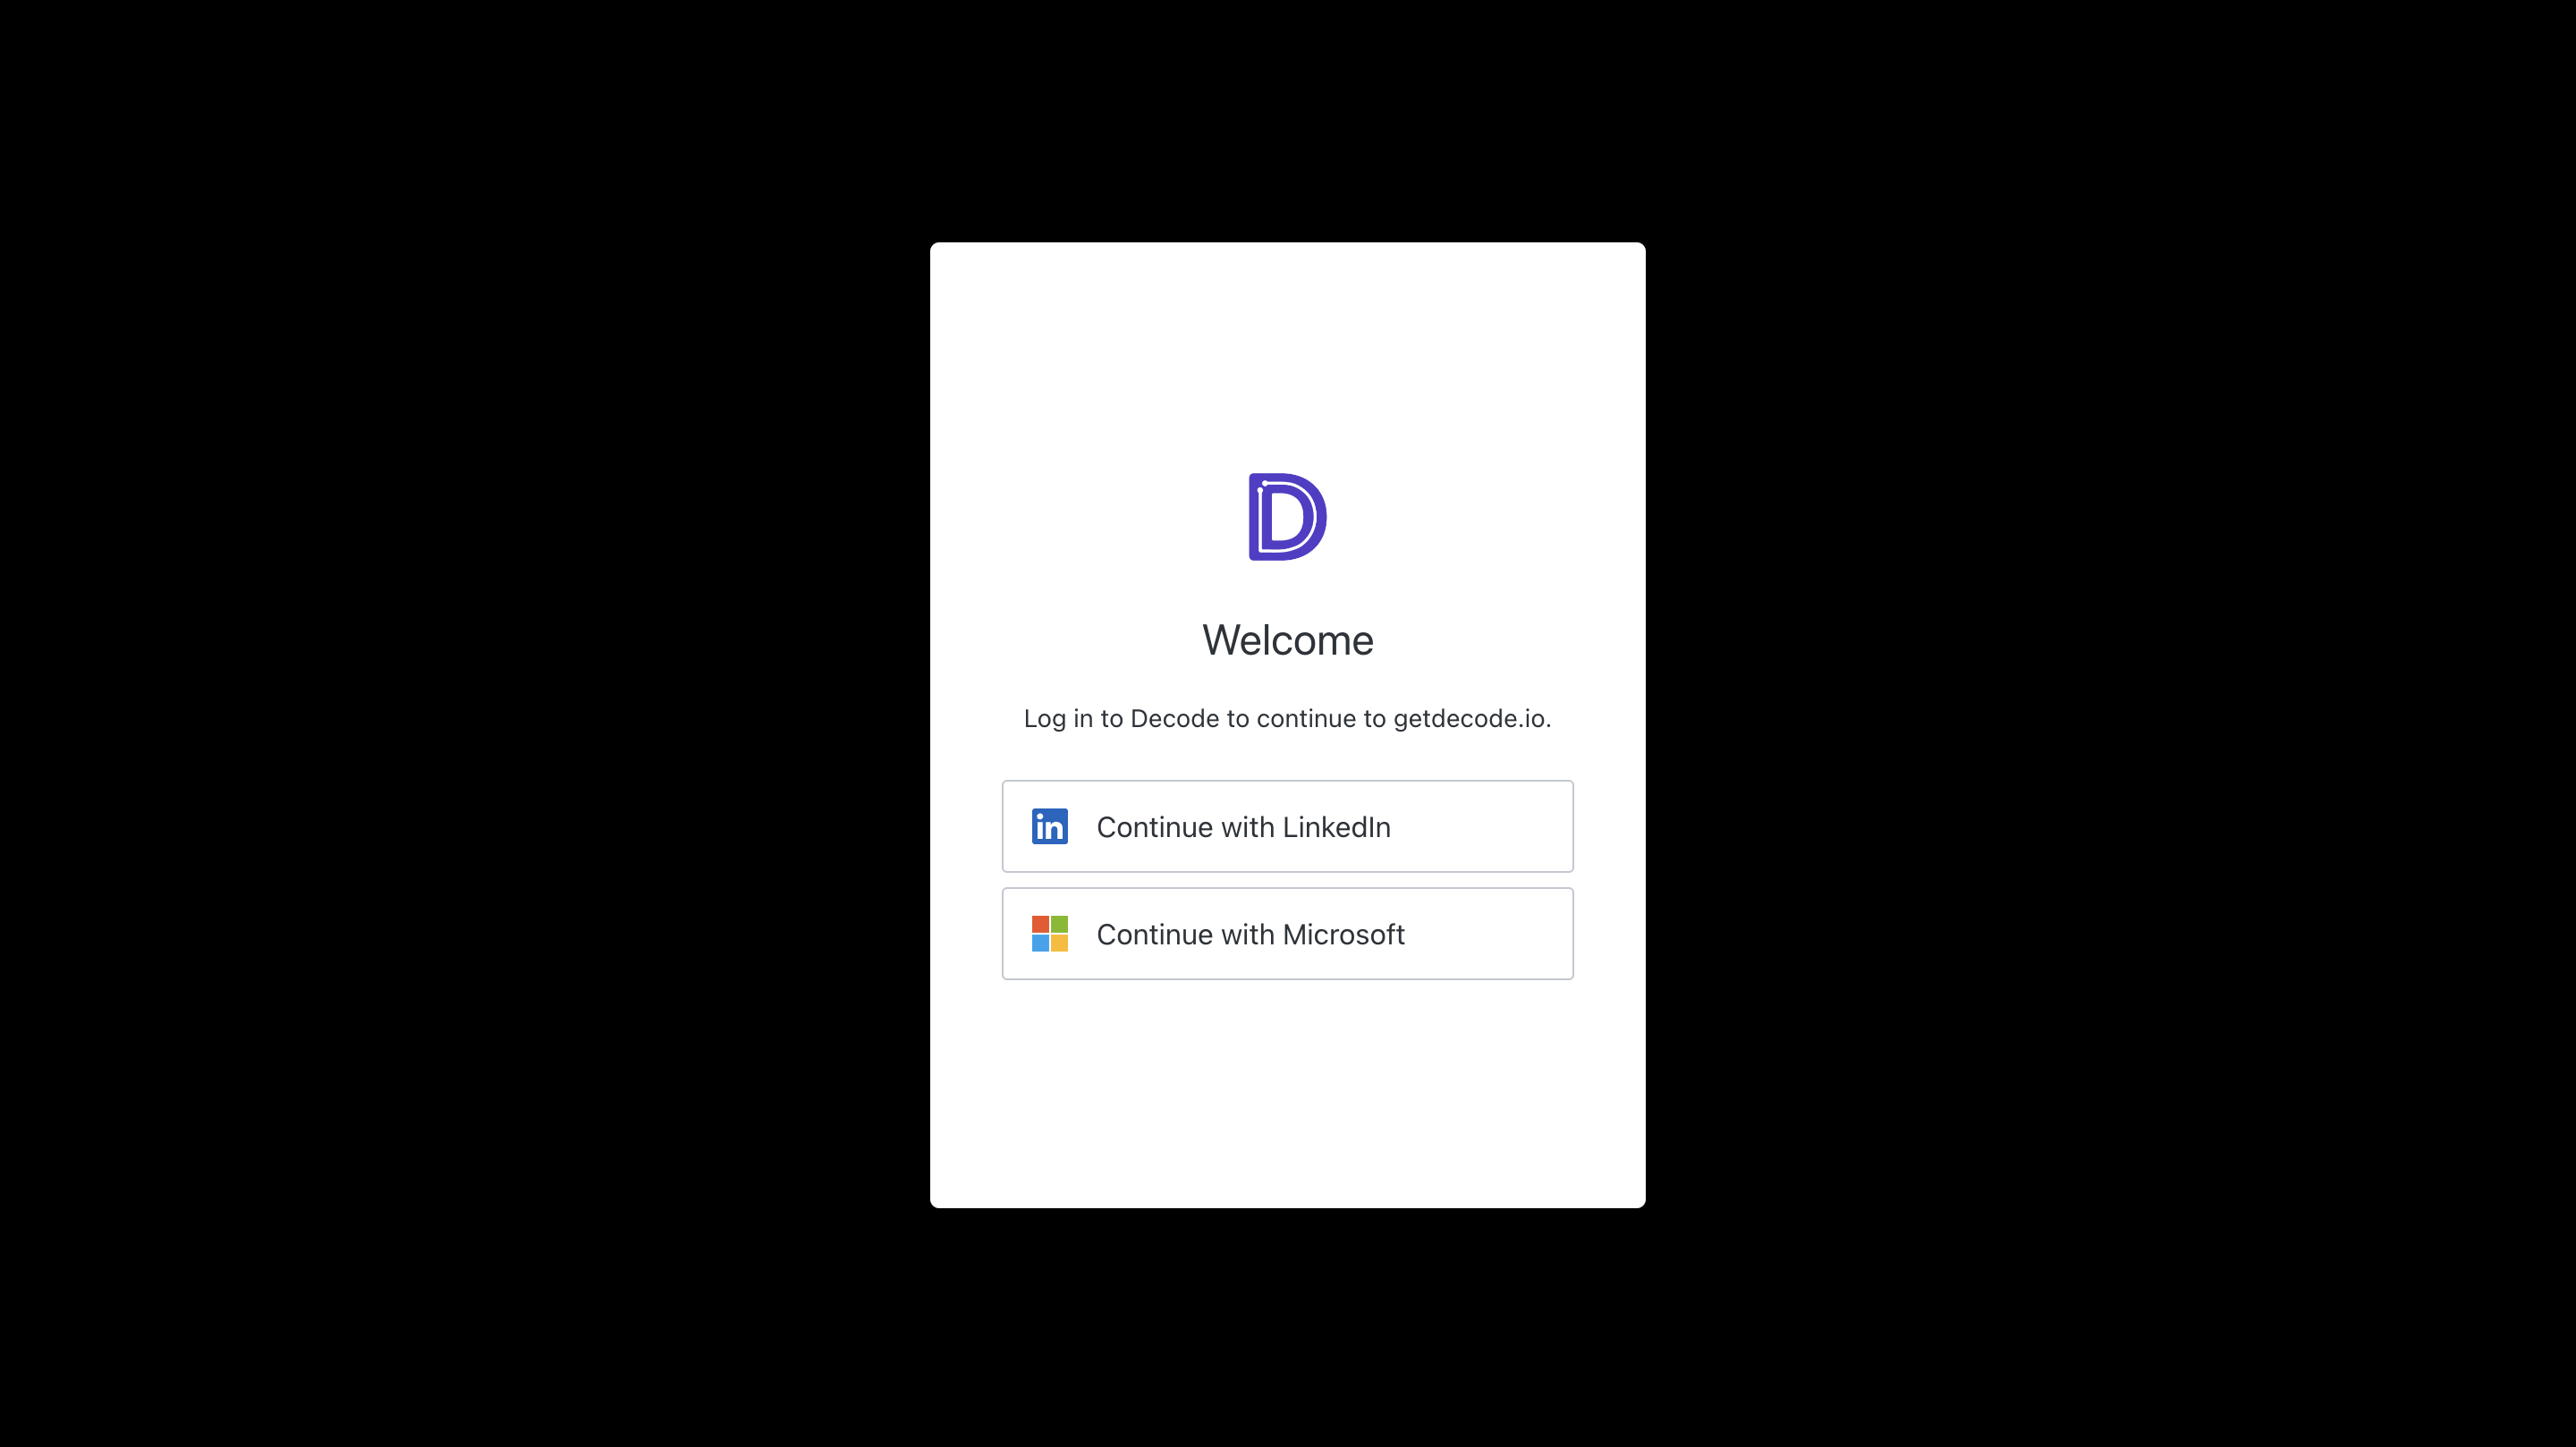
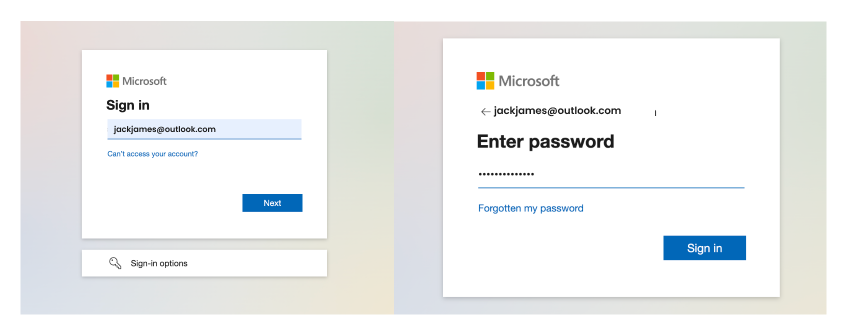
Step 3: Sign in with Microsoft
Enter your Microsoft Email ID and Password to begin the setup.
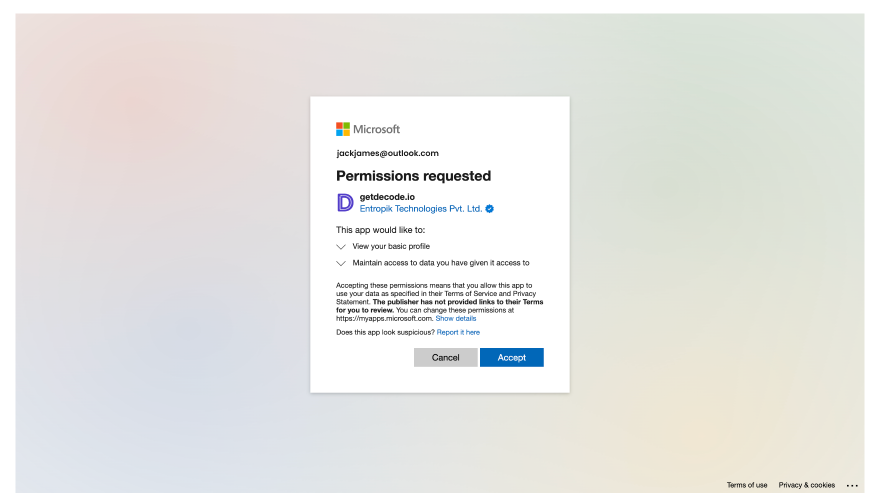
Step 4: Accept Permissions
You will be asked to accept the permissions allowing you to connect your Microsoft account with Decode.
Step 5: Set Up Your Workspace
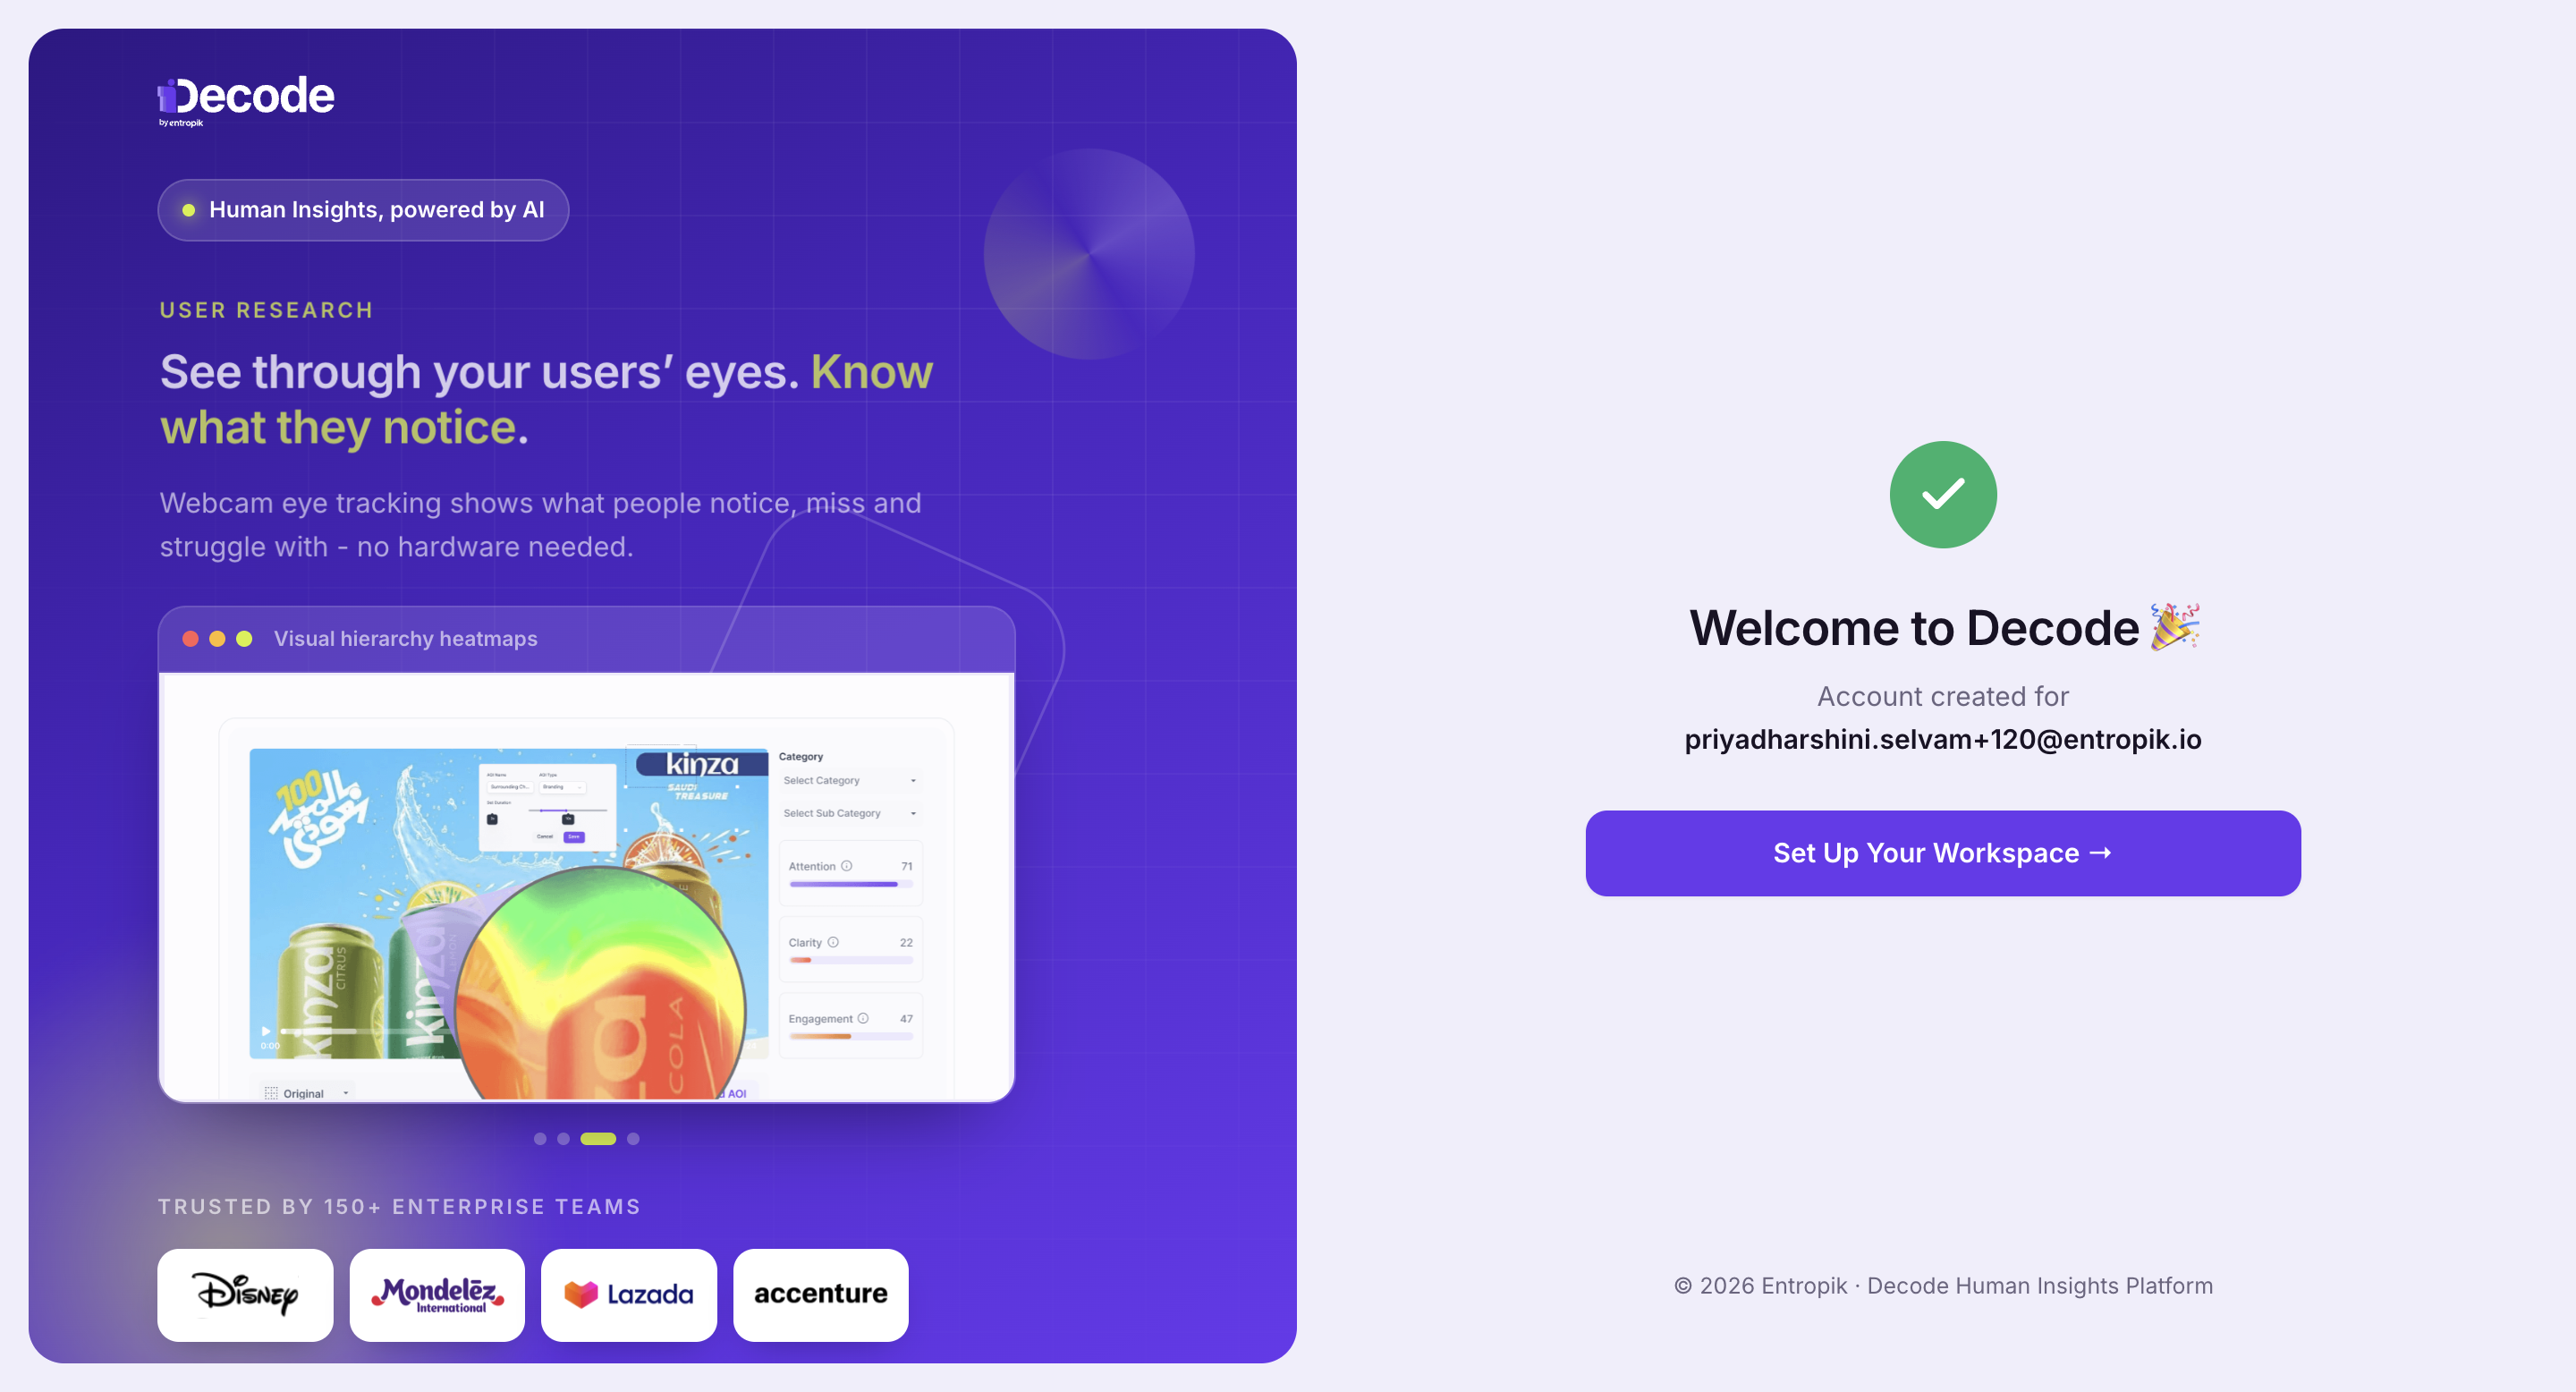
The setup runs across seven steps and takes about a minute. The opening screen outlines what you will be asked: your role and what you research, who you want to invite, and which method you want to start with.
You can skip individual steps using Skip This Step, or skip the whole setup using Skip Setup. Anything skipped can be completed later from your dashboard.
Click Continue to begin.
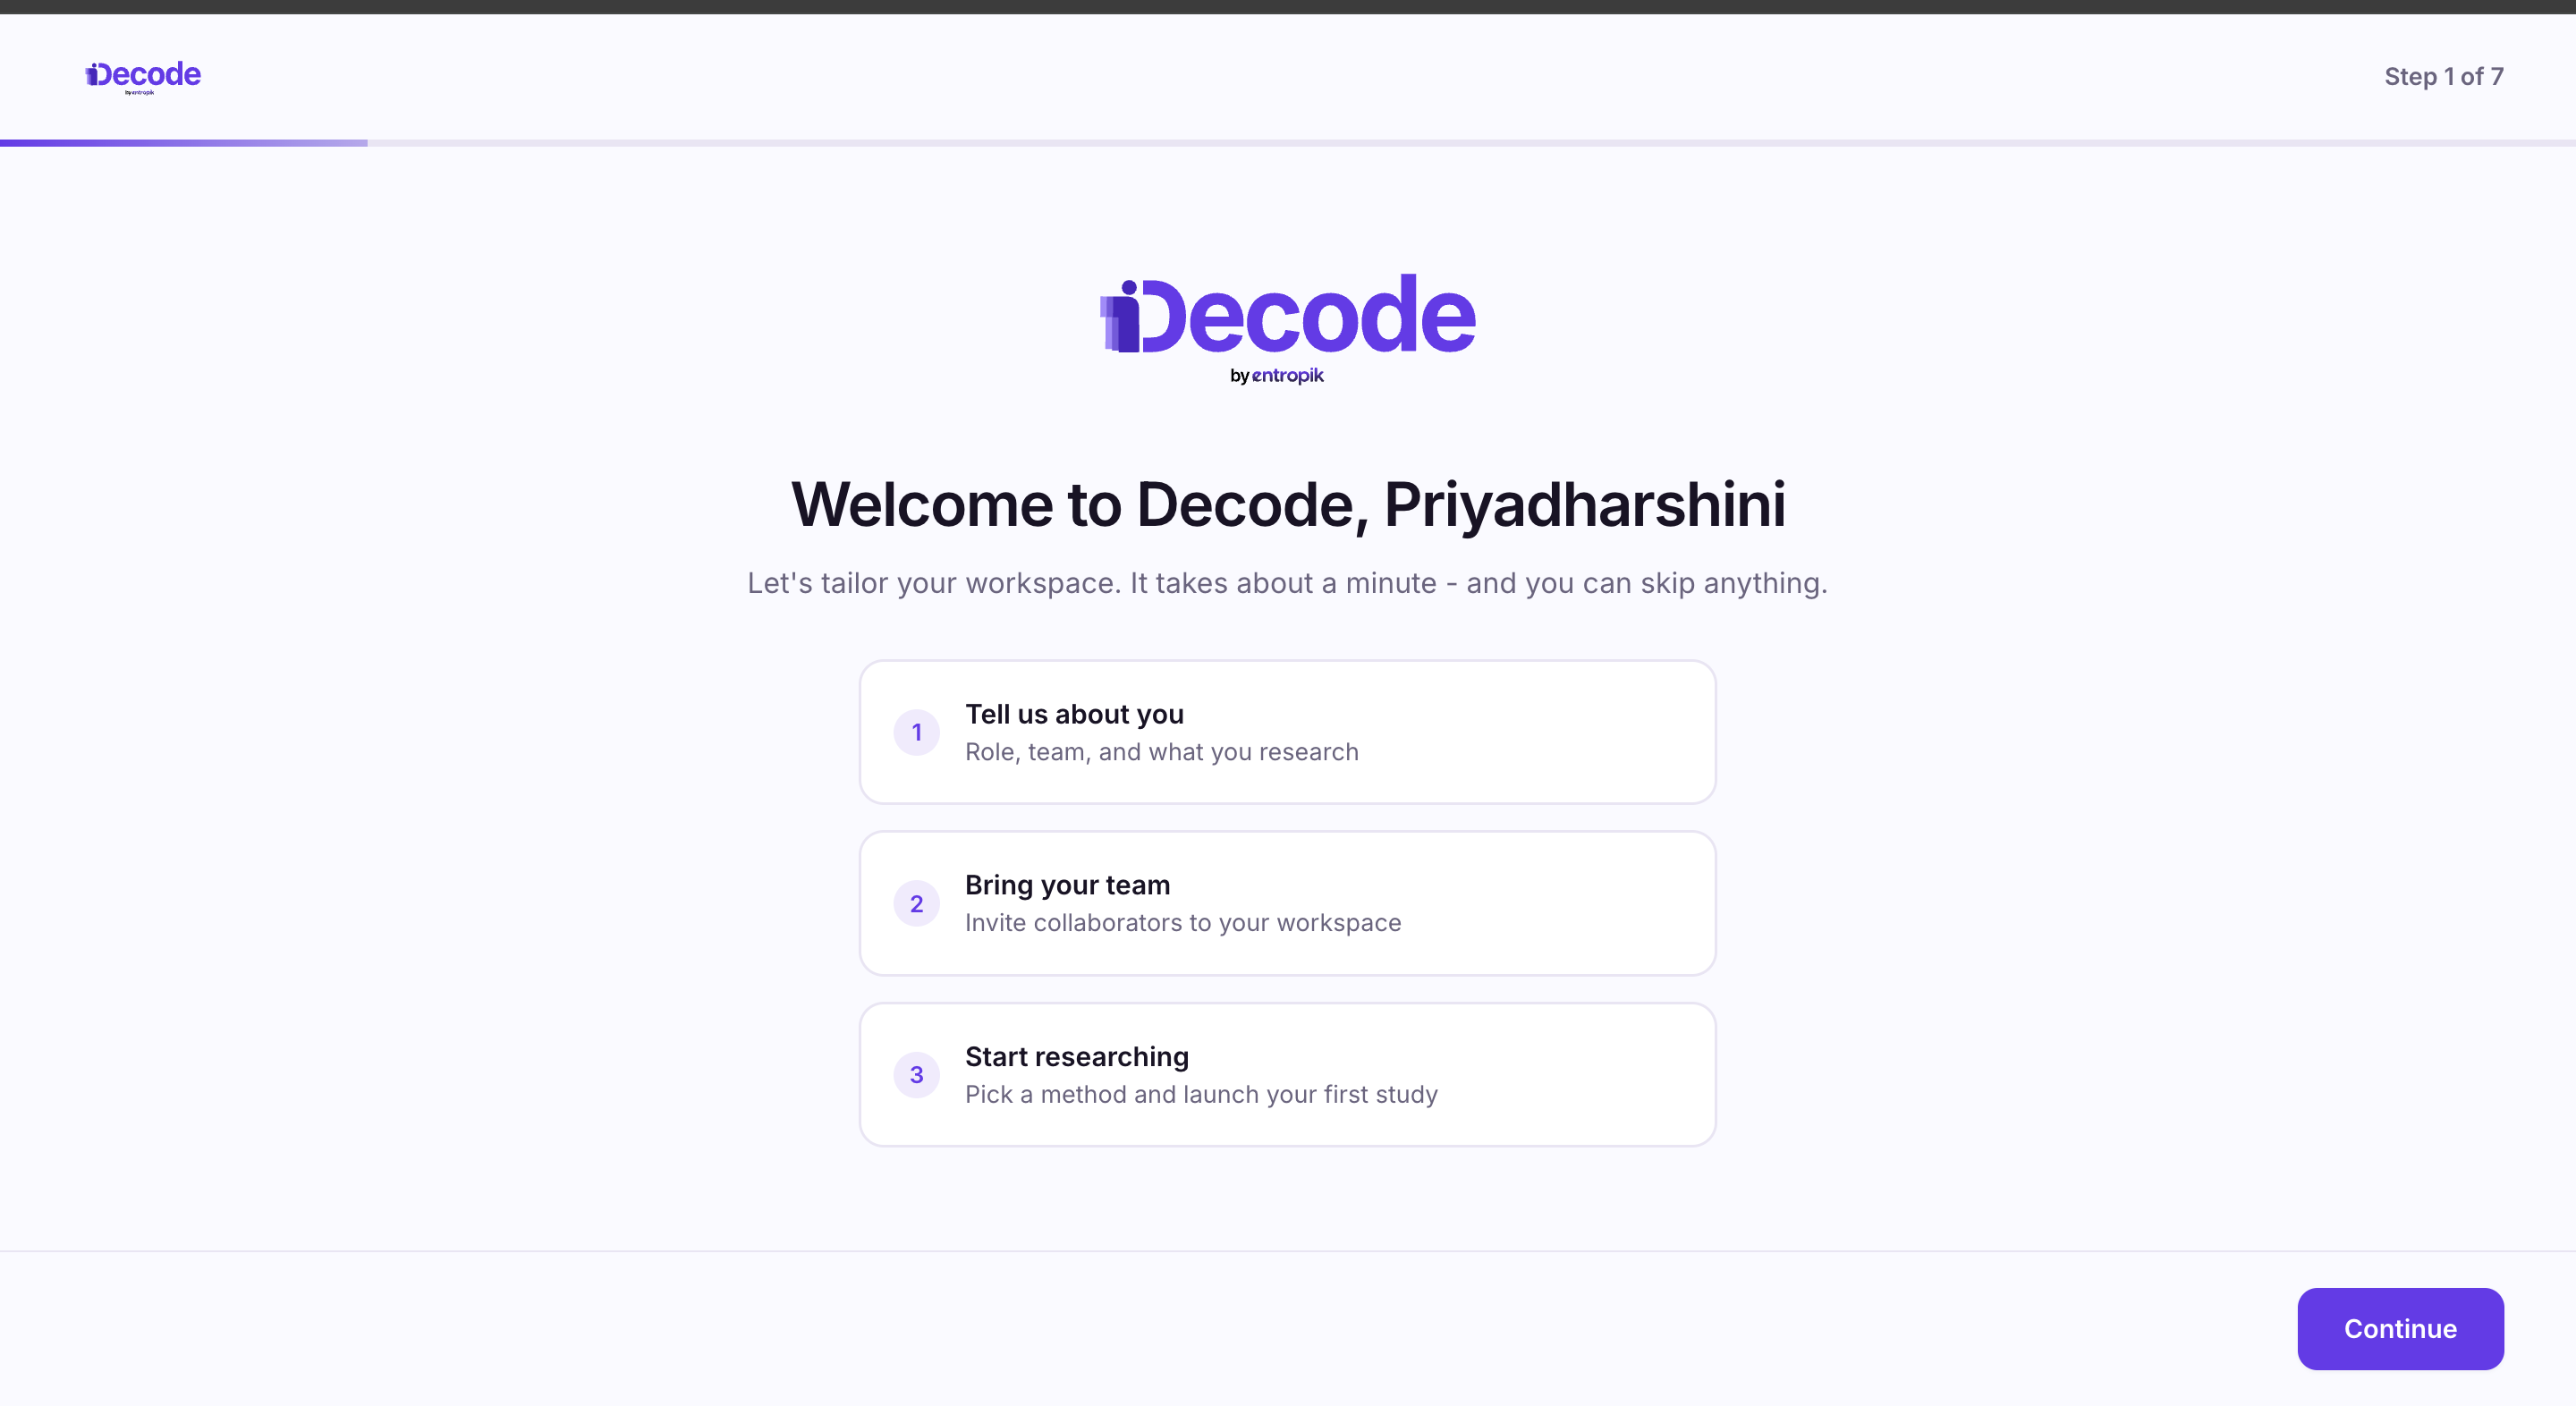
STEP 6: Name Your Workspace and Choose A Data Center
Workspace name. This is where your studies, insights and teammates live. Your workspace URL is generated from the name.
Data centre. All participant data and recordings stay in the region you select. Available regions are United States, Singapore, India, Europe and UAE.
Choose the region that matches your data residency requirements, because this cannot be changed later.
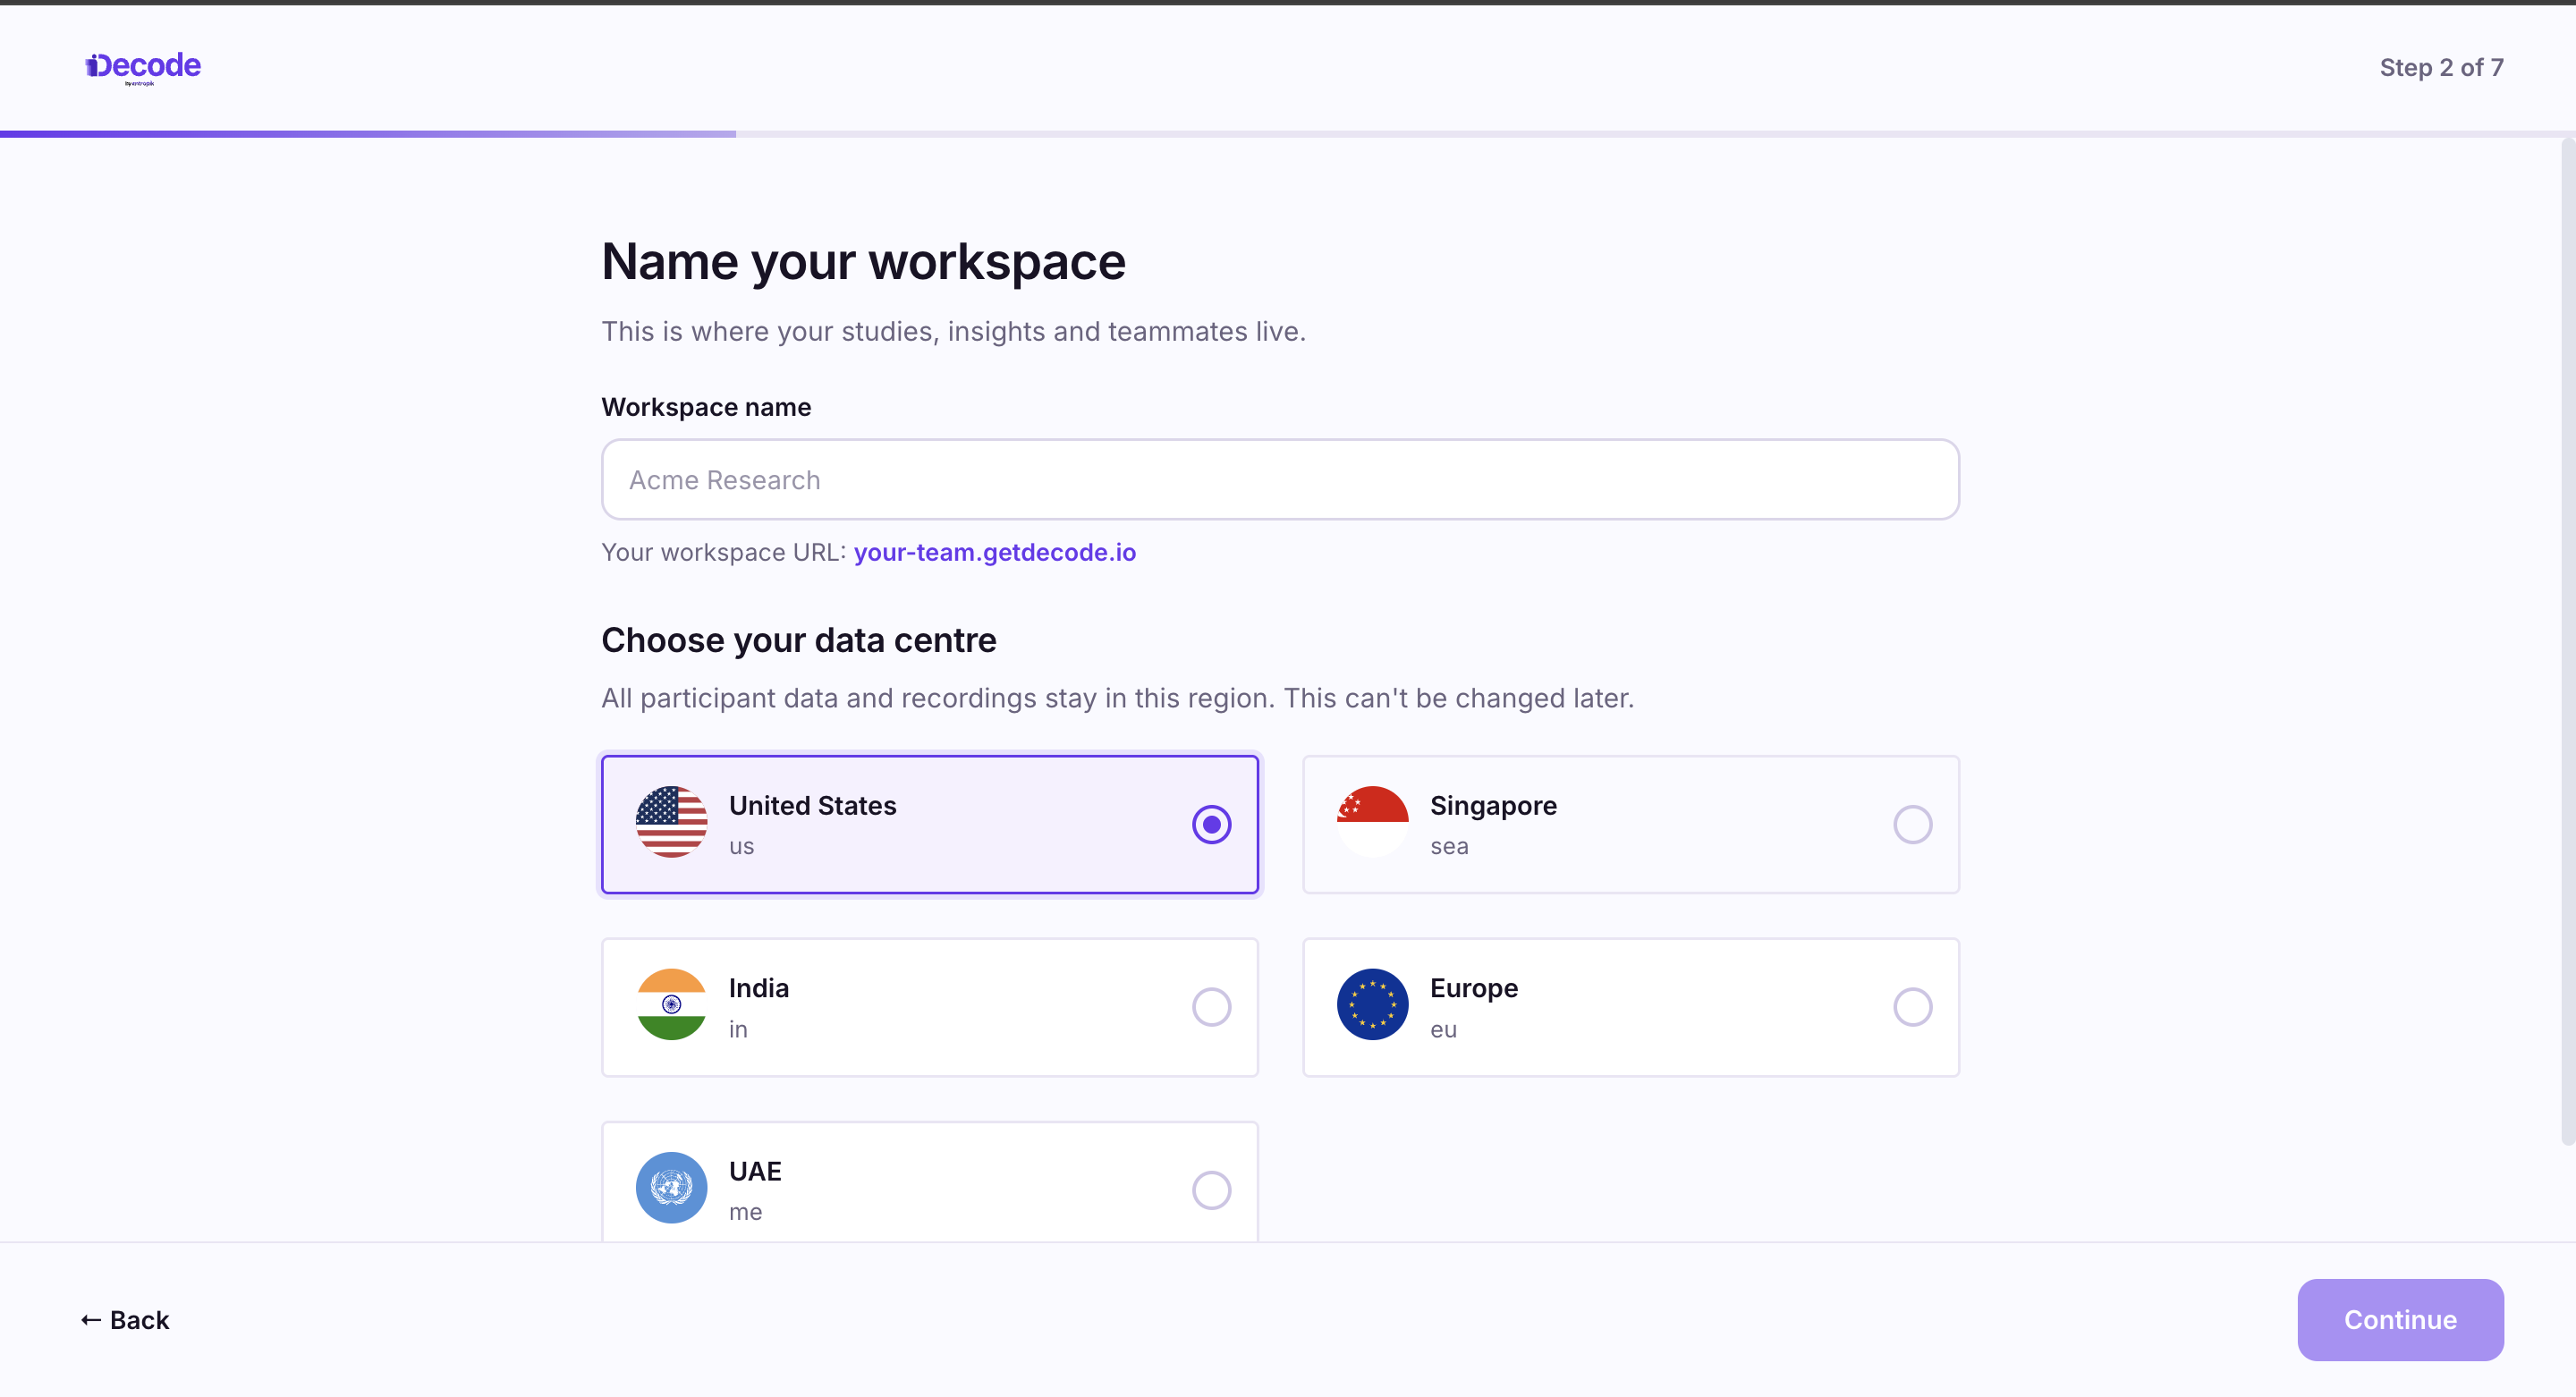
STEP 7: Tell Us About Your Role
Select the option that best describes your role: Researcher or Insights, UX or Product Designer, Product Manager, Marketing, Brand or Creative, Agency or Consultant, or Founder or Exec.
Decode uses this to personalise the templates and defaults in your workspace.
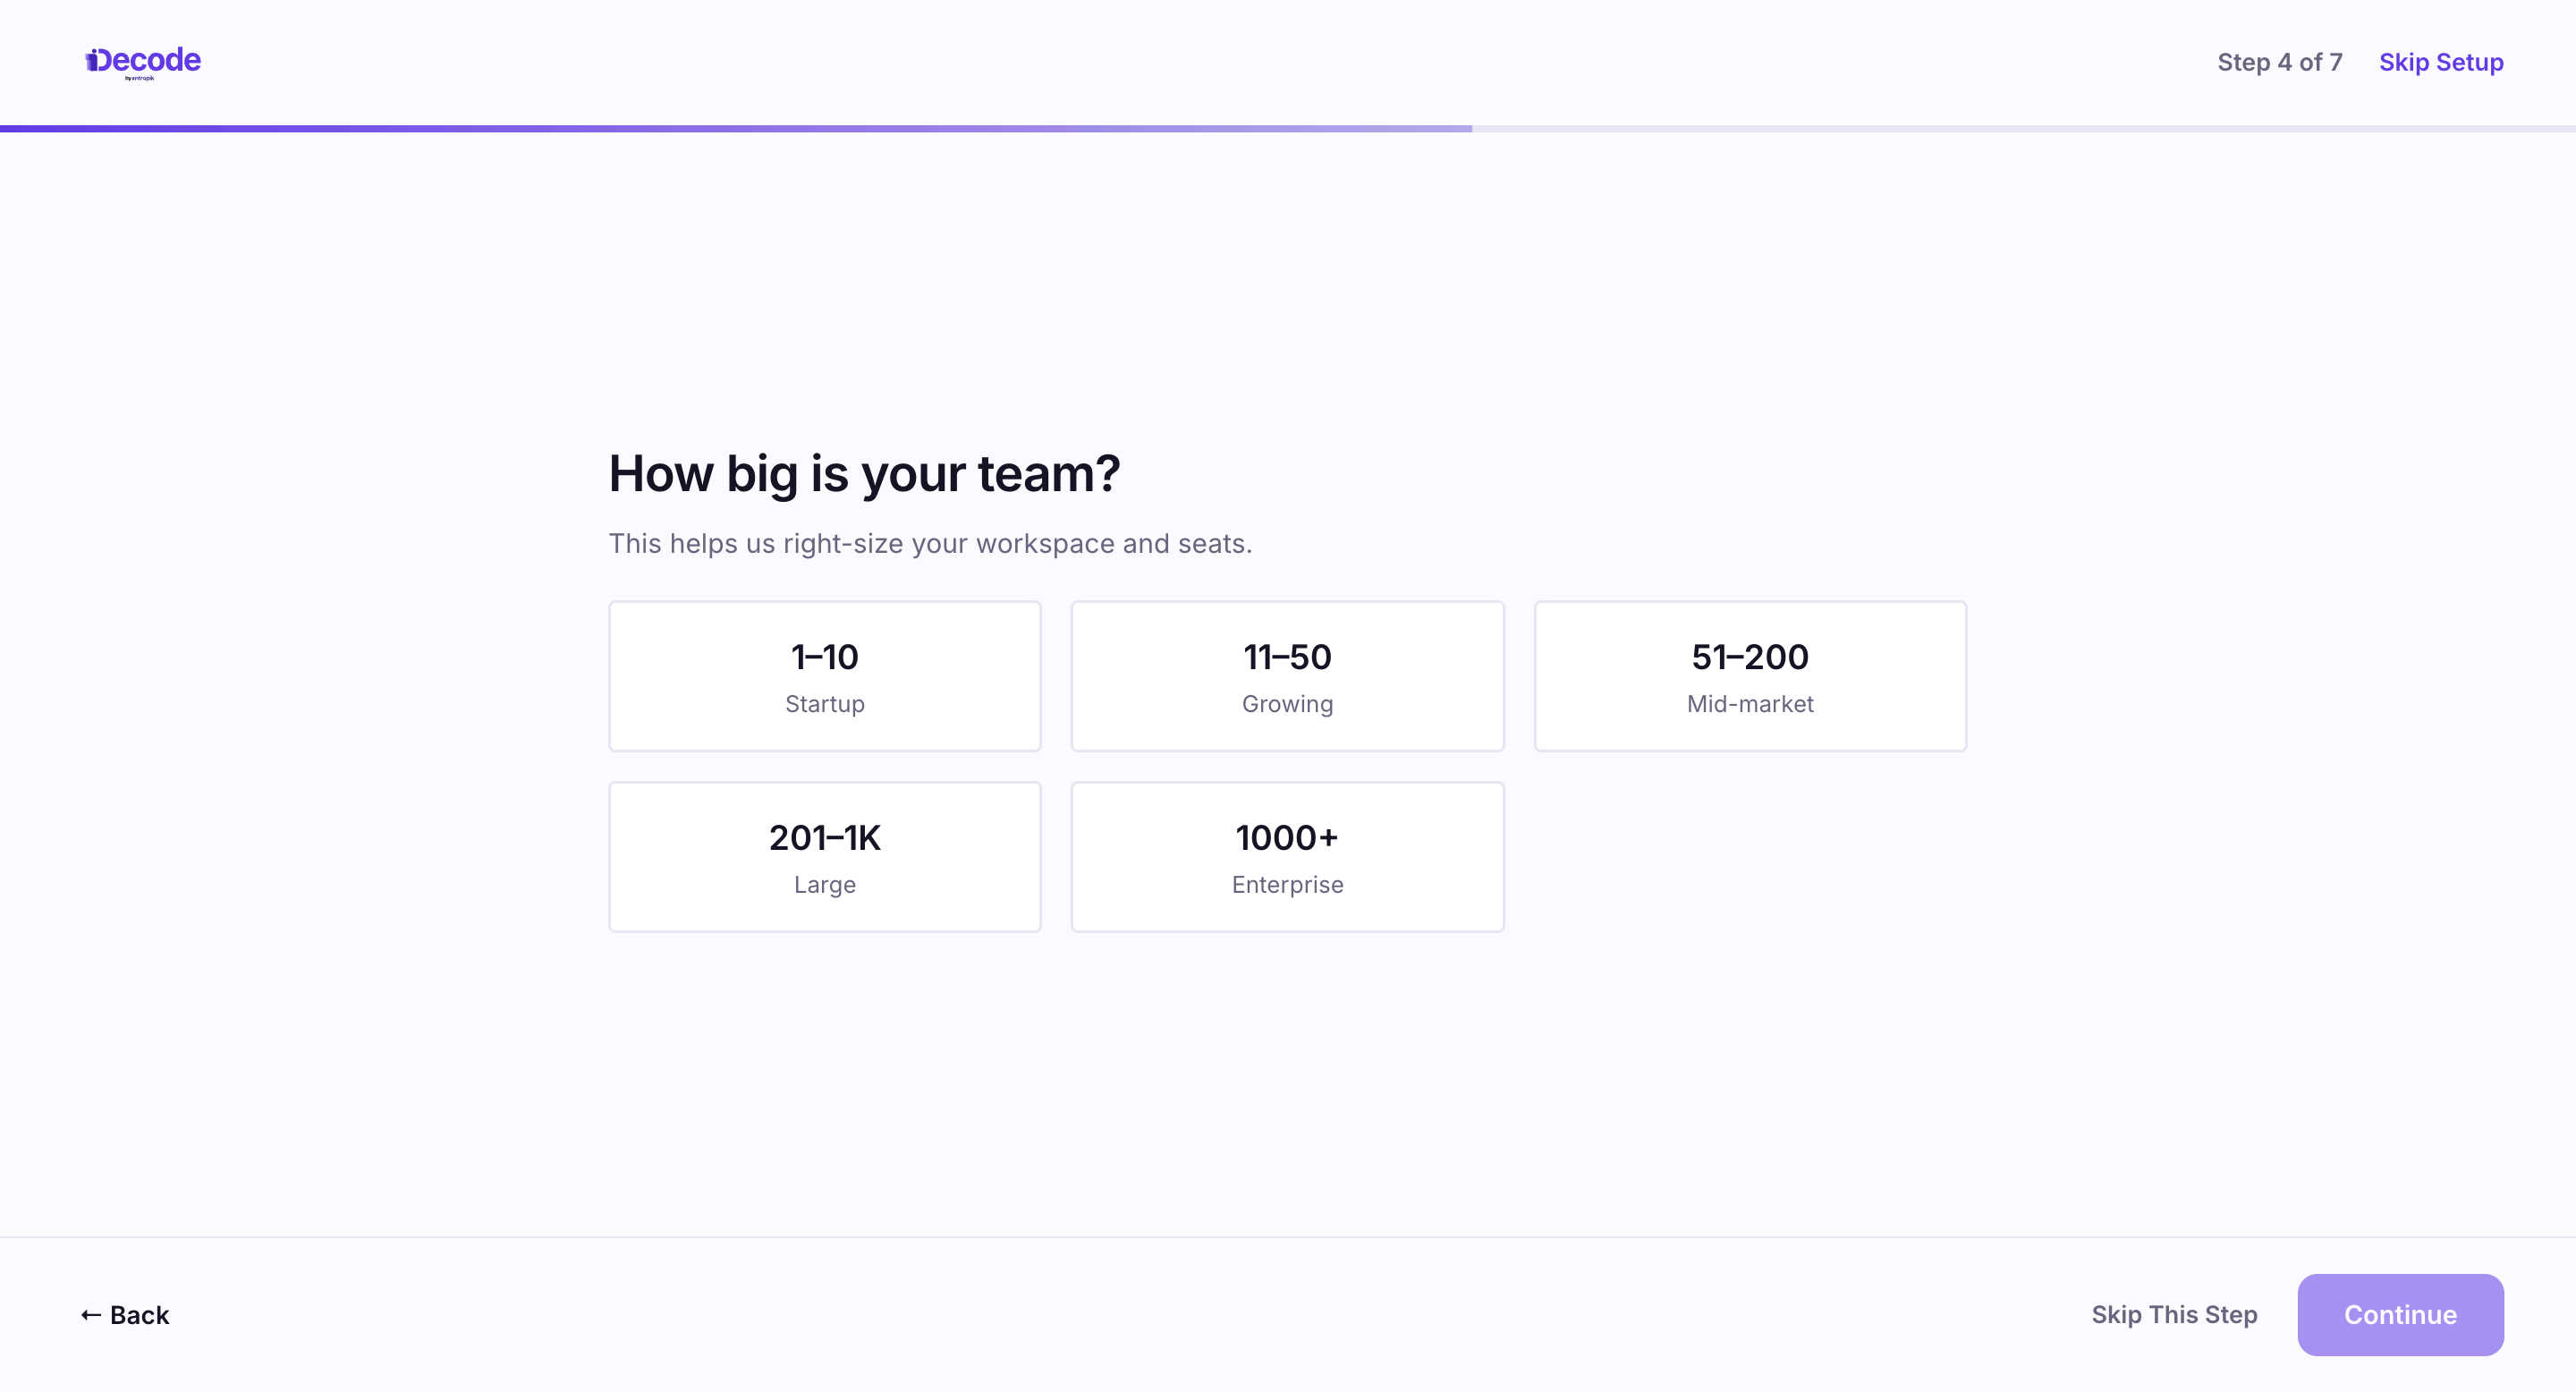
STEP 8: Select Your Team Size
Choose the band that matches your organisation: 1 to 10, 11 to 50, 51 to 200, 201 to 1K, or 1000 and above.
This is used to right-size your workspace and seats.
STEP 9: Choose Your Primary Research Focus
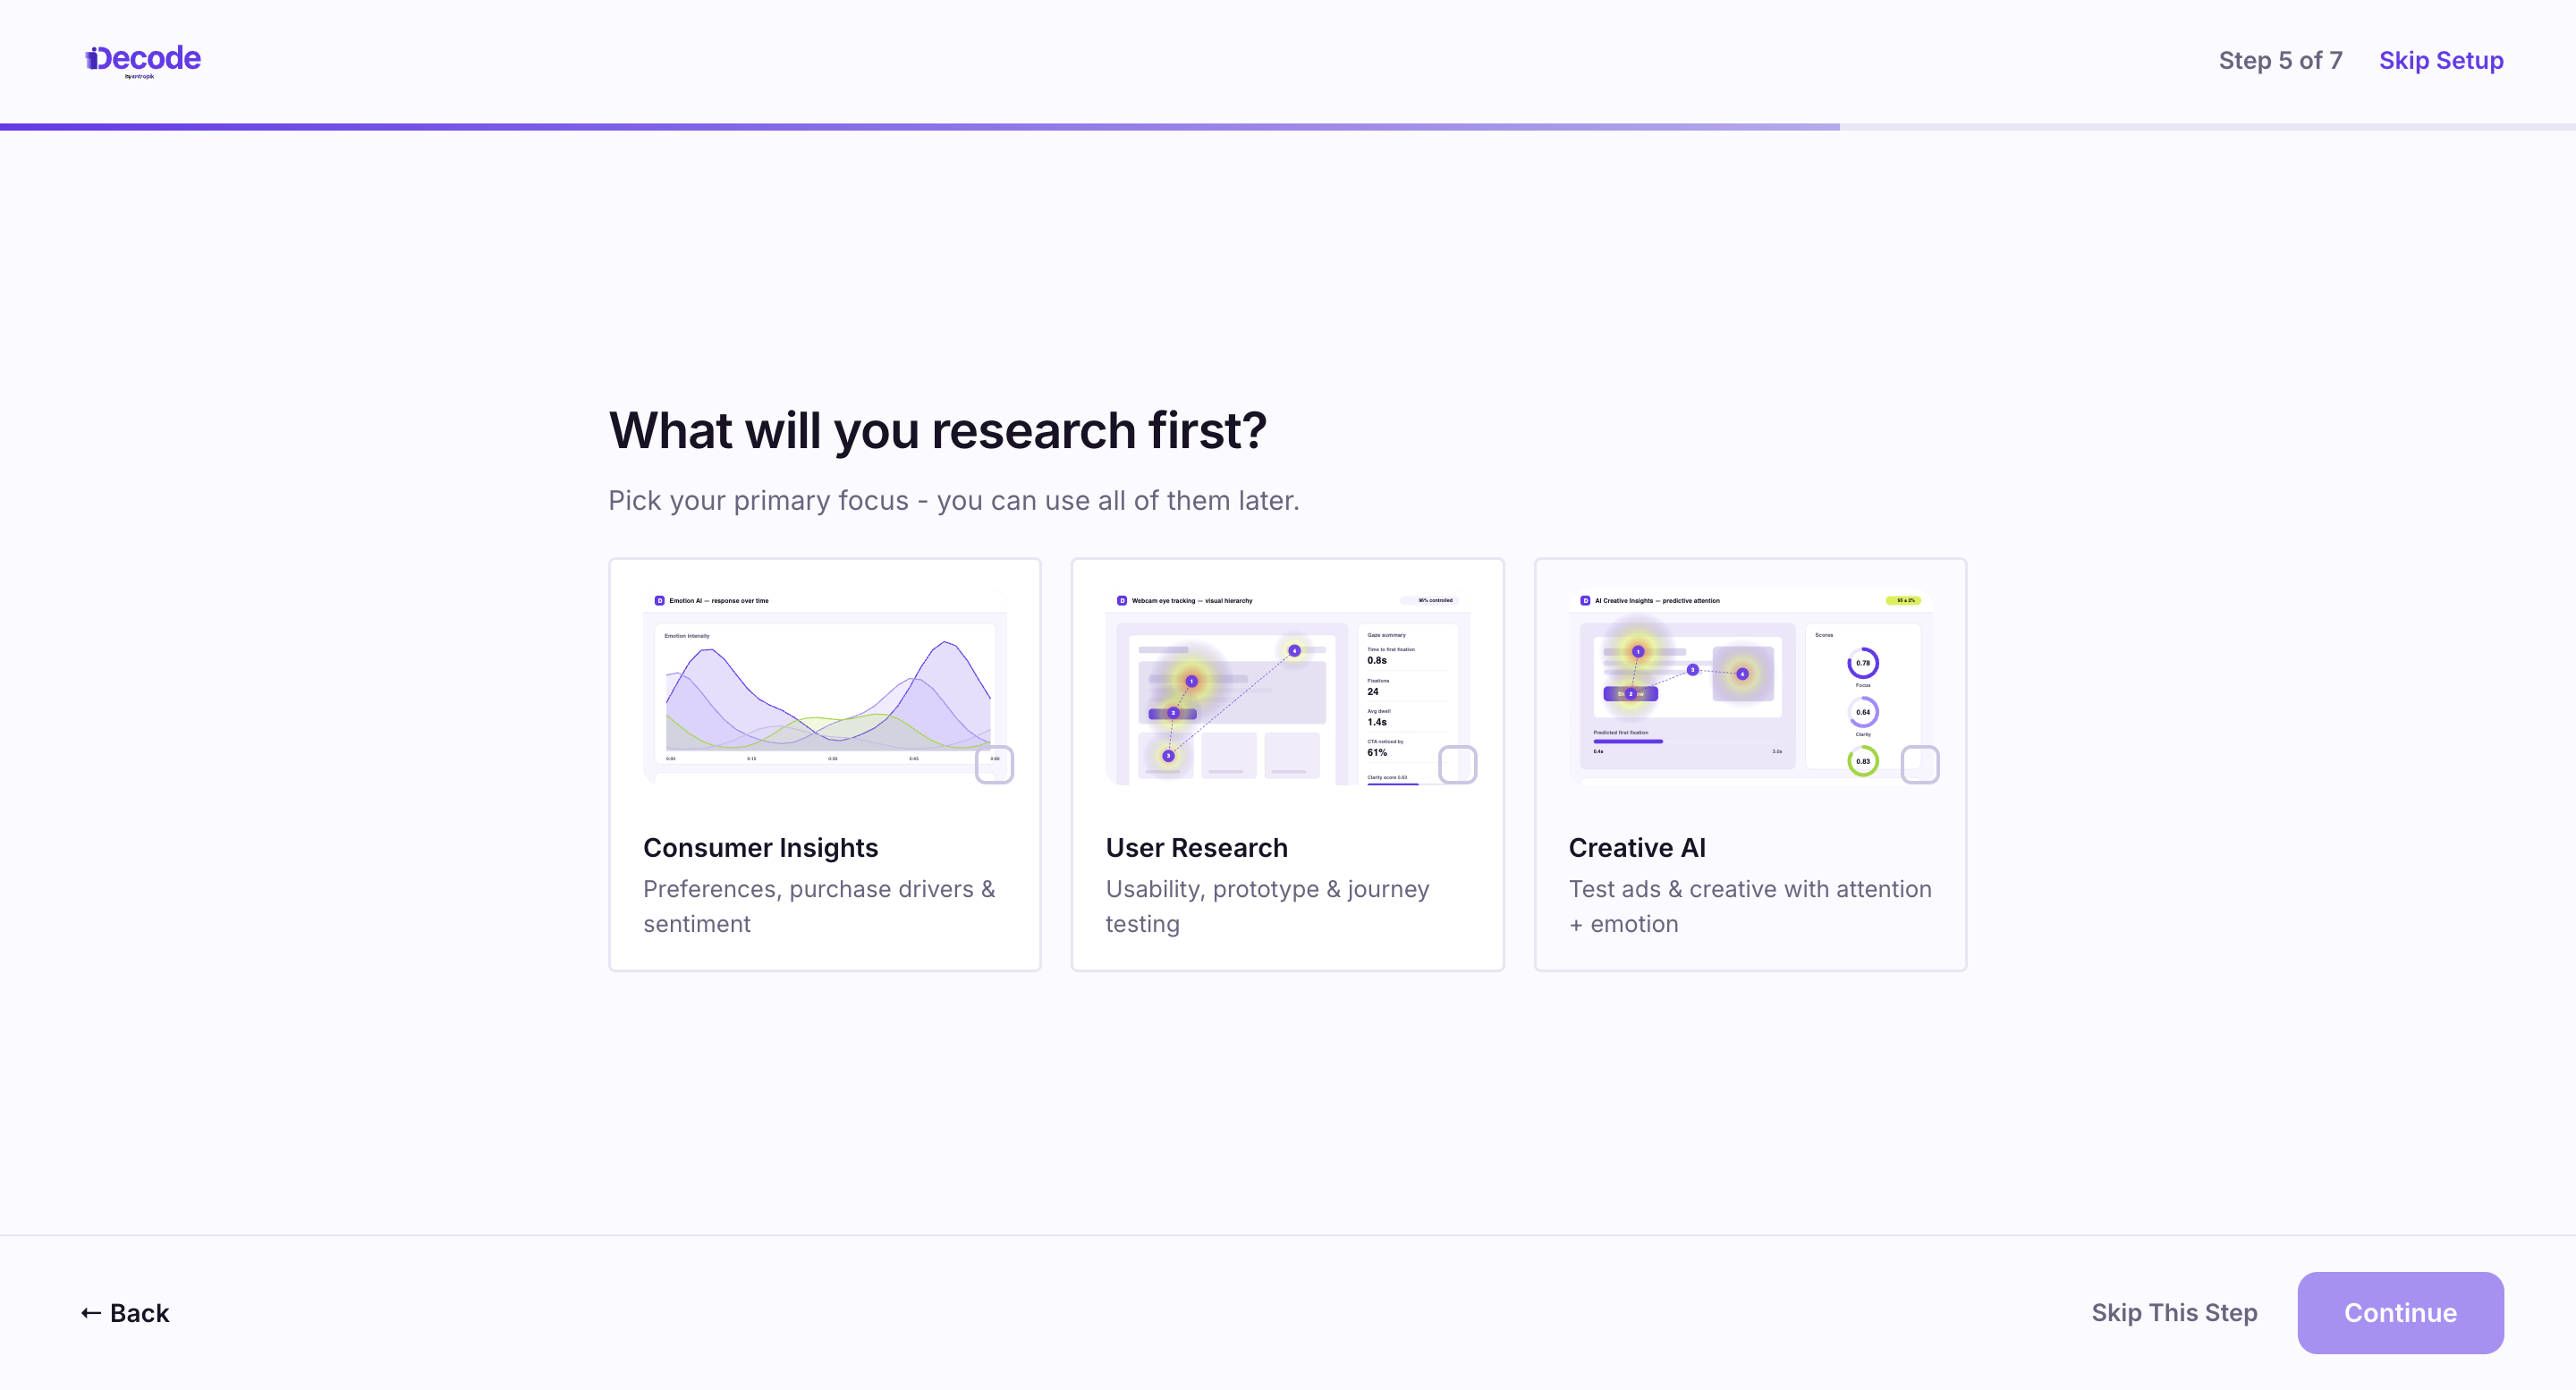
Select what you will research first. This sets your primary focus, and all areas remain available to you afterwards.
Consumer Insights. Preferences, purchase drivers and sentiment.
User Research. Usability, prototype and journey testing.
Creative AI. Testing ads and creative with attention and emotion.
STEP 10: Invite Your Team
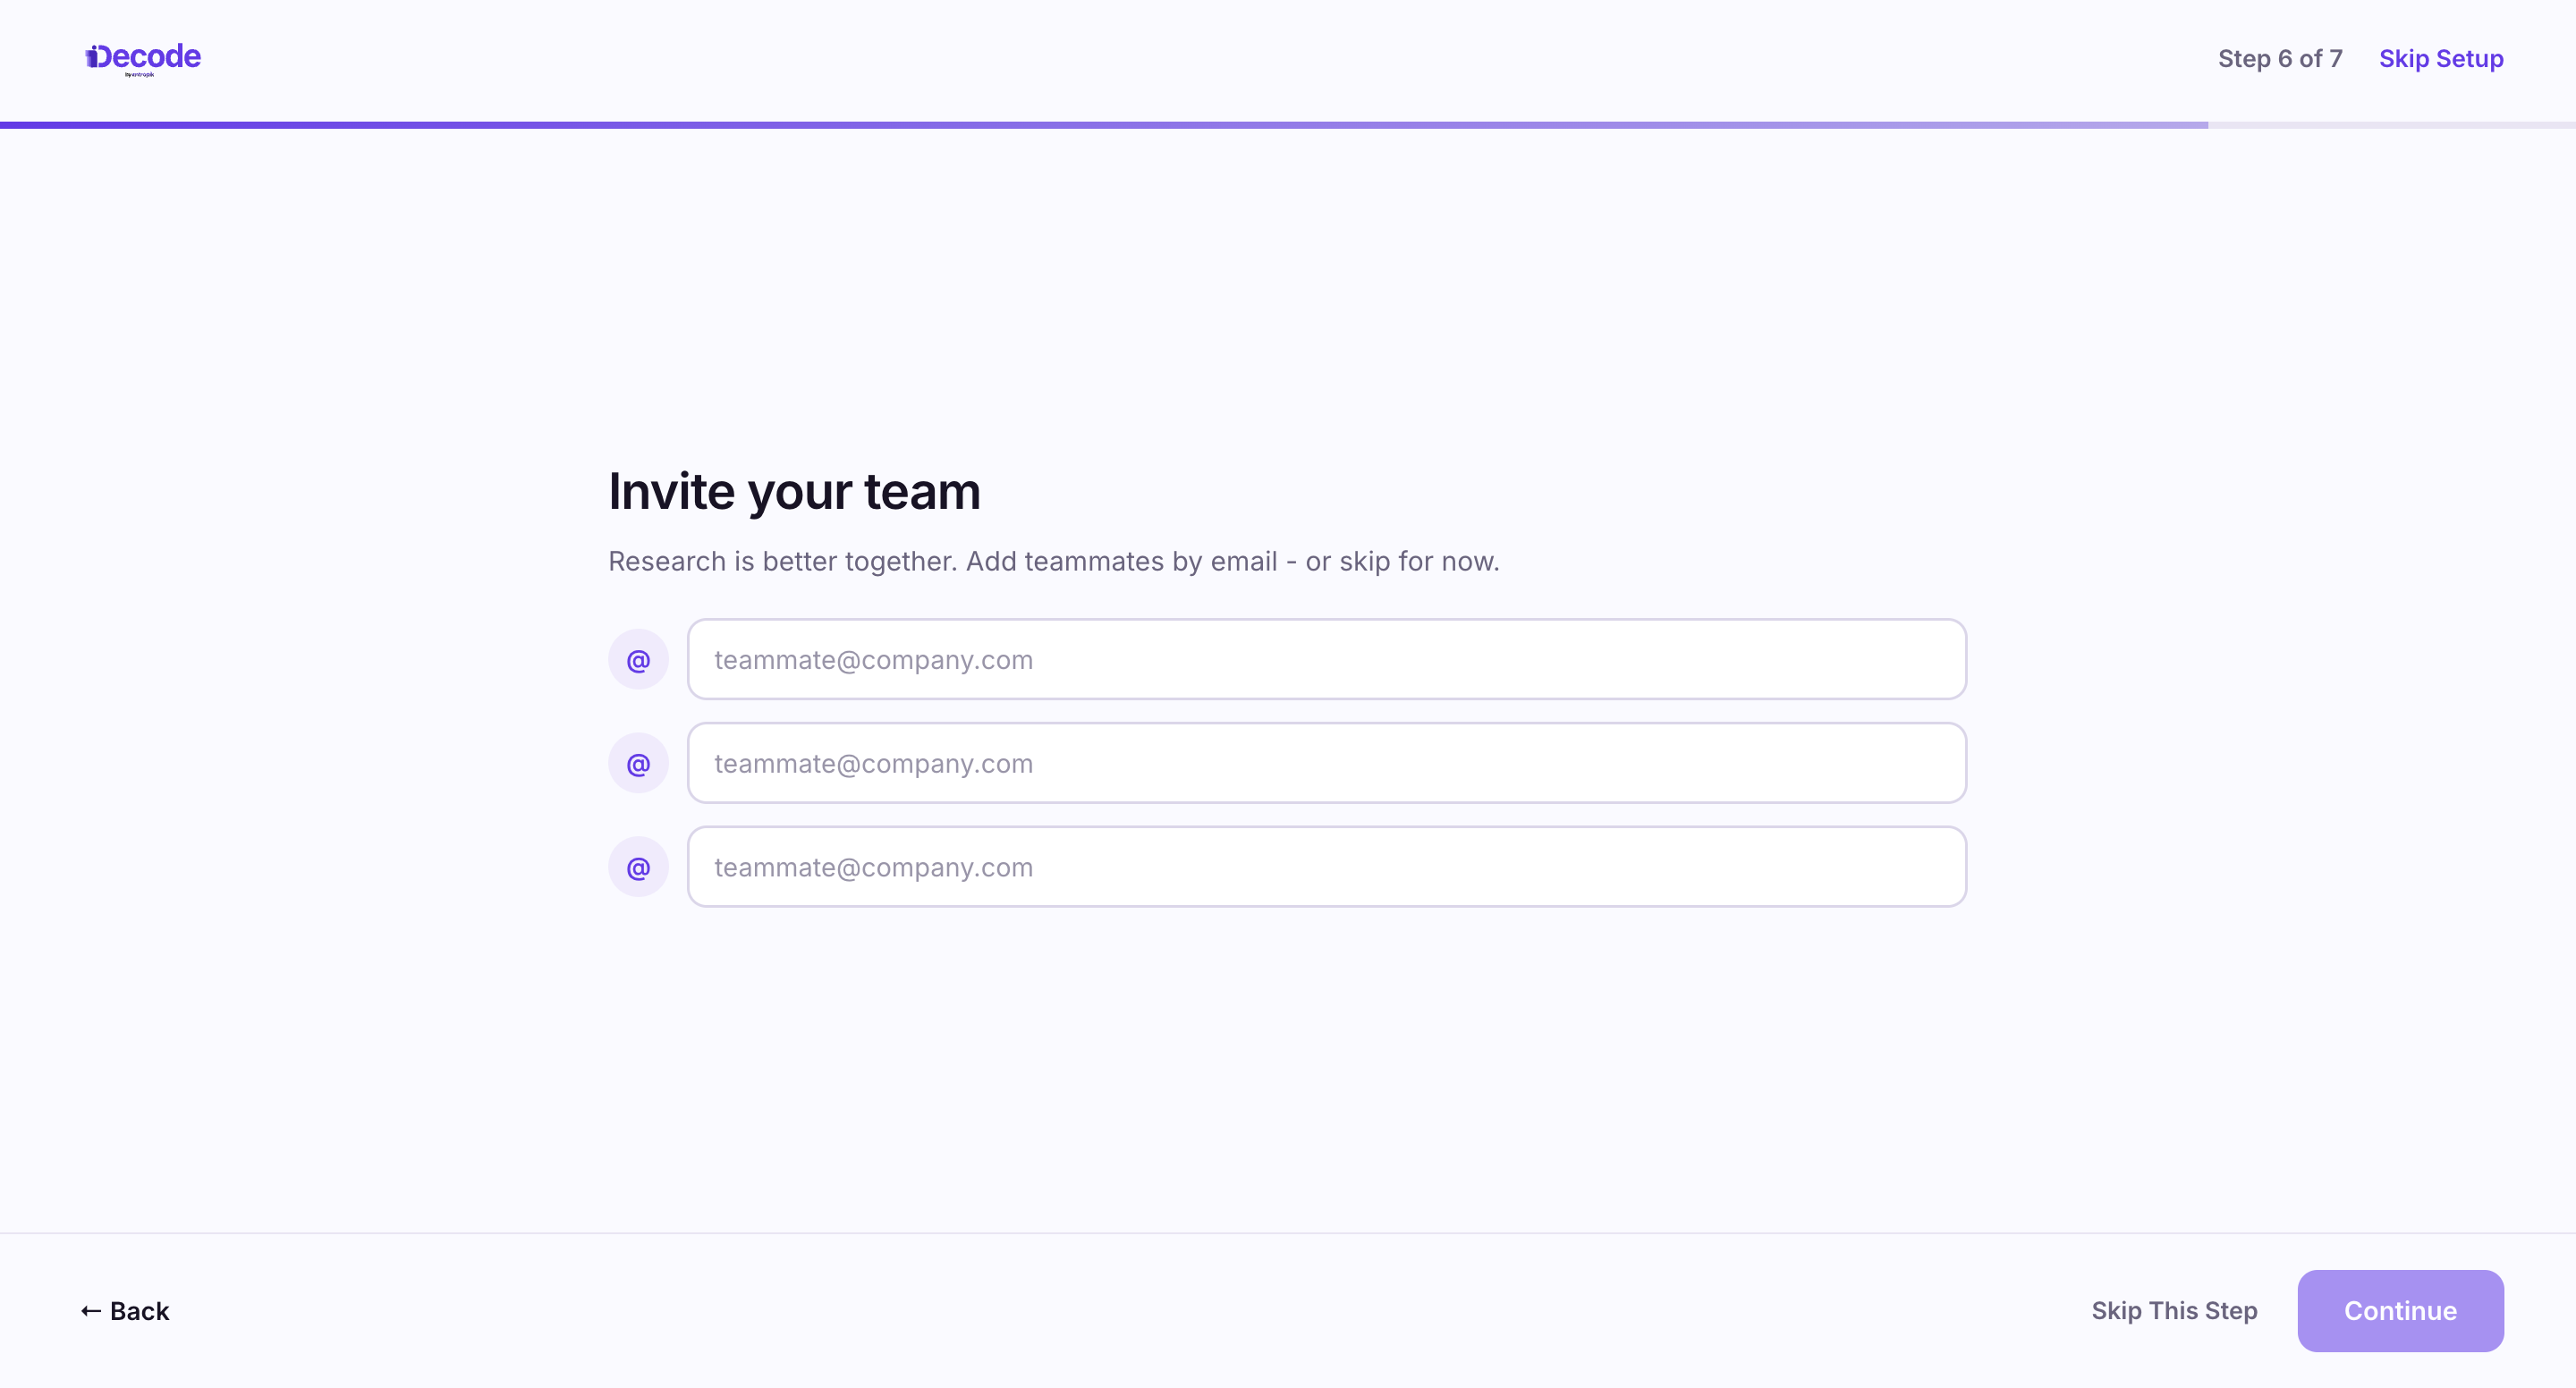
Add teammates by email address to collaborate on studies and sessions.
This step is optional. You can invite people later from your dashboard.
STEP 11: Choose Where To Start
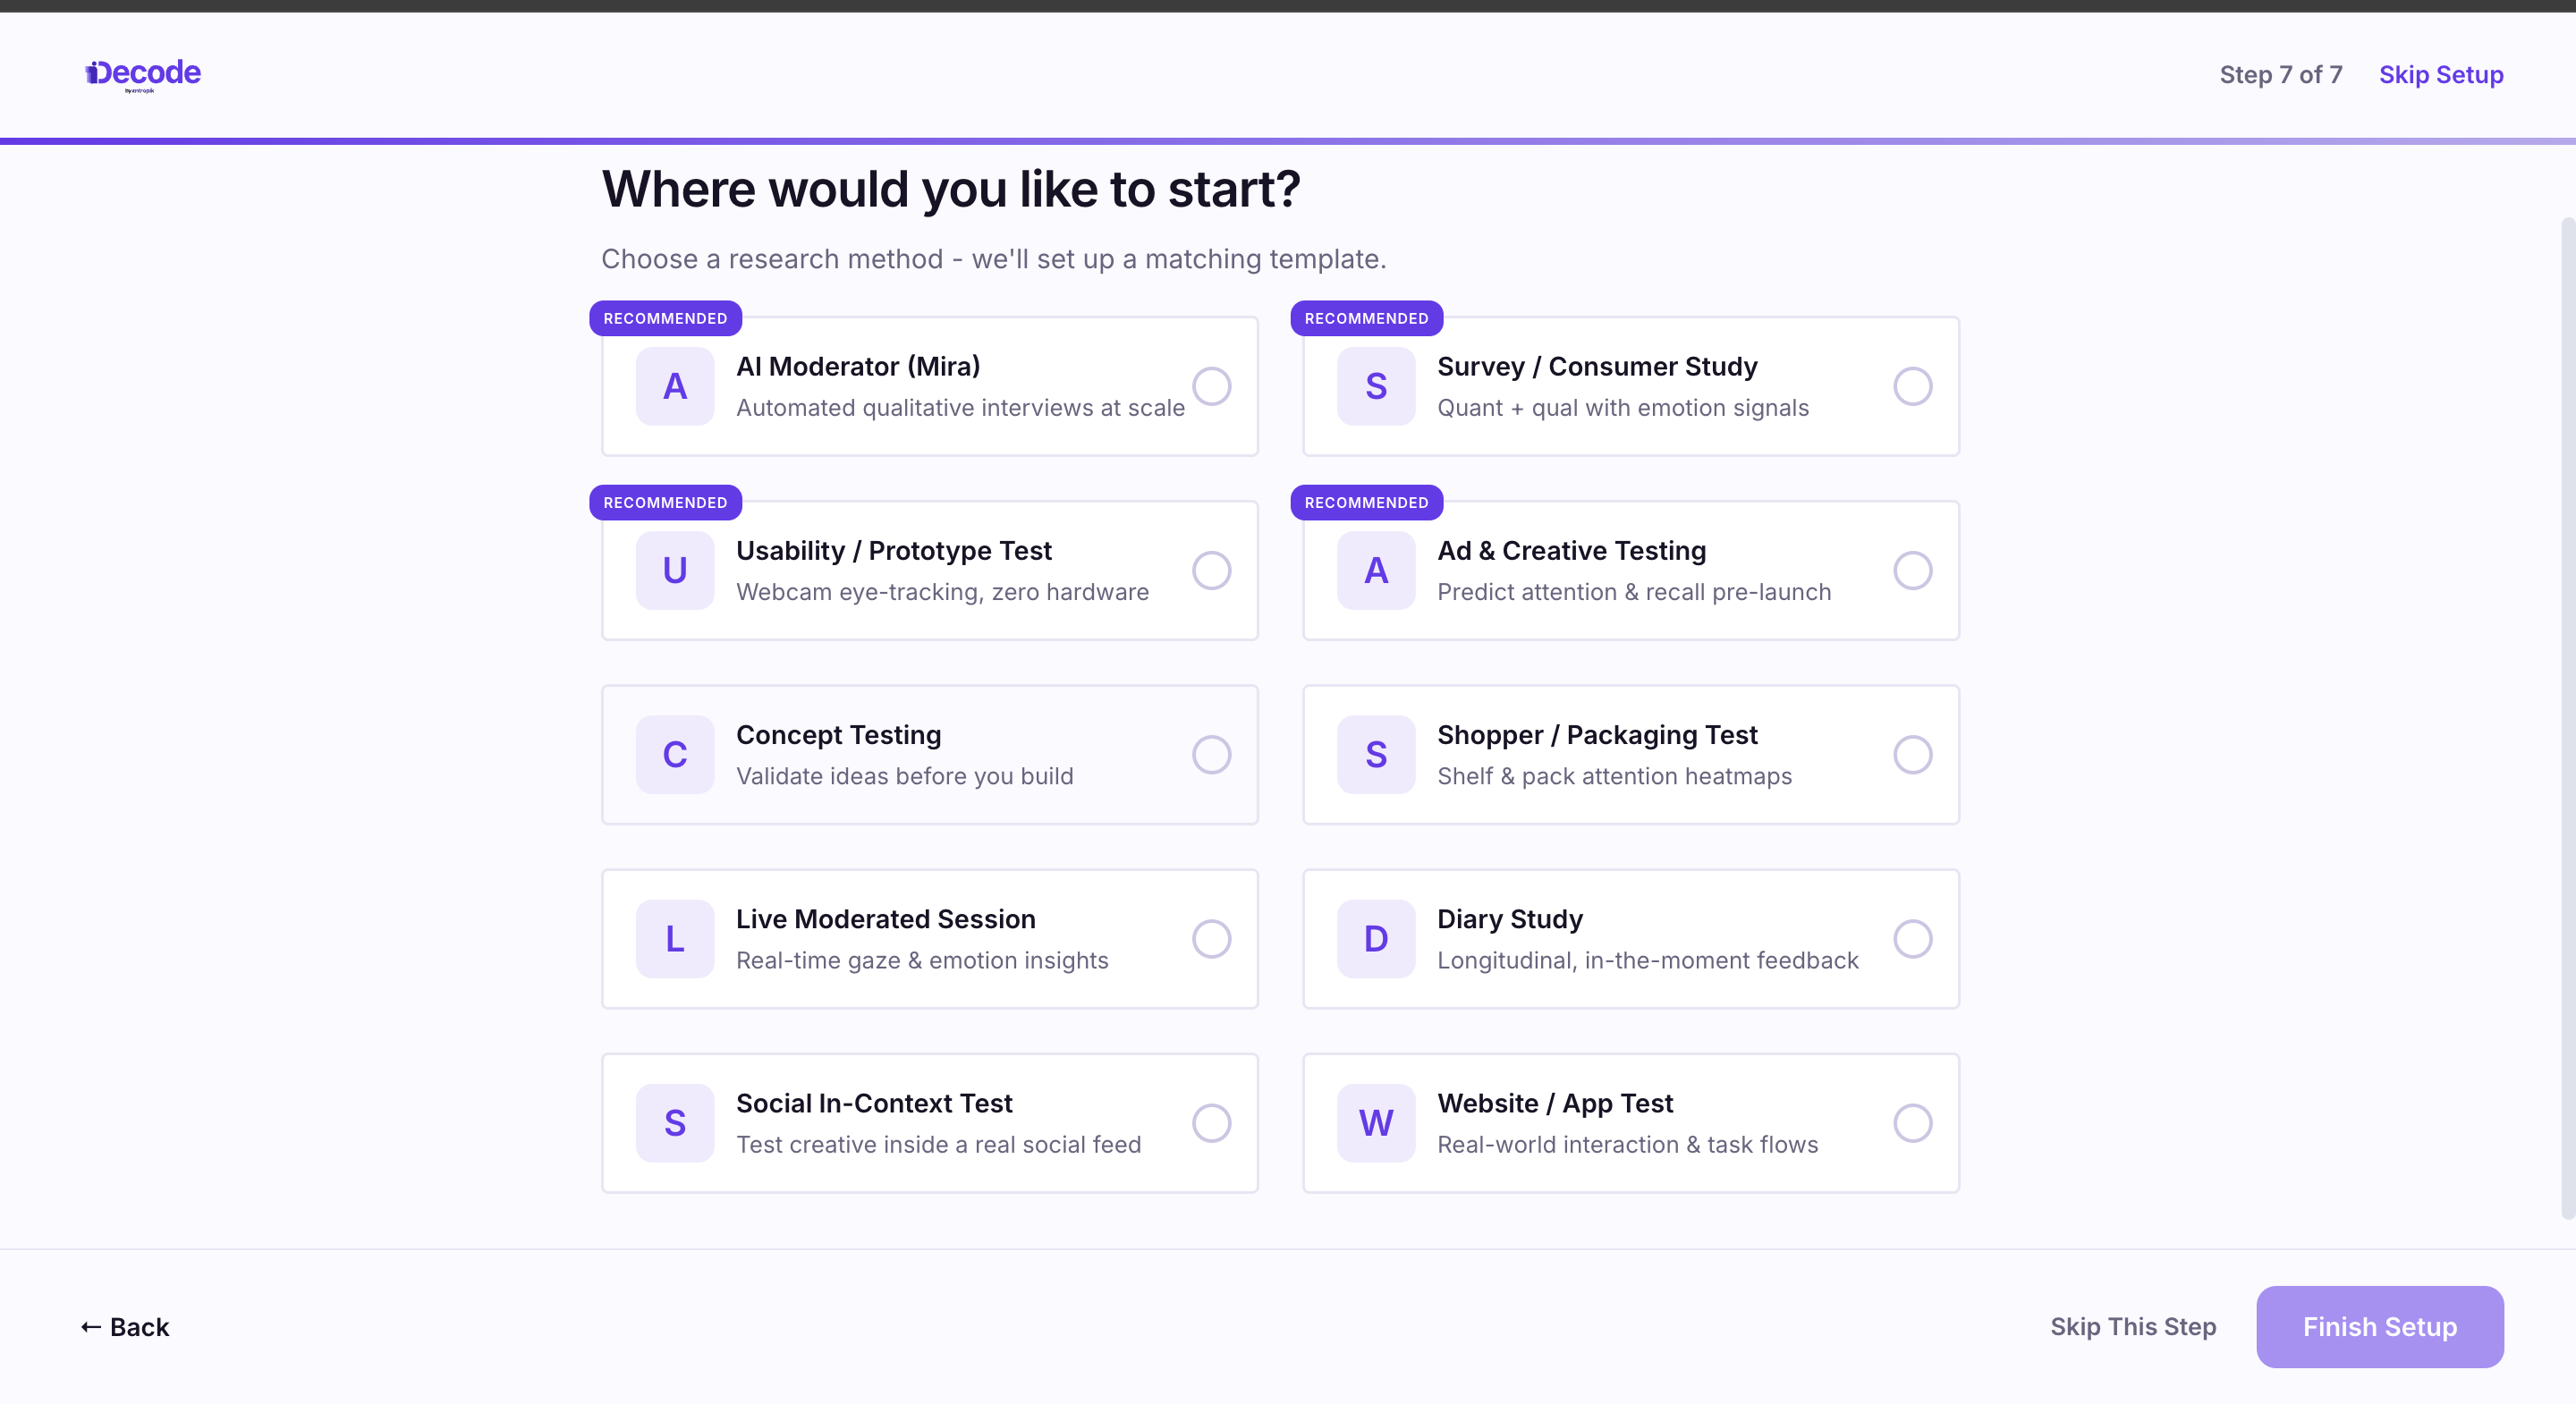
Select a research method and Decode sets up a matching template for you. The methods recommended to you depend on the role and focus you selected earlier.
Available methods are AI Moderator (Mira), Survey or Consumer Study, Usability or Prototype Test, Ad and Creative Testing, Concept Testing, Shopper or Packaging Test, Live Moderated Session, Diary Study, Social In-Context Test, and Website or App Test.
Click Finish Setup.
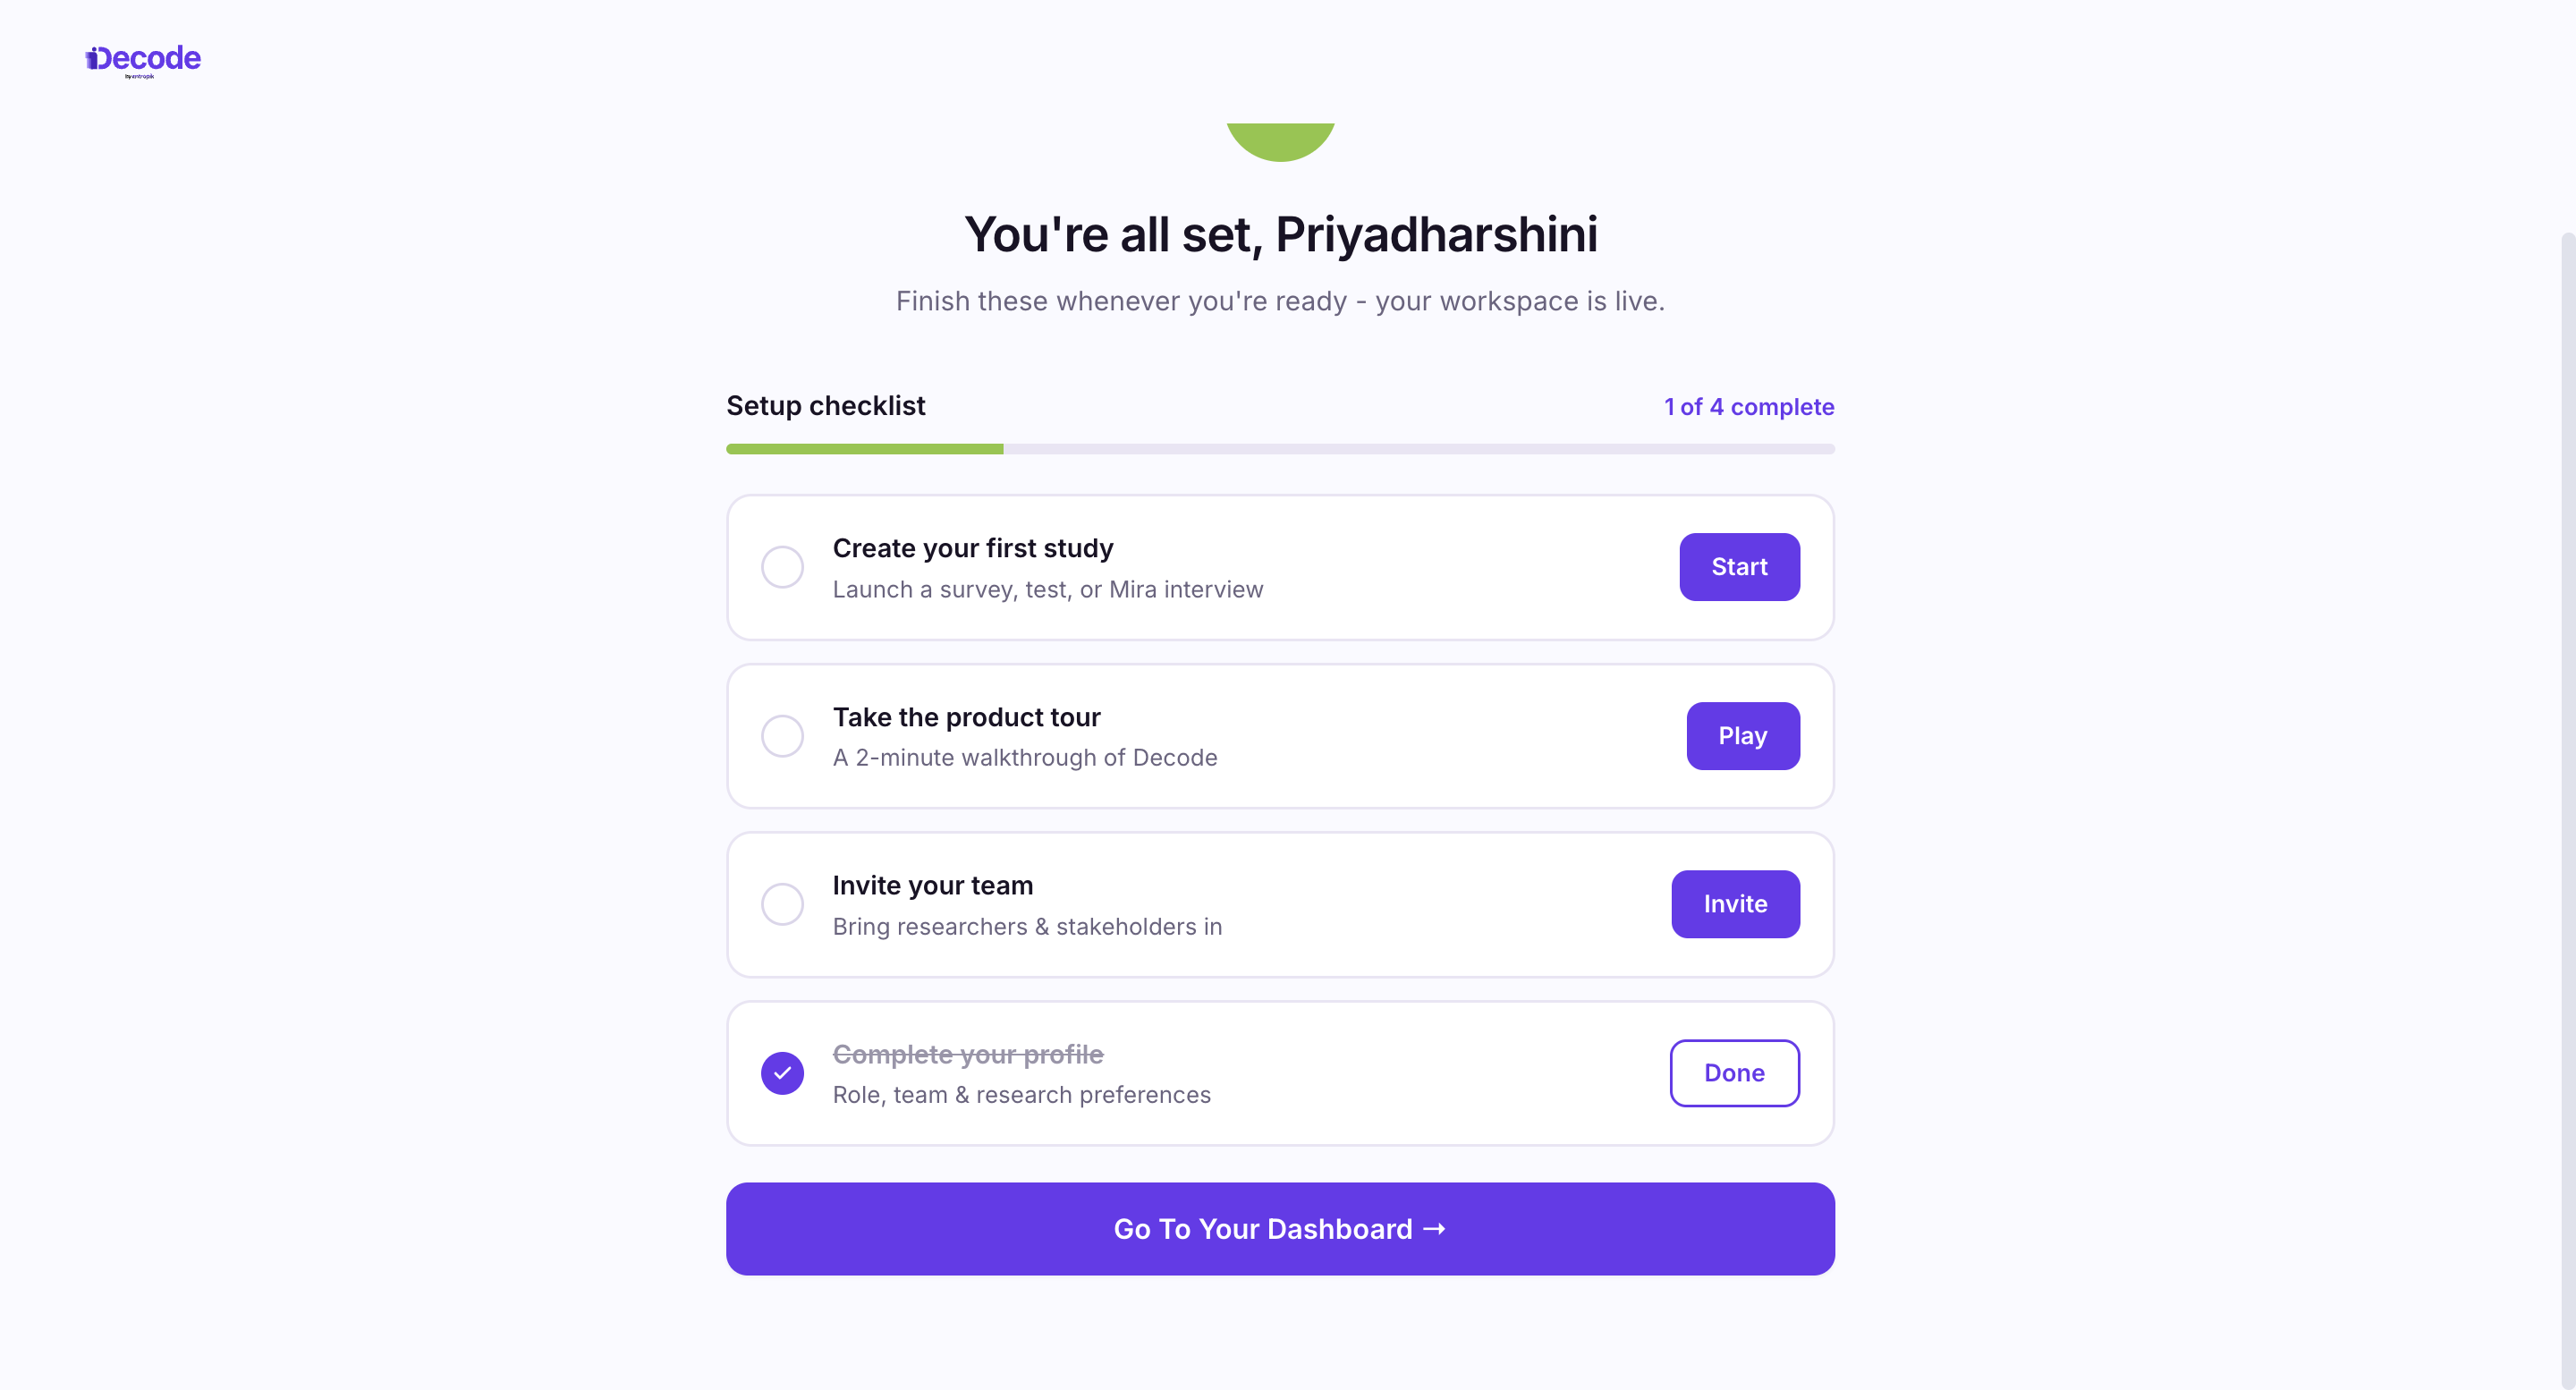
Your Setup Checklist
Your workspace is live once setup completes. A checklist shows what remains, and you can complete these whenever you are ready.
Create your first study. Launch a survey, test, or Mira interview.
Take the product tour. A two-minute walkthrough of Decode.
Invite your team. Bring researchers and stakeholders in.
Complete your profile. Role, team and research preferences. This is marked complete if you filled in those steps during setup.
Click Go To Your Dashboard to enter your workspace.
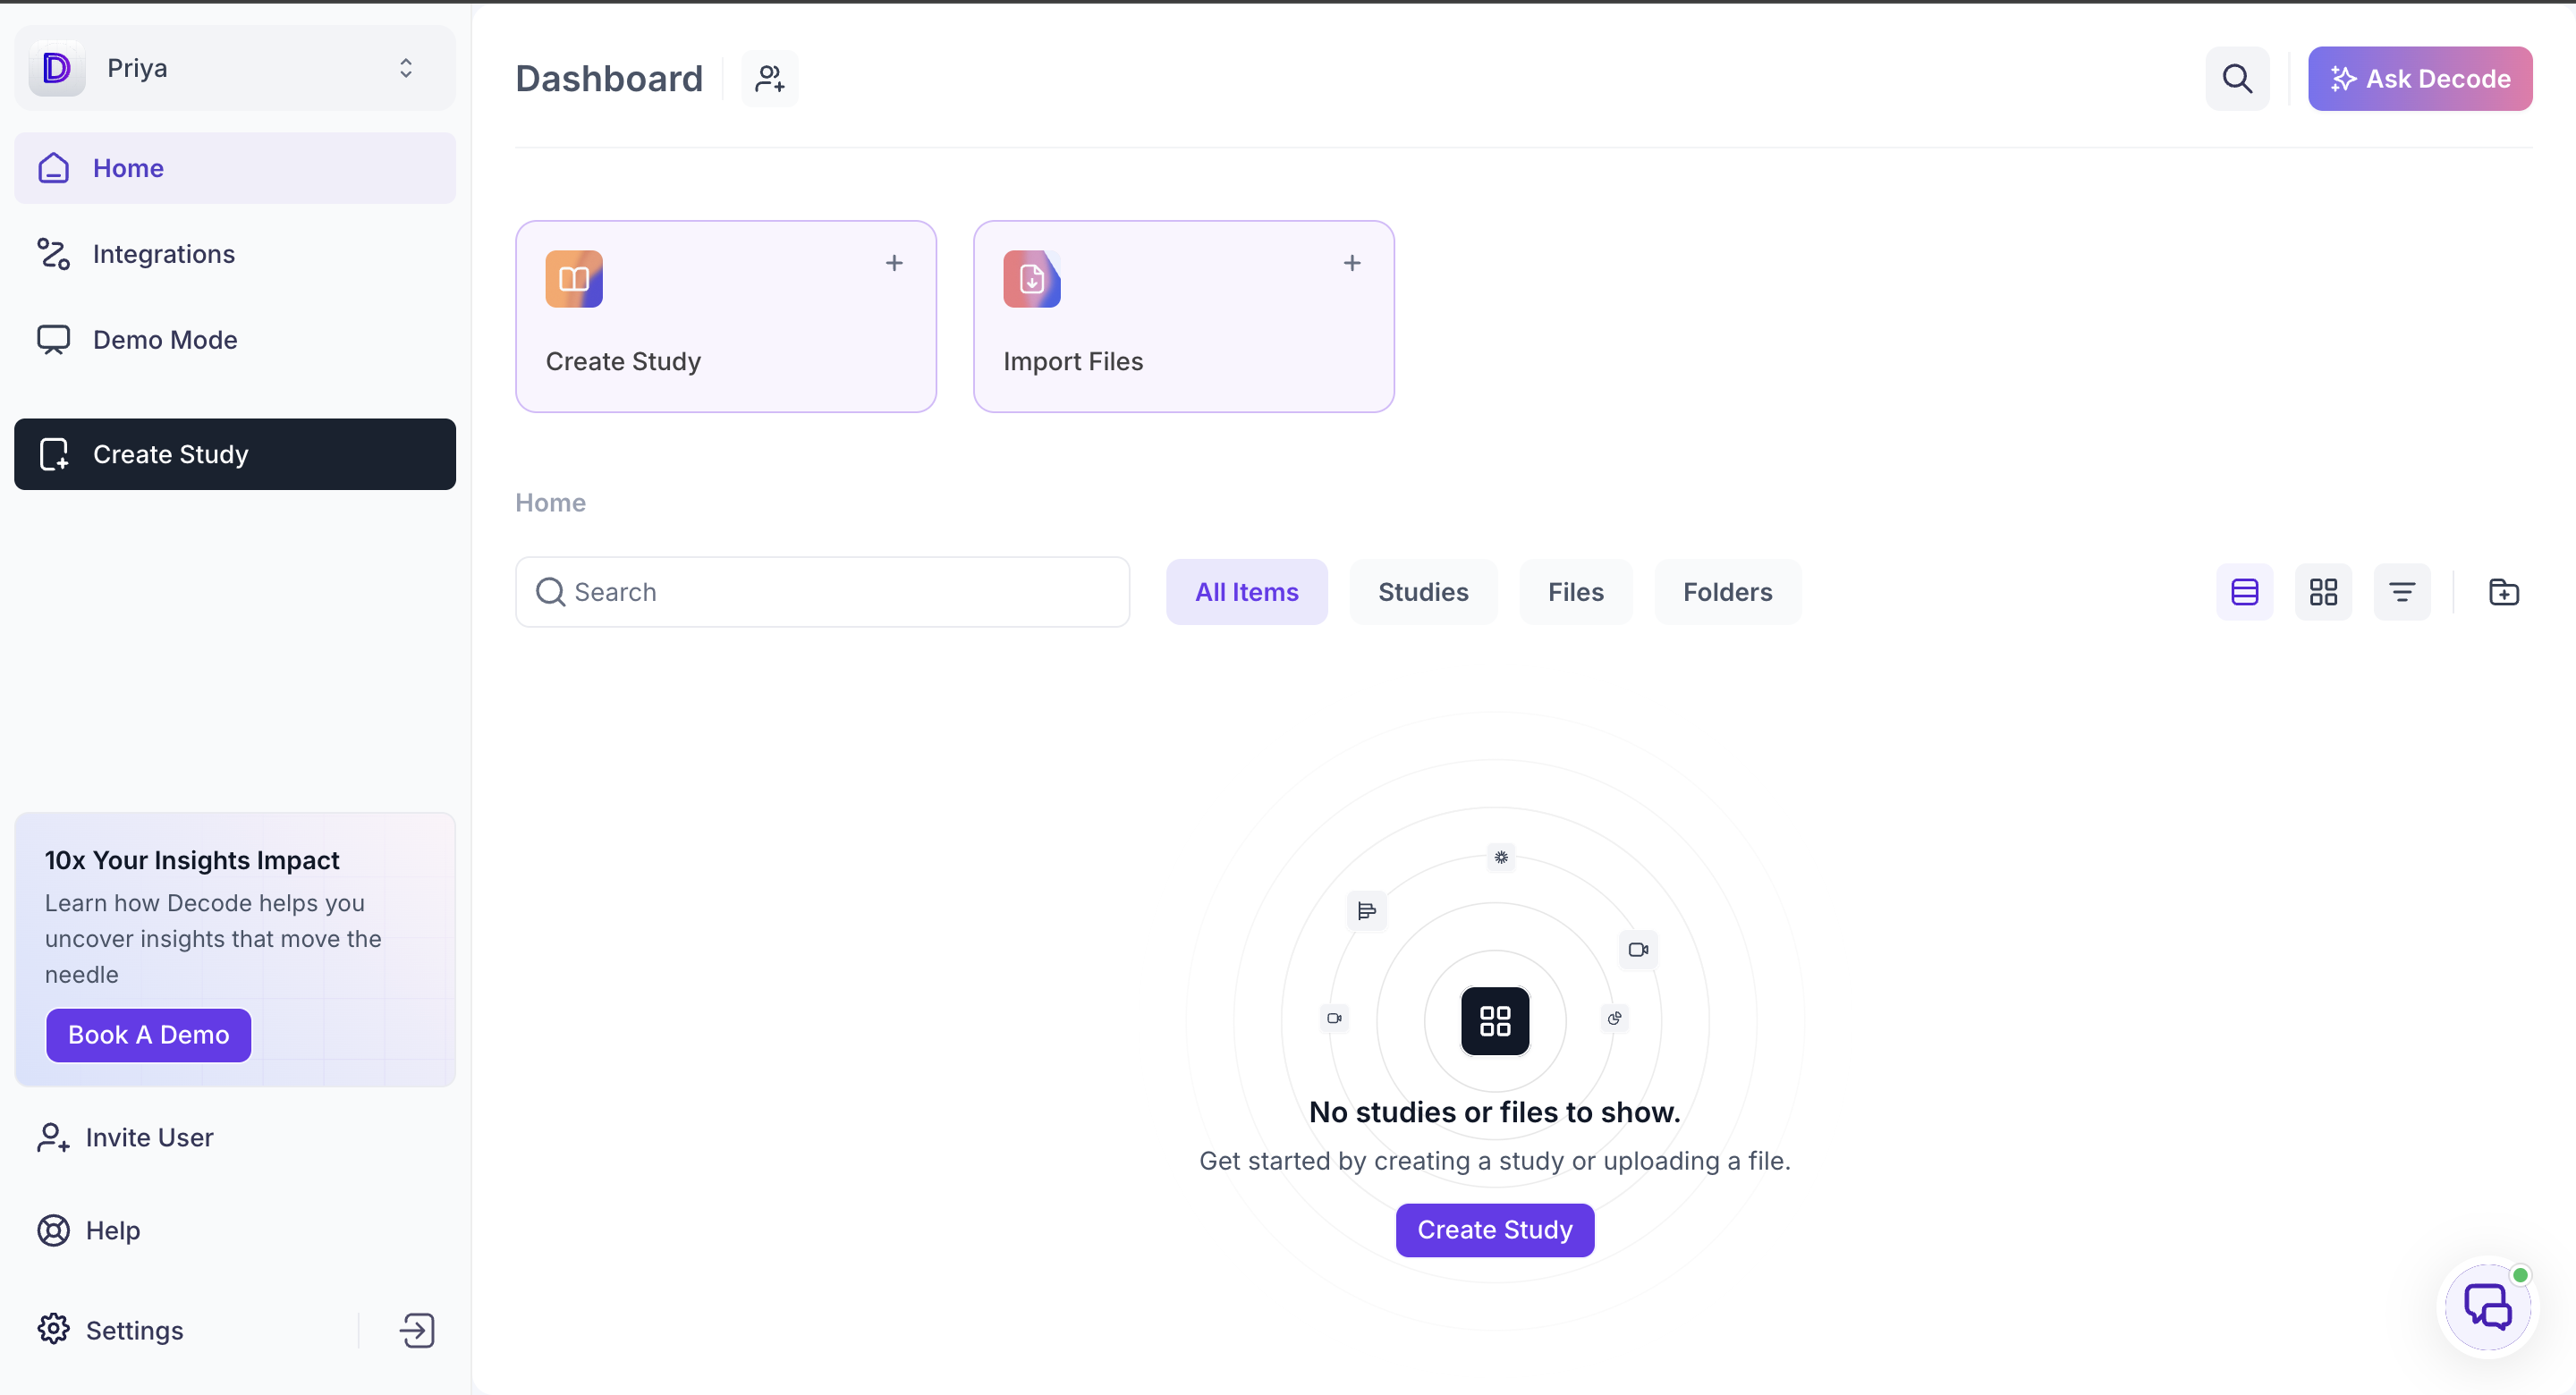
Your Dashboard
The dashboard is your workspace home. Create Study and Import Files sit at the top, and the item list below holds your studies, files and folders as you create them.
You will also receive a welcome email at your registered address, with a link you can use to access your workspace.