
How to create a Quantitative study?
Overview
Decode lets you create and run a Quantitative Study end to end. From building your questions and setting up logic to collecting responses and accessing results, everything is managed within the platform. This page walks you through each step of the process.
Steps
Step 1: Log in to your Decode account
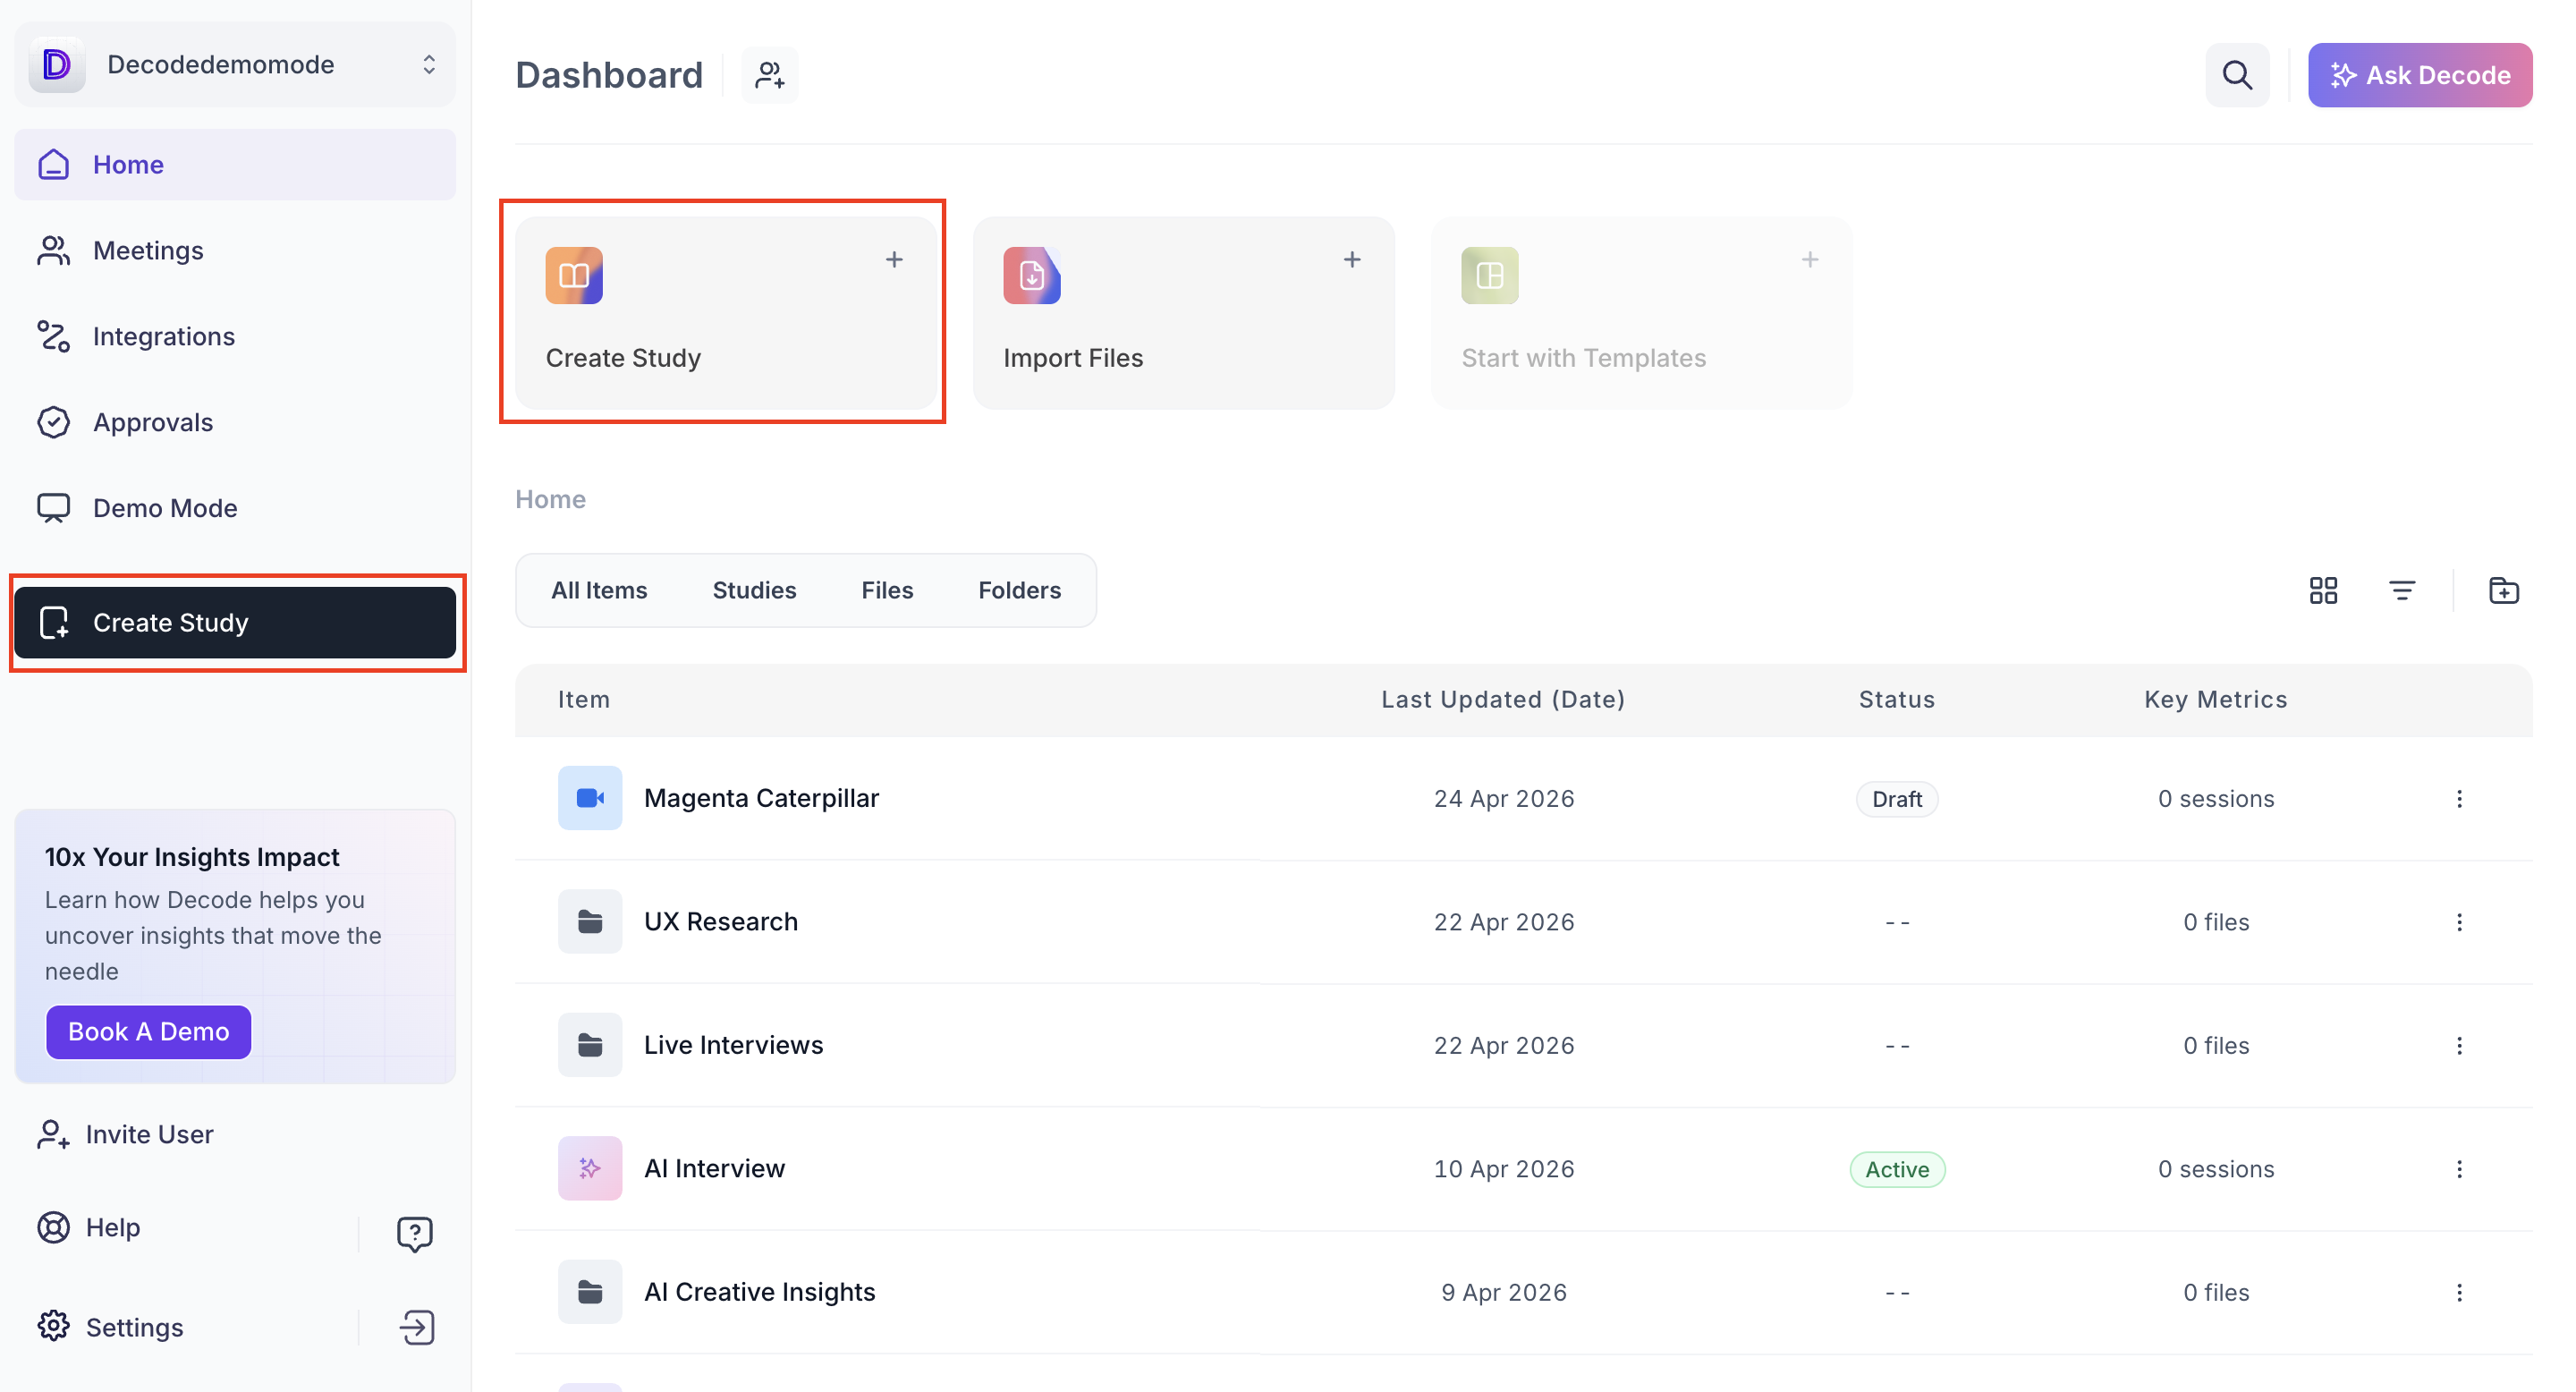
Go to https://getdecode.io/login and sign in. You will land on the Dashboard.
Step 2: Create a new study
From the Dashboard, click Create Study. You can do this from the Quick Actions Panel or from the left Sidebar Navigation.
Step 3: Select the study type
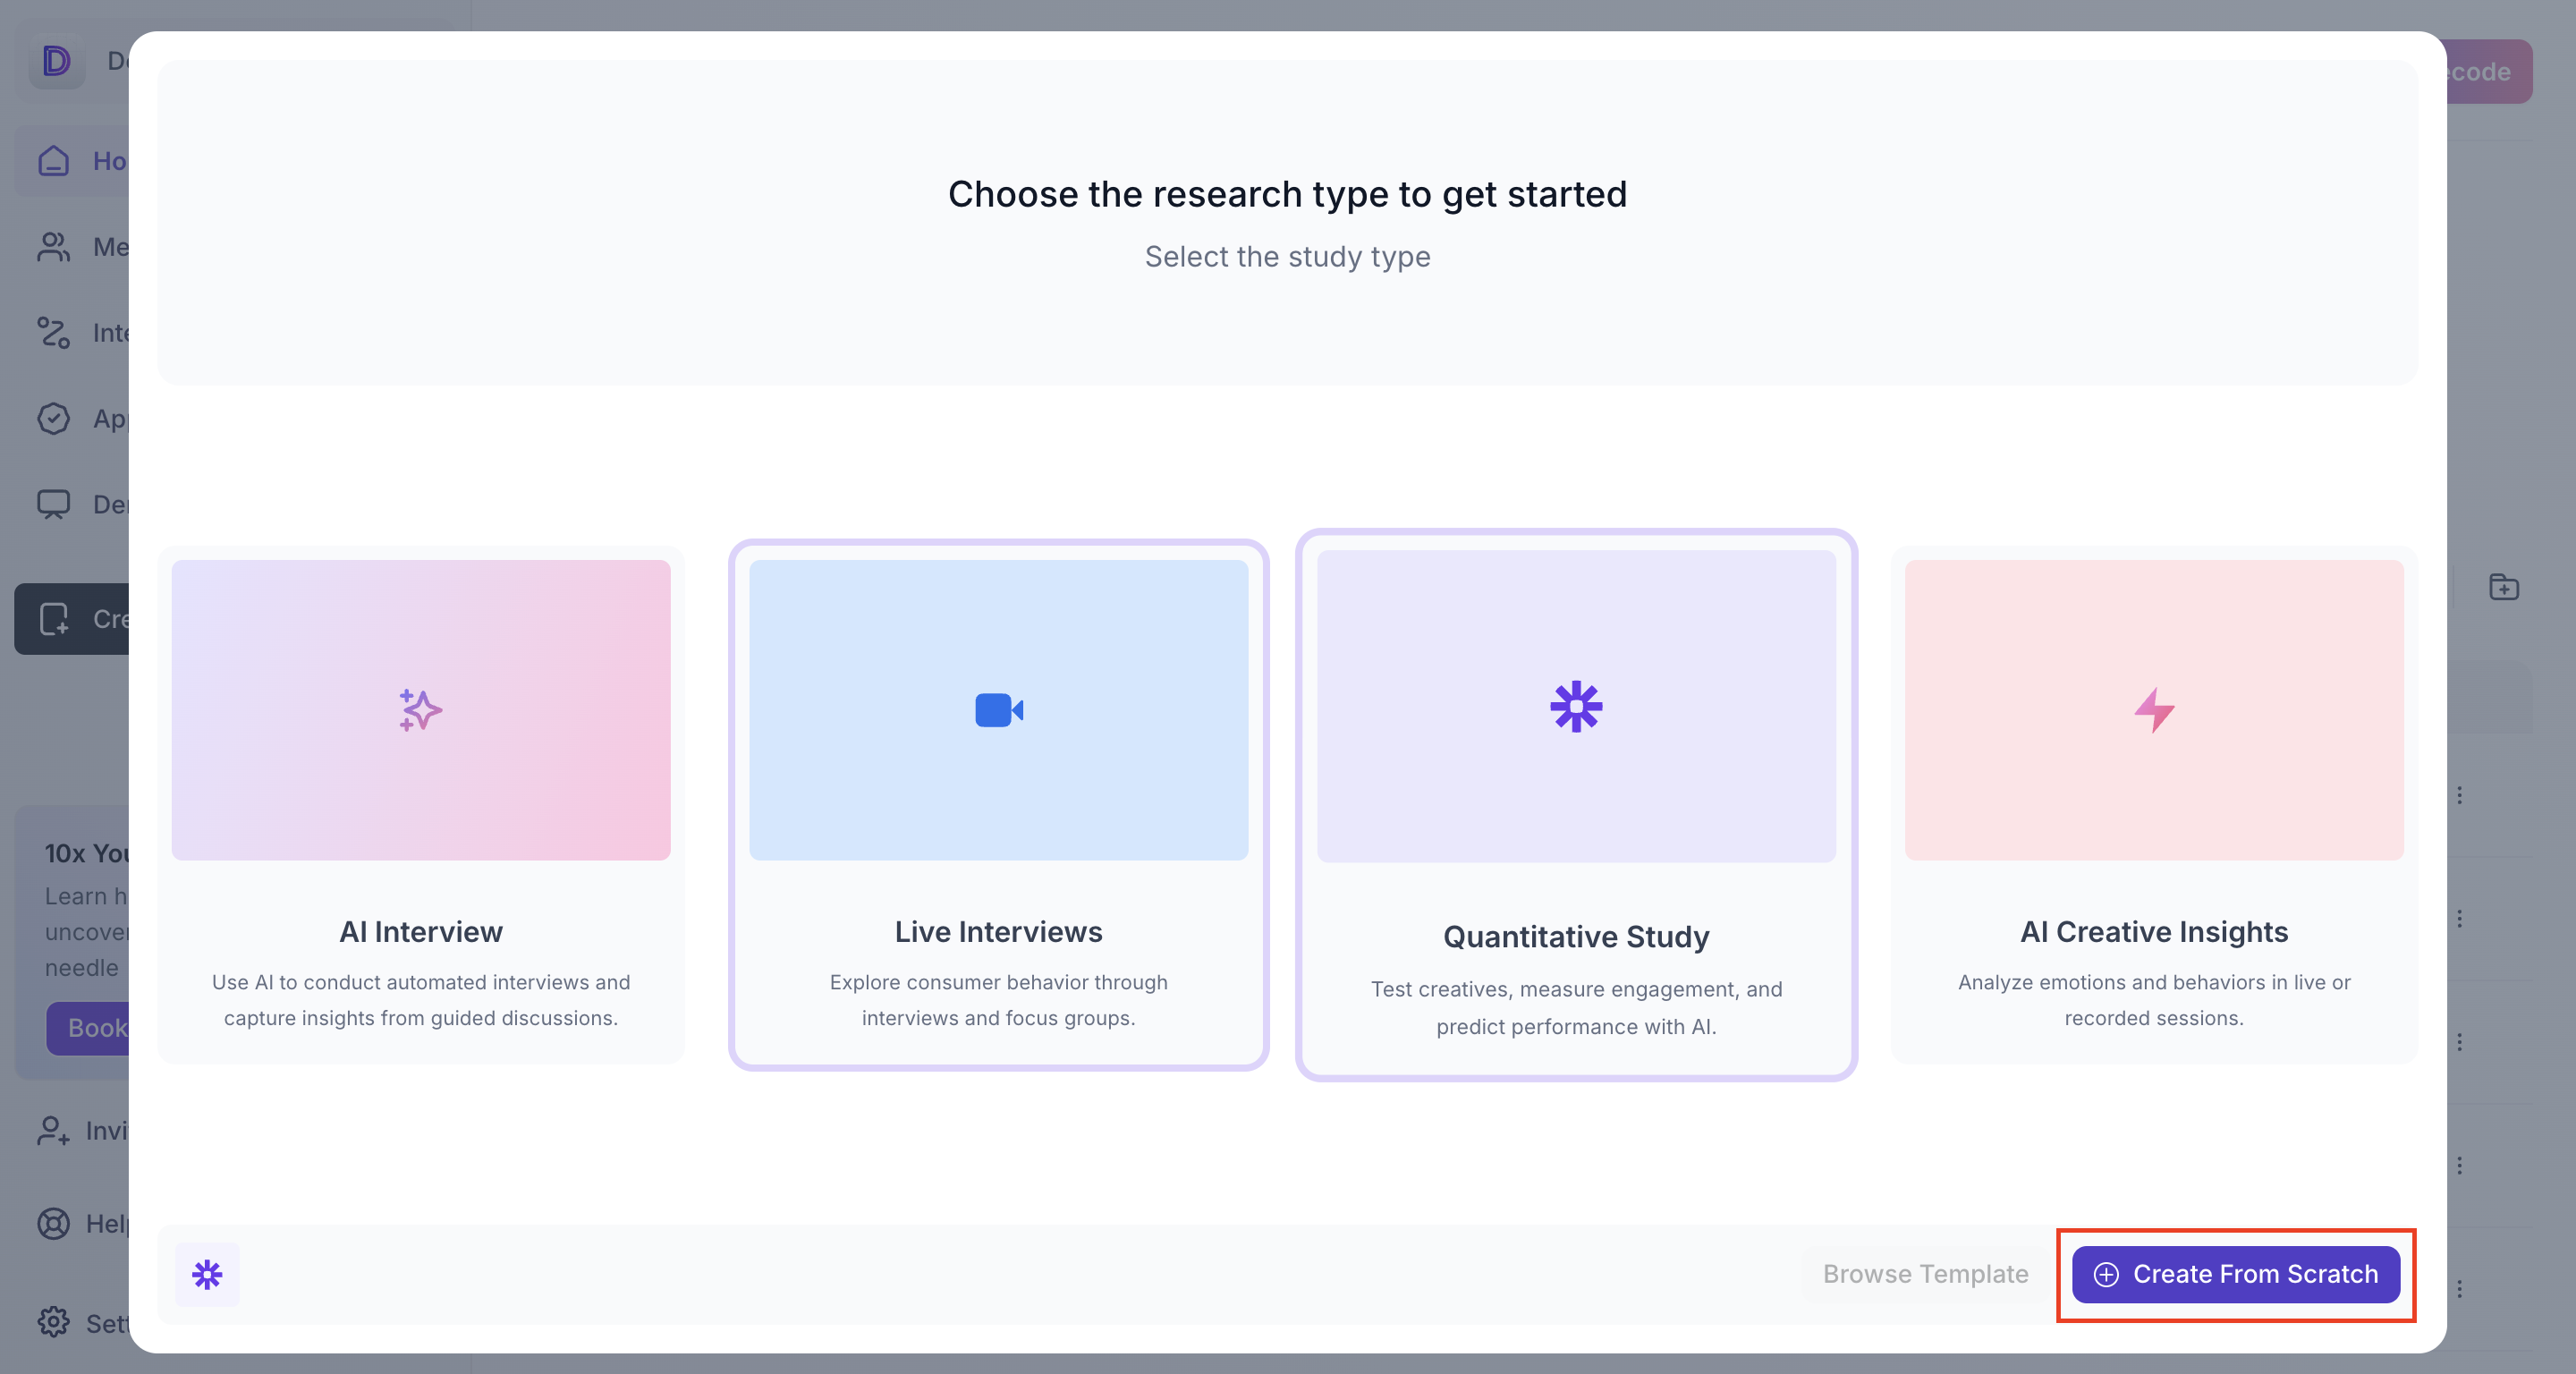
A popup will appear to select the type of study you want to create. Select Quantitative Study and click Create from Scratch to proceed.
Step 4: Name your study
Once the study is created, you will be taken to the study setup screen. Start by giving your study a name so it is easy to identify in your workspace.
Step 5: Set up the Welcome and Thank You pages
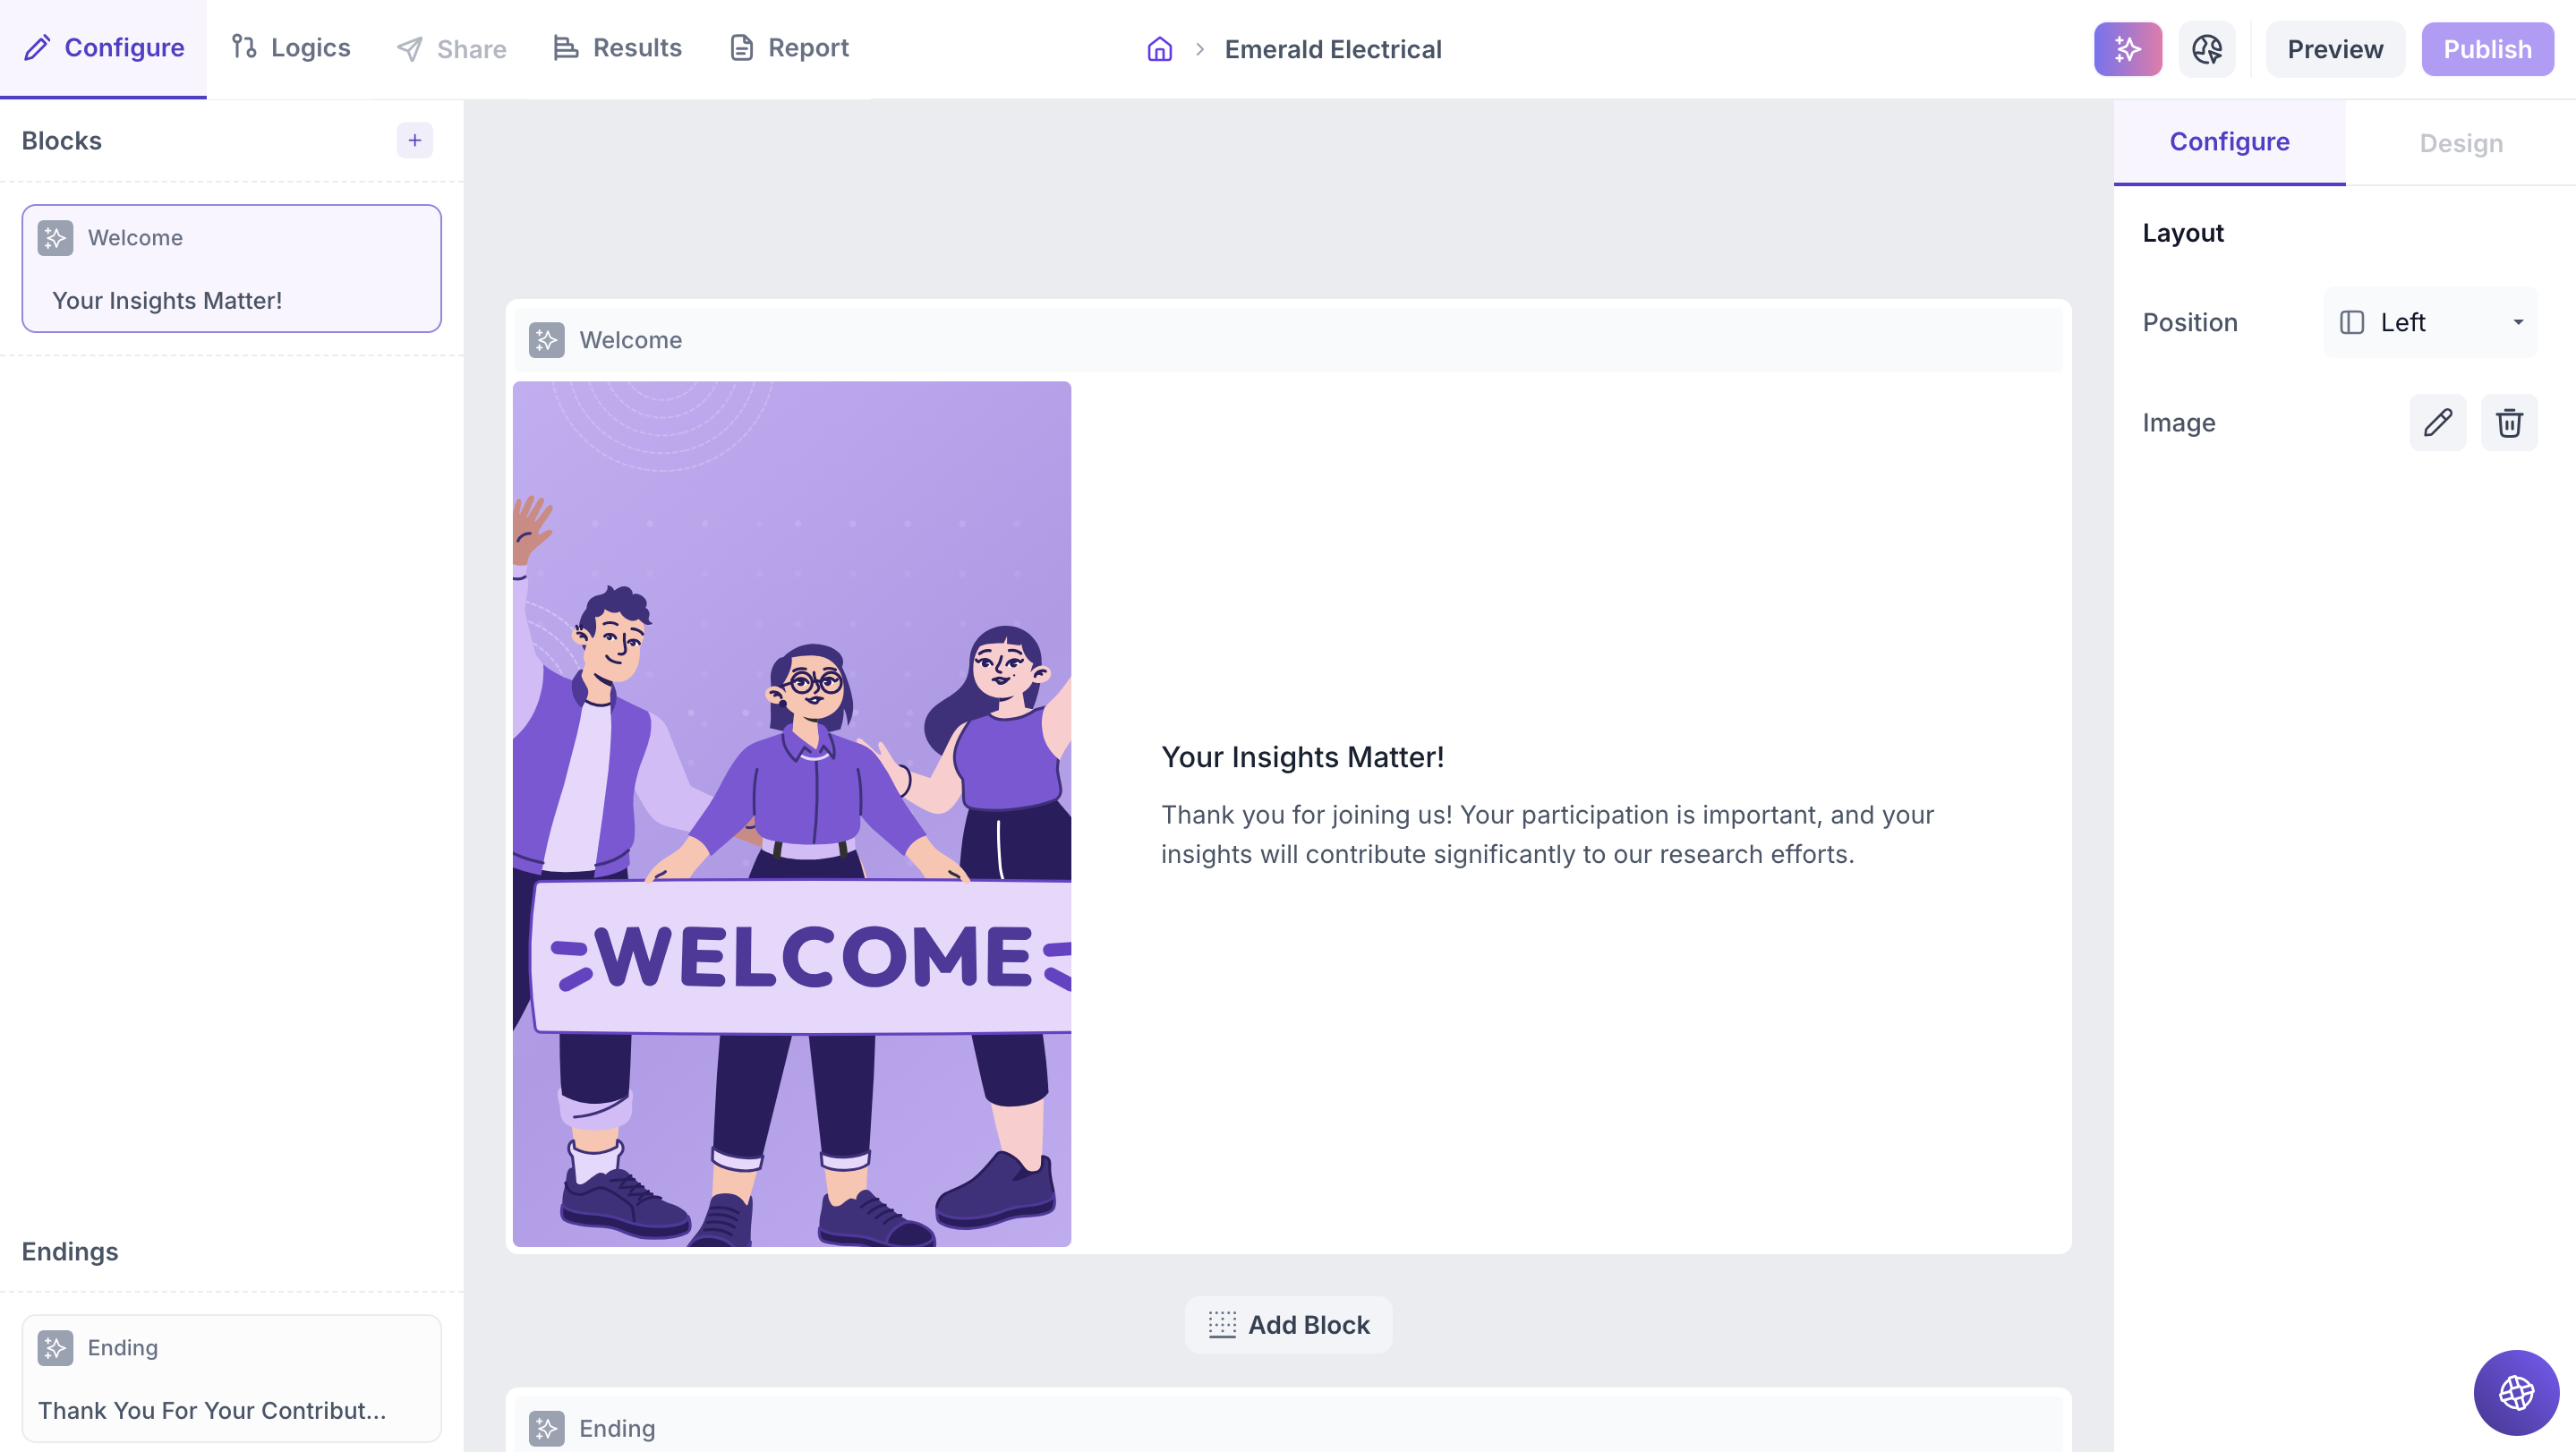
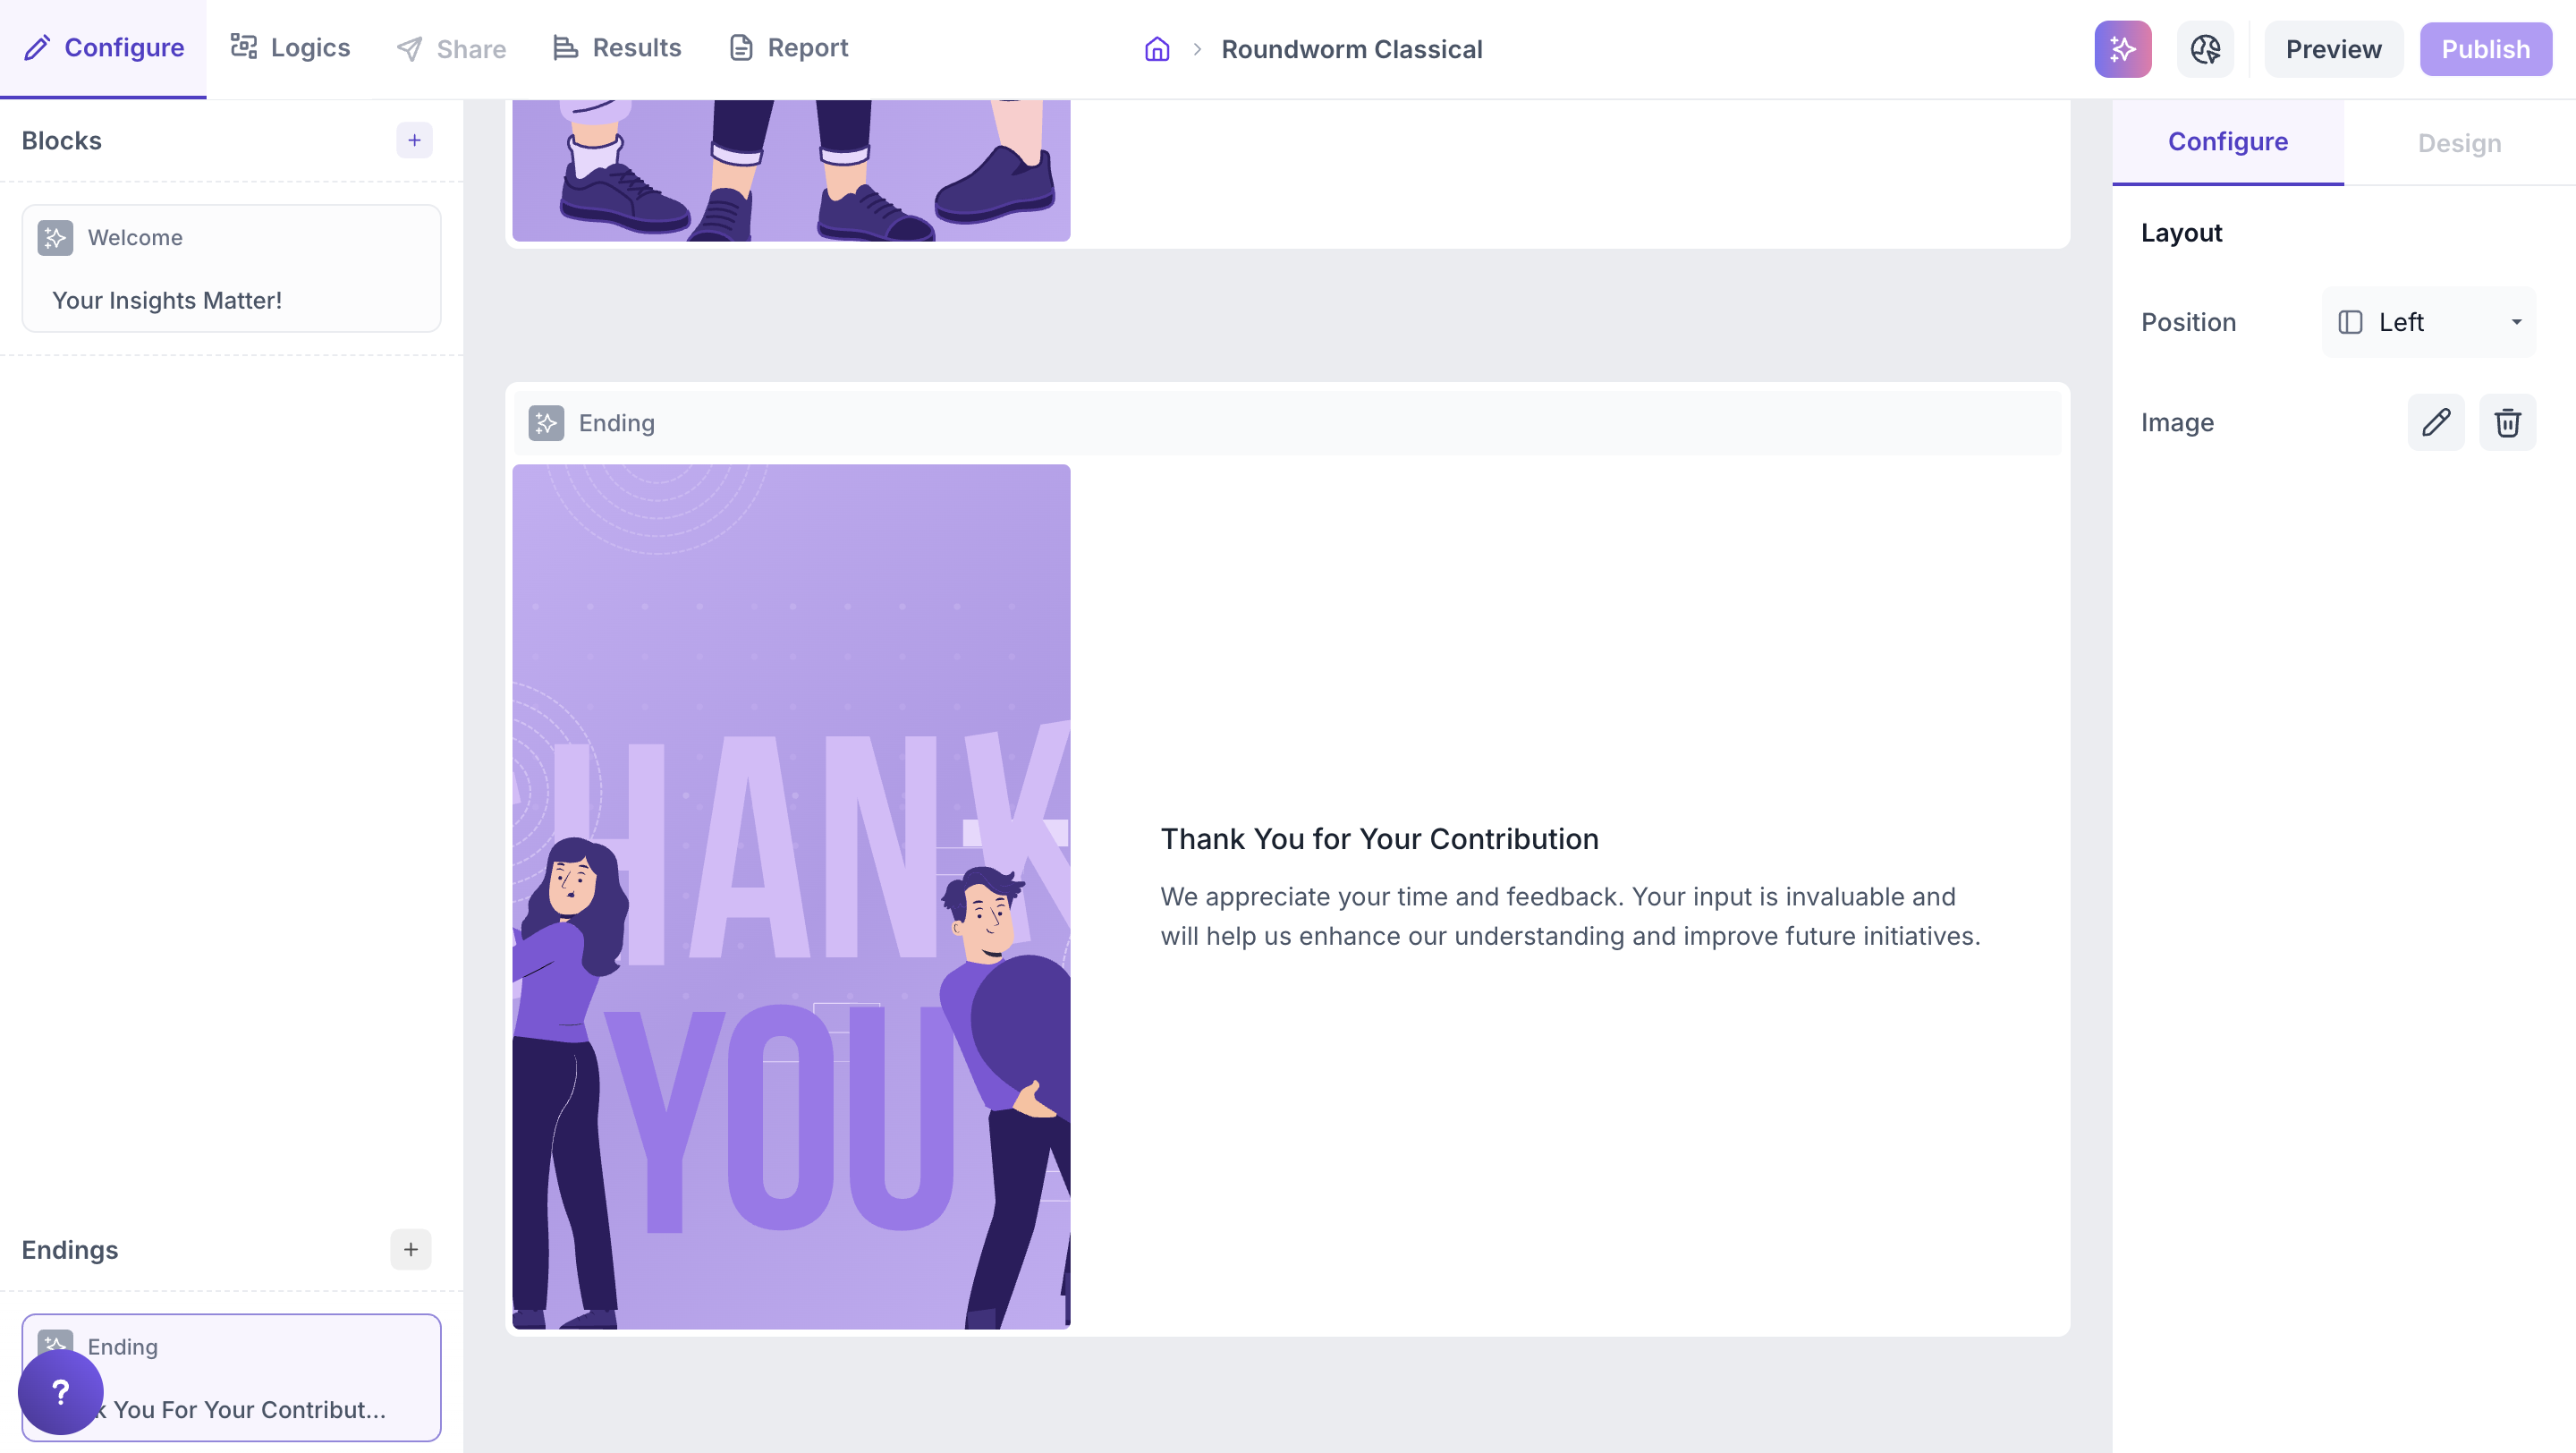
Every Quantitative Study includes a Welcome page at the beginning and a Thank You page at the end. The Welcome page is the first thing participants see when they open the study. Use it to introduce the study and tell them what to expect before they begin. The Thank You page is shown after participants submit their responses. Use it to thank them for completing the study
Welcome Page

Thank You Page
Step 6: Add Questions Blocks
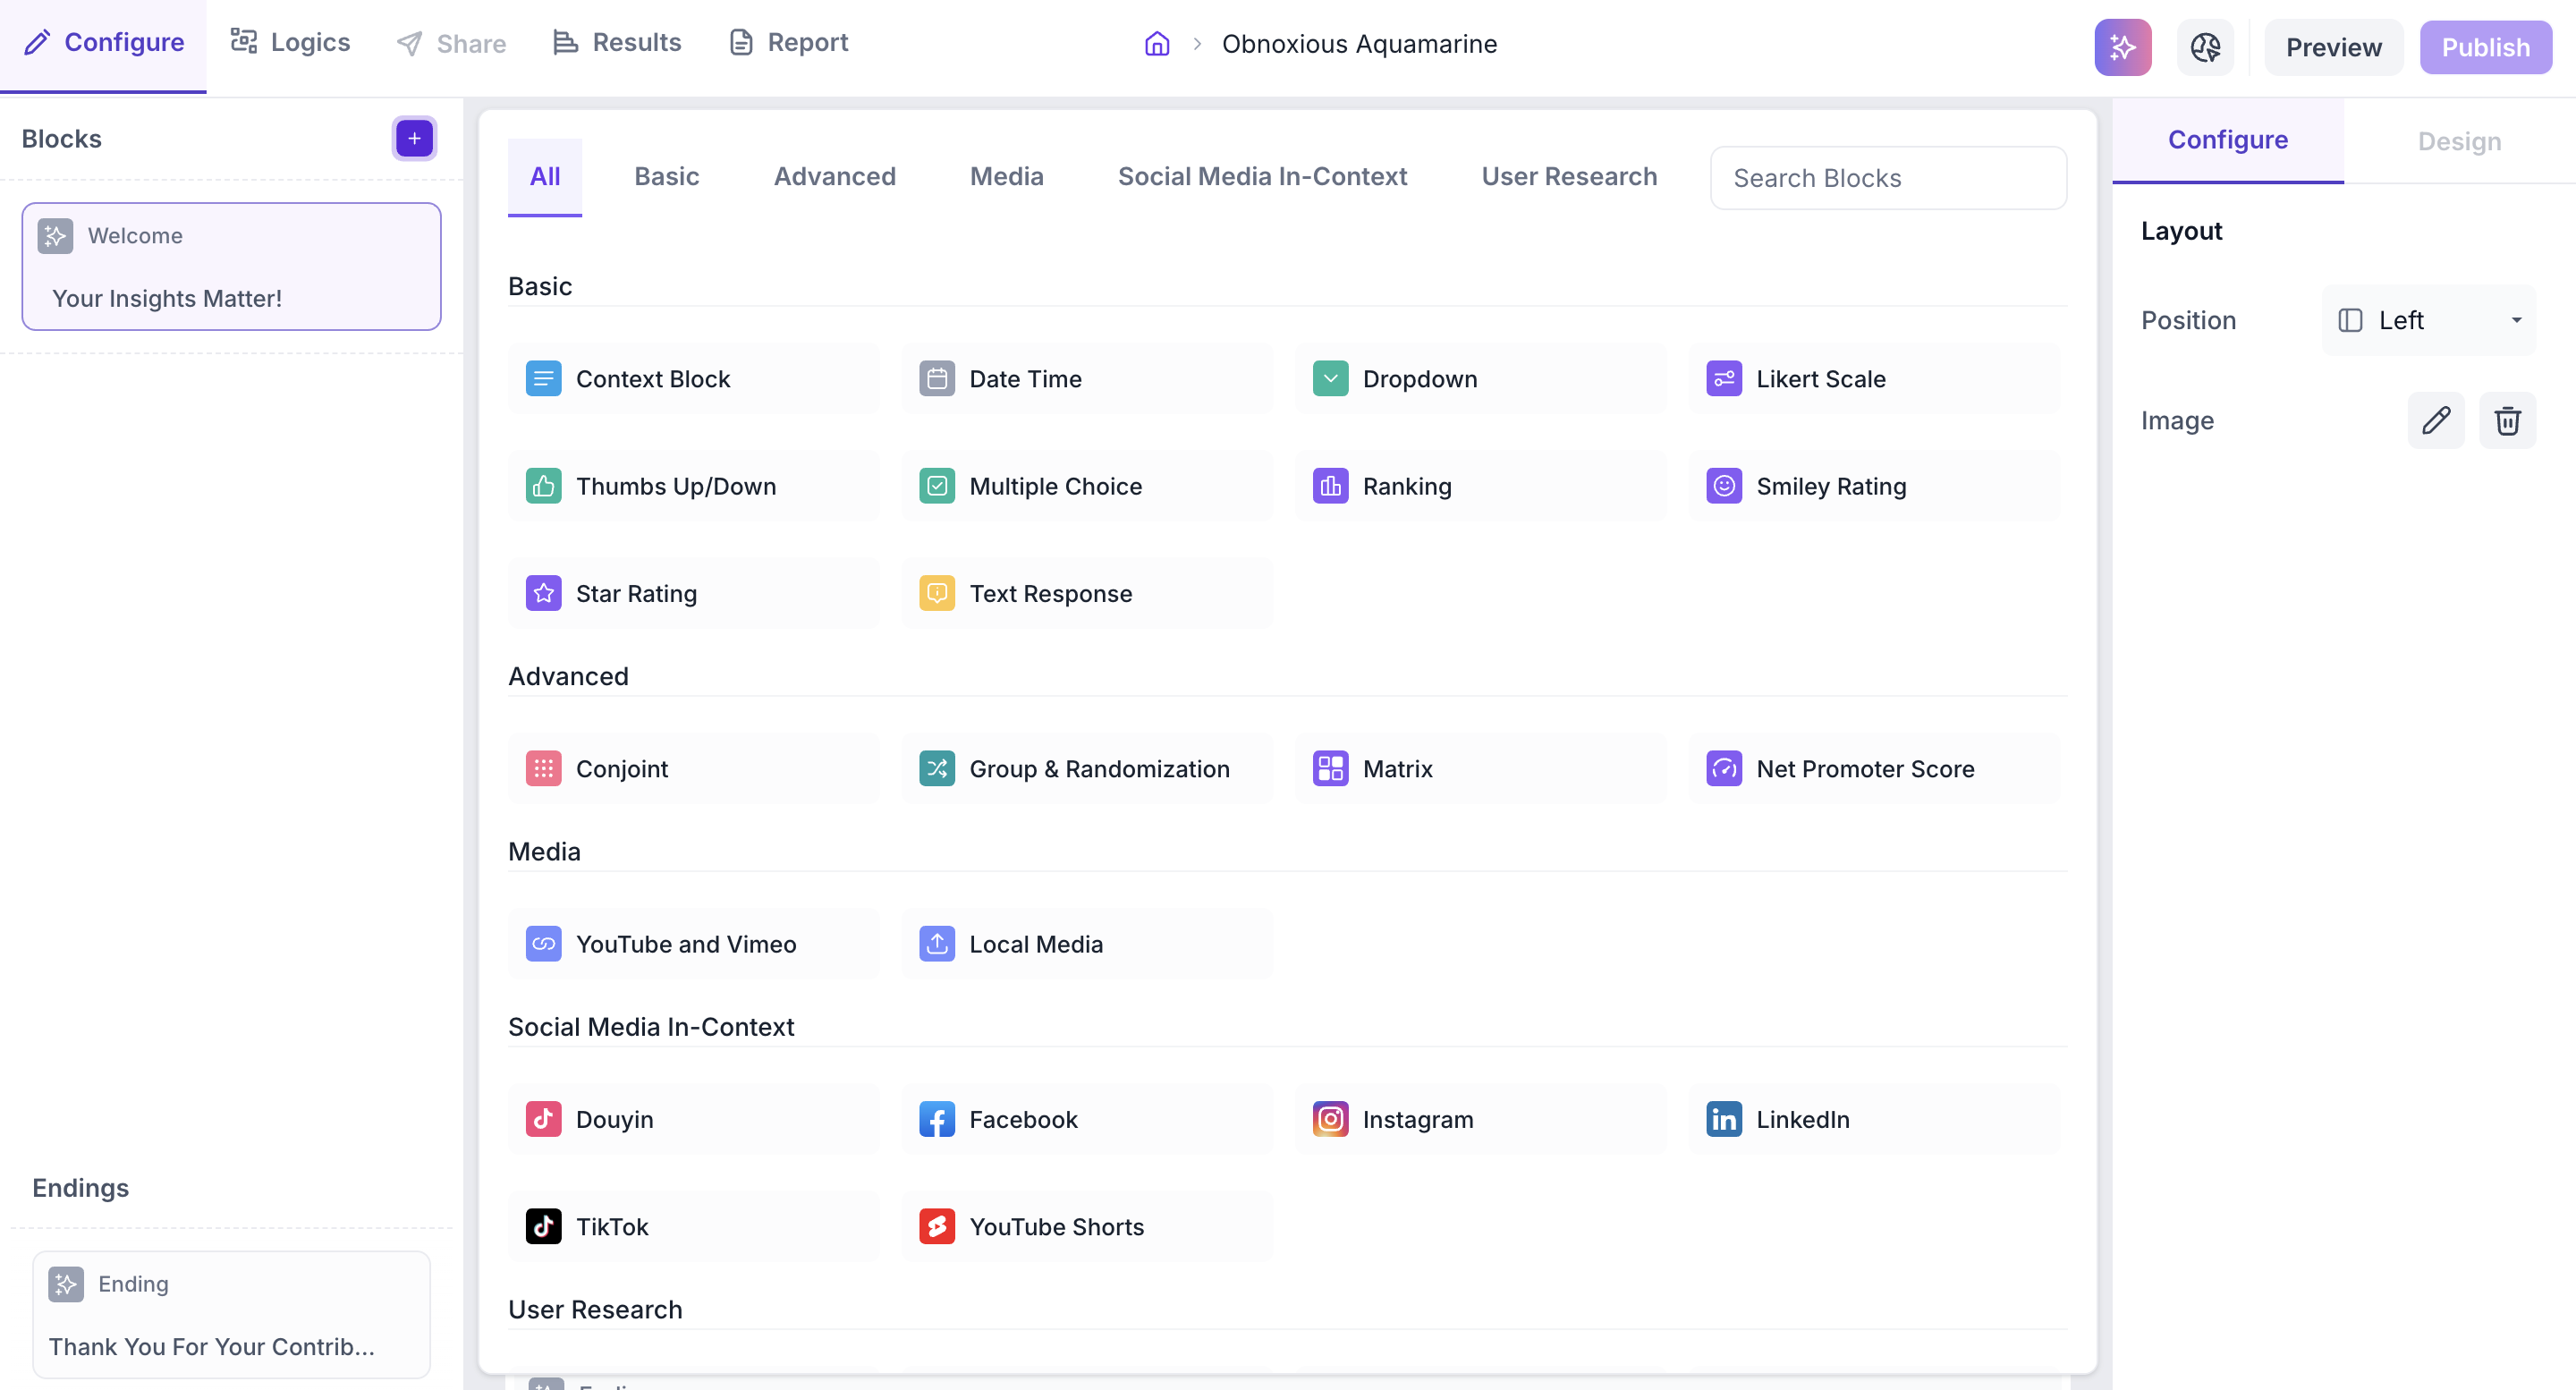
Blocks are the question formats available in Decode. Click the + icon in the left panel to add a block to your study. A panel will open showing all available block types organised into five categories.

Step 7: Types of Question Blocks in Decode
Each category contains different block types suited to different research needs.
Basic
Standard question formats for collecting structured responses from participants. Includes multiple choice, rating scales, ranking, text response and more.
Advanced
Use these when you need to go beyond standard questions. Advanced blocks help you measure trade-offs between product features, track customer loyalty and satisfaction, or control the order in which questions appear to reduce bias.
Media
Use this when you want to test how participants respond to a specific ad or creative. You can embed a video or image directly into the study for participants to view as part of the research.
Social Media In-Context
Use this when you want to test how your content performs in a real feed environment before publishing. Participants view the content as it would appear on a social media platform and respond to questions about it.
User Research
Use these when you need to understand how participants interact with a design, prototype or interface. Blocks like A/B Test, Card Sort, First Click Test and Prototype Test give you behavioural data beyond what participants say.
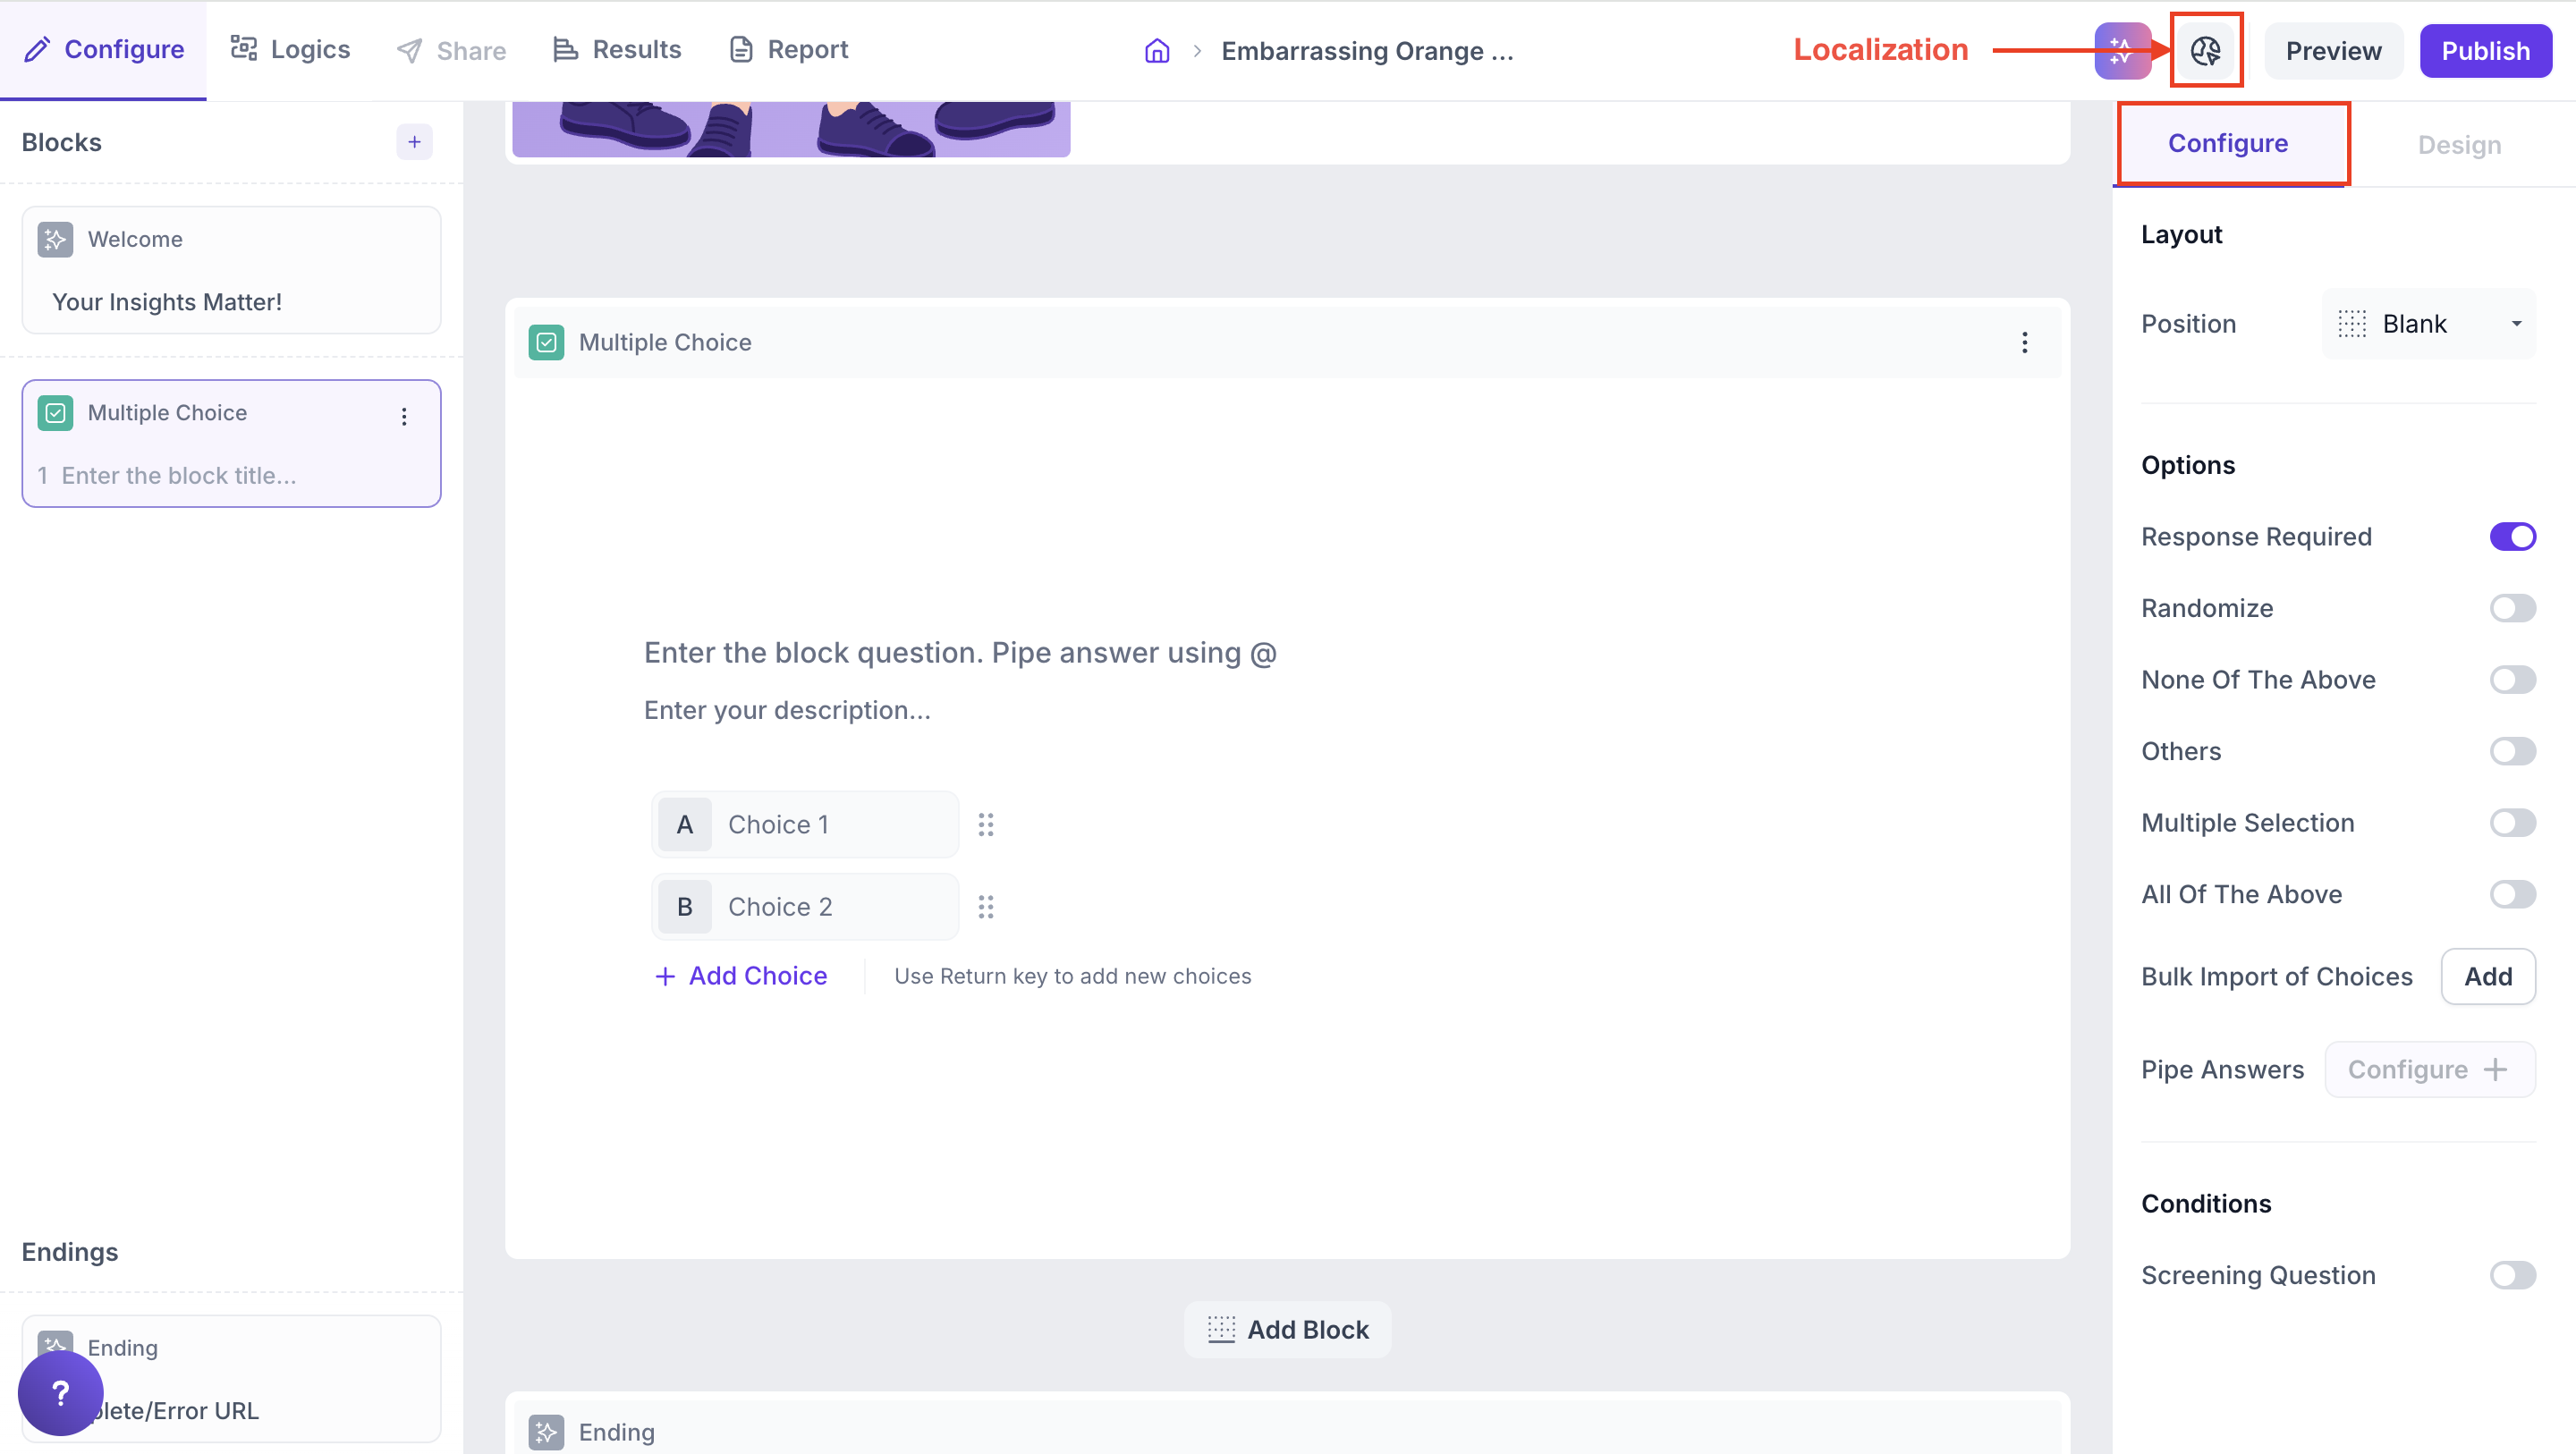
Step 8: Configure each block
After adding a block, you can configure it using the following options.
- Enter the block question and description
- Add answer choices using Add Choice
- Configure the block settings under the Configure tab. The available properties vary depending on the type of block you have selected.
- Set up conditions to control the flow of your study based on participant responses under the Logics tab
- Set the language for system labels using the Localisation option
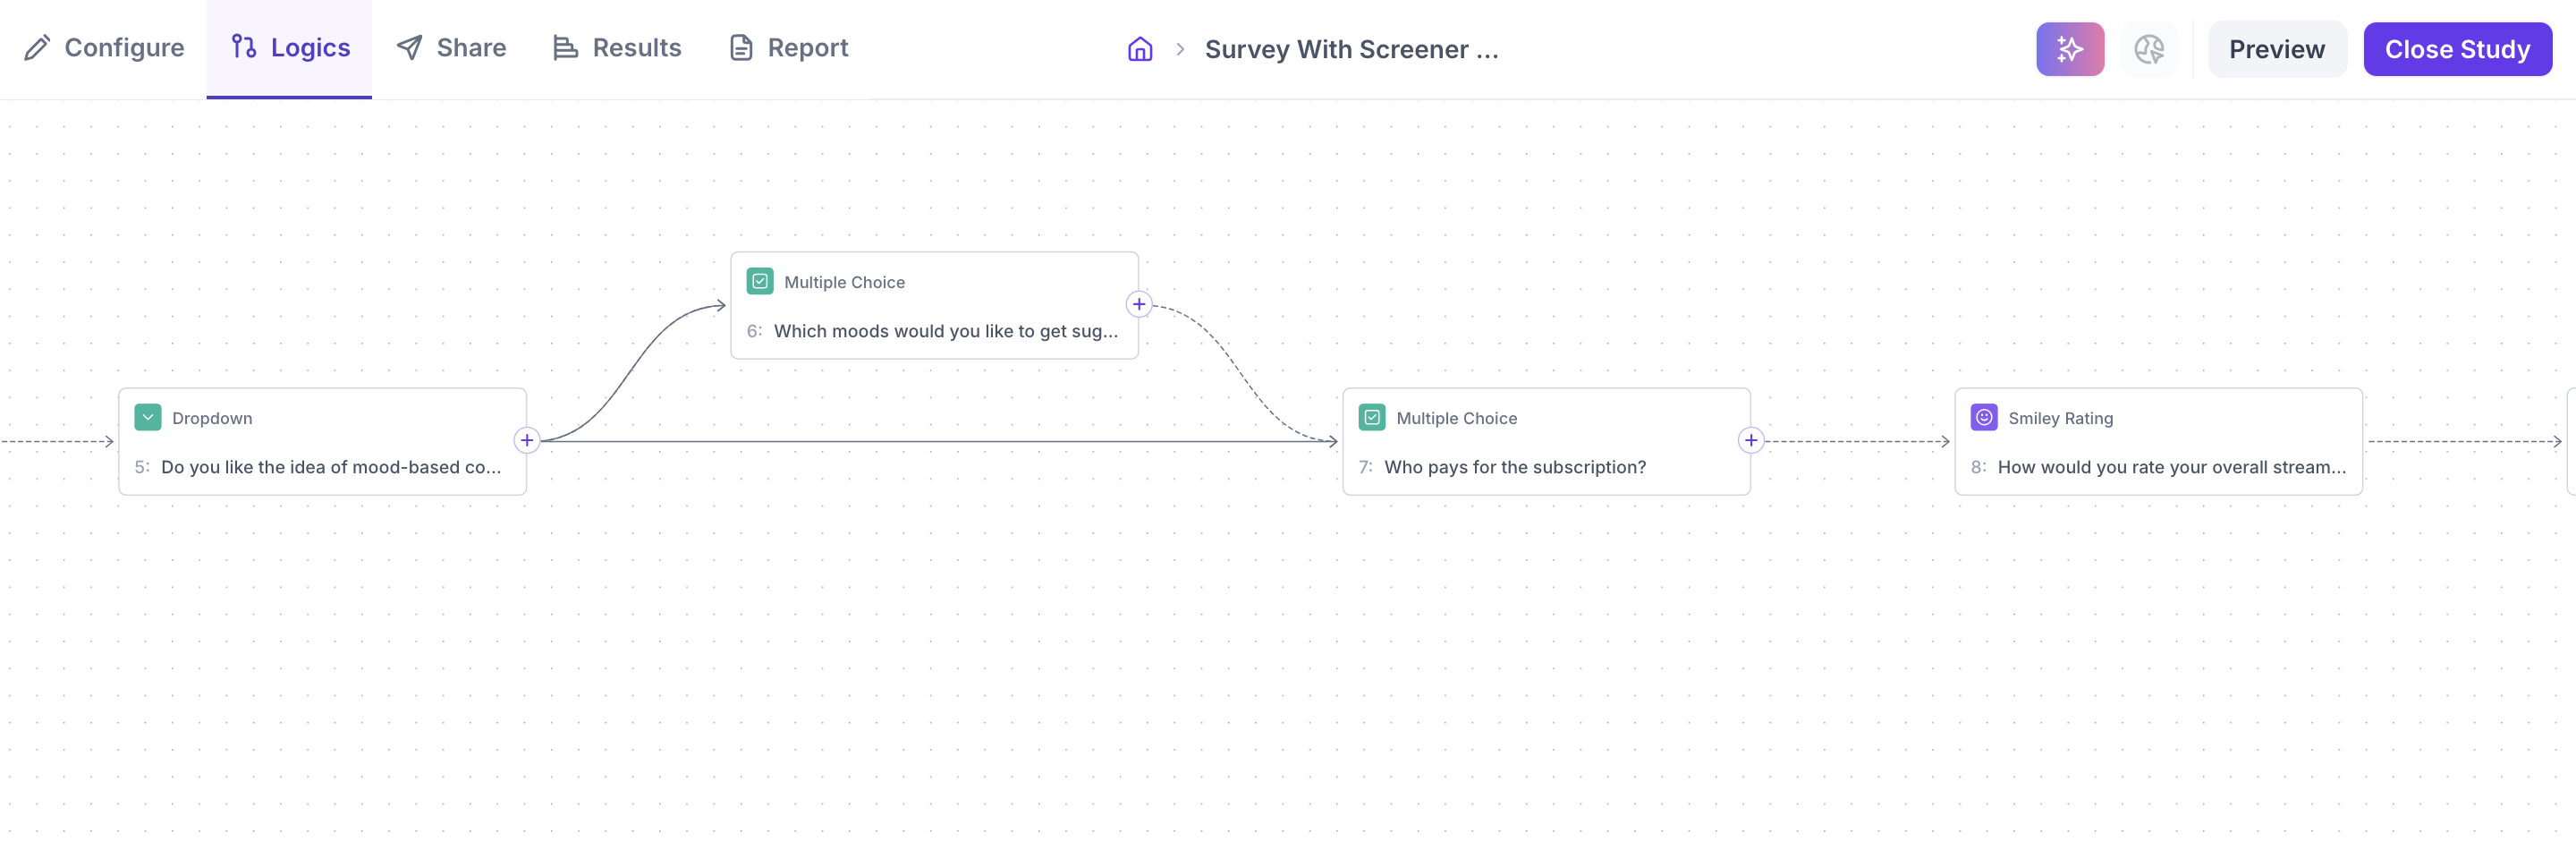
Set up logic
Logic lets you control the flow of your study based on participant responses. If you want to redirect a participant to a different set of questions based on what they answered, go to the Logics tab and define the conditions for each block.
Step 9: Preview Your Study
Before publishing, preview the study to check how it will appear to participants. Preview lets you go through the study exactly as a participant would, testing the question order, logic flow and overall experience. Click Preview at the top right of the screen to start.

Step 10: Publish Your Study
Once you have reviewed the study, click Publish to make it live. A shareable link will be generated under the Share tab. You can share the link directly with participants or use the Decode panel to collect responses. Results are available in the Results and Report tabs as responses come in.
