Setting up a Webex Connection
This article guides you through the process of setting up a connection with your Webex so that all your meetings and meeting recordings can be directly pulled into your Decode workspace, and transcripts and analytics can be generated.
Setting up the connection:
Step 1: Once you log into your Decode account, you will be automatically directed to your home page.
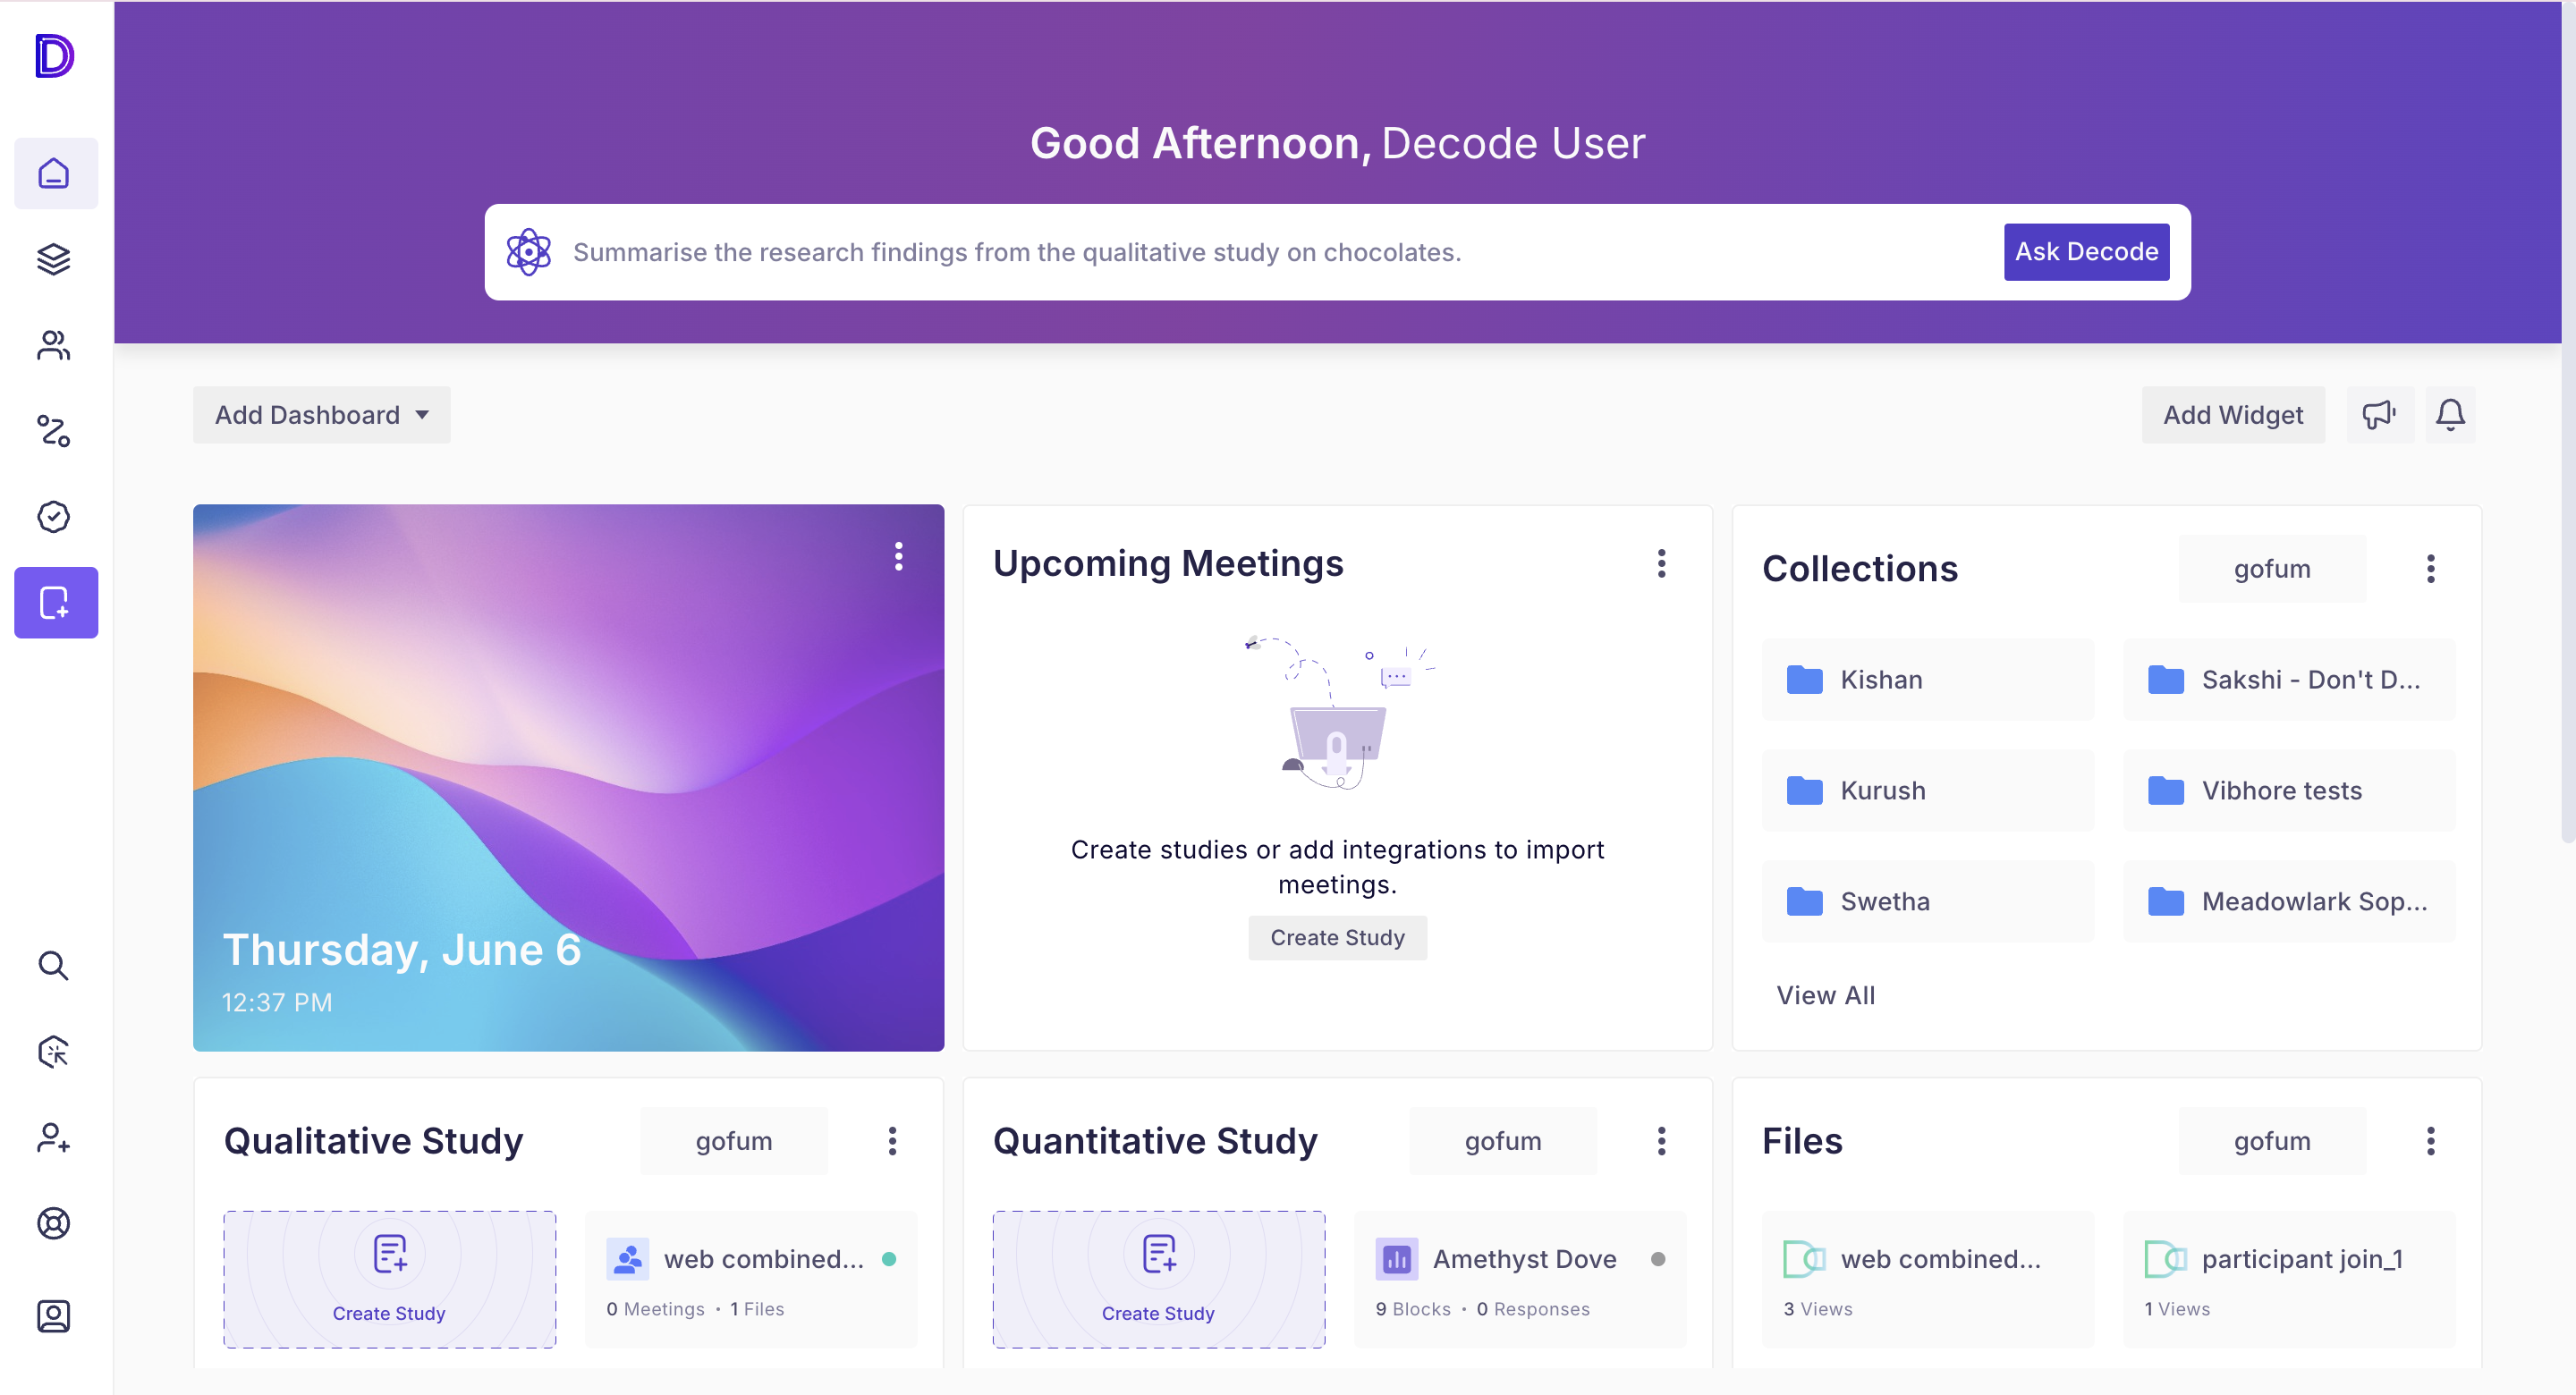
Step 2: Click on the marketplace icon in the left navigation panel to access Decode Marketplace.
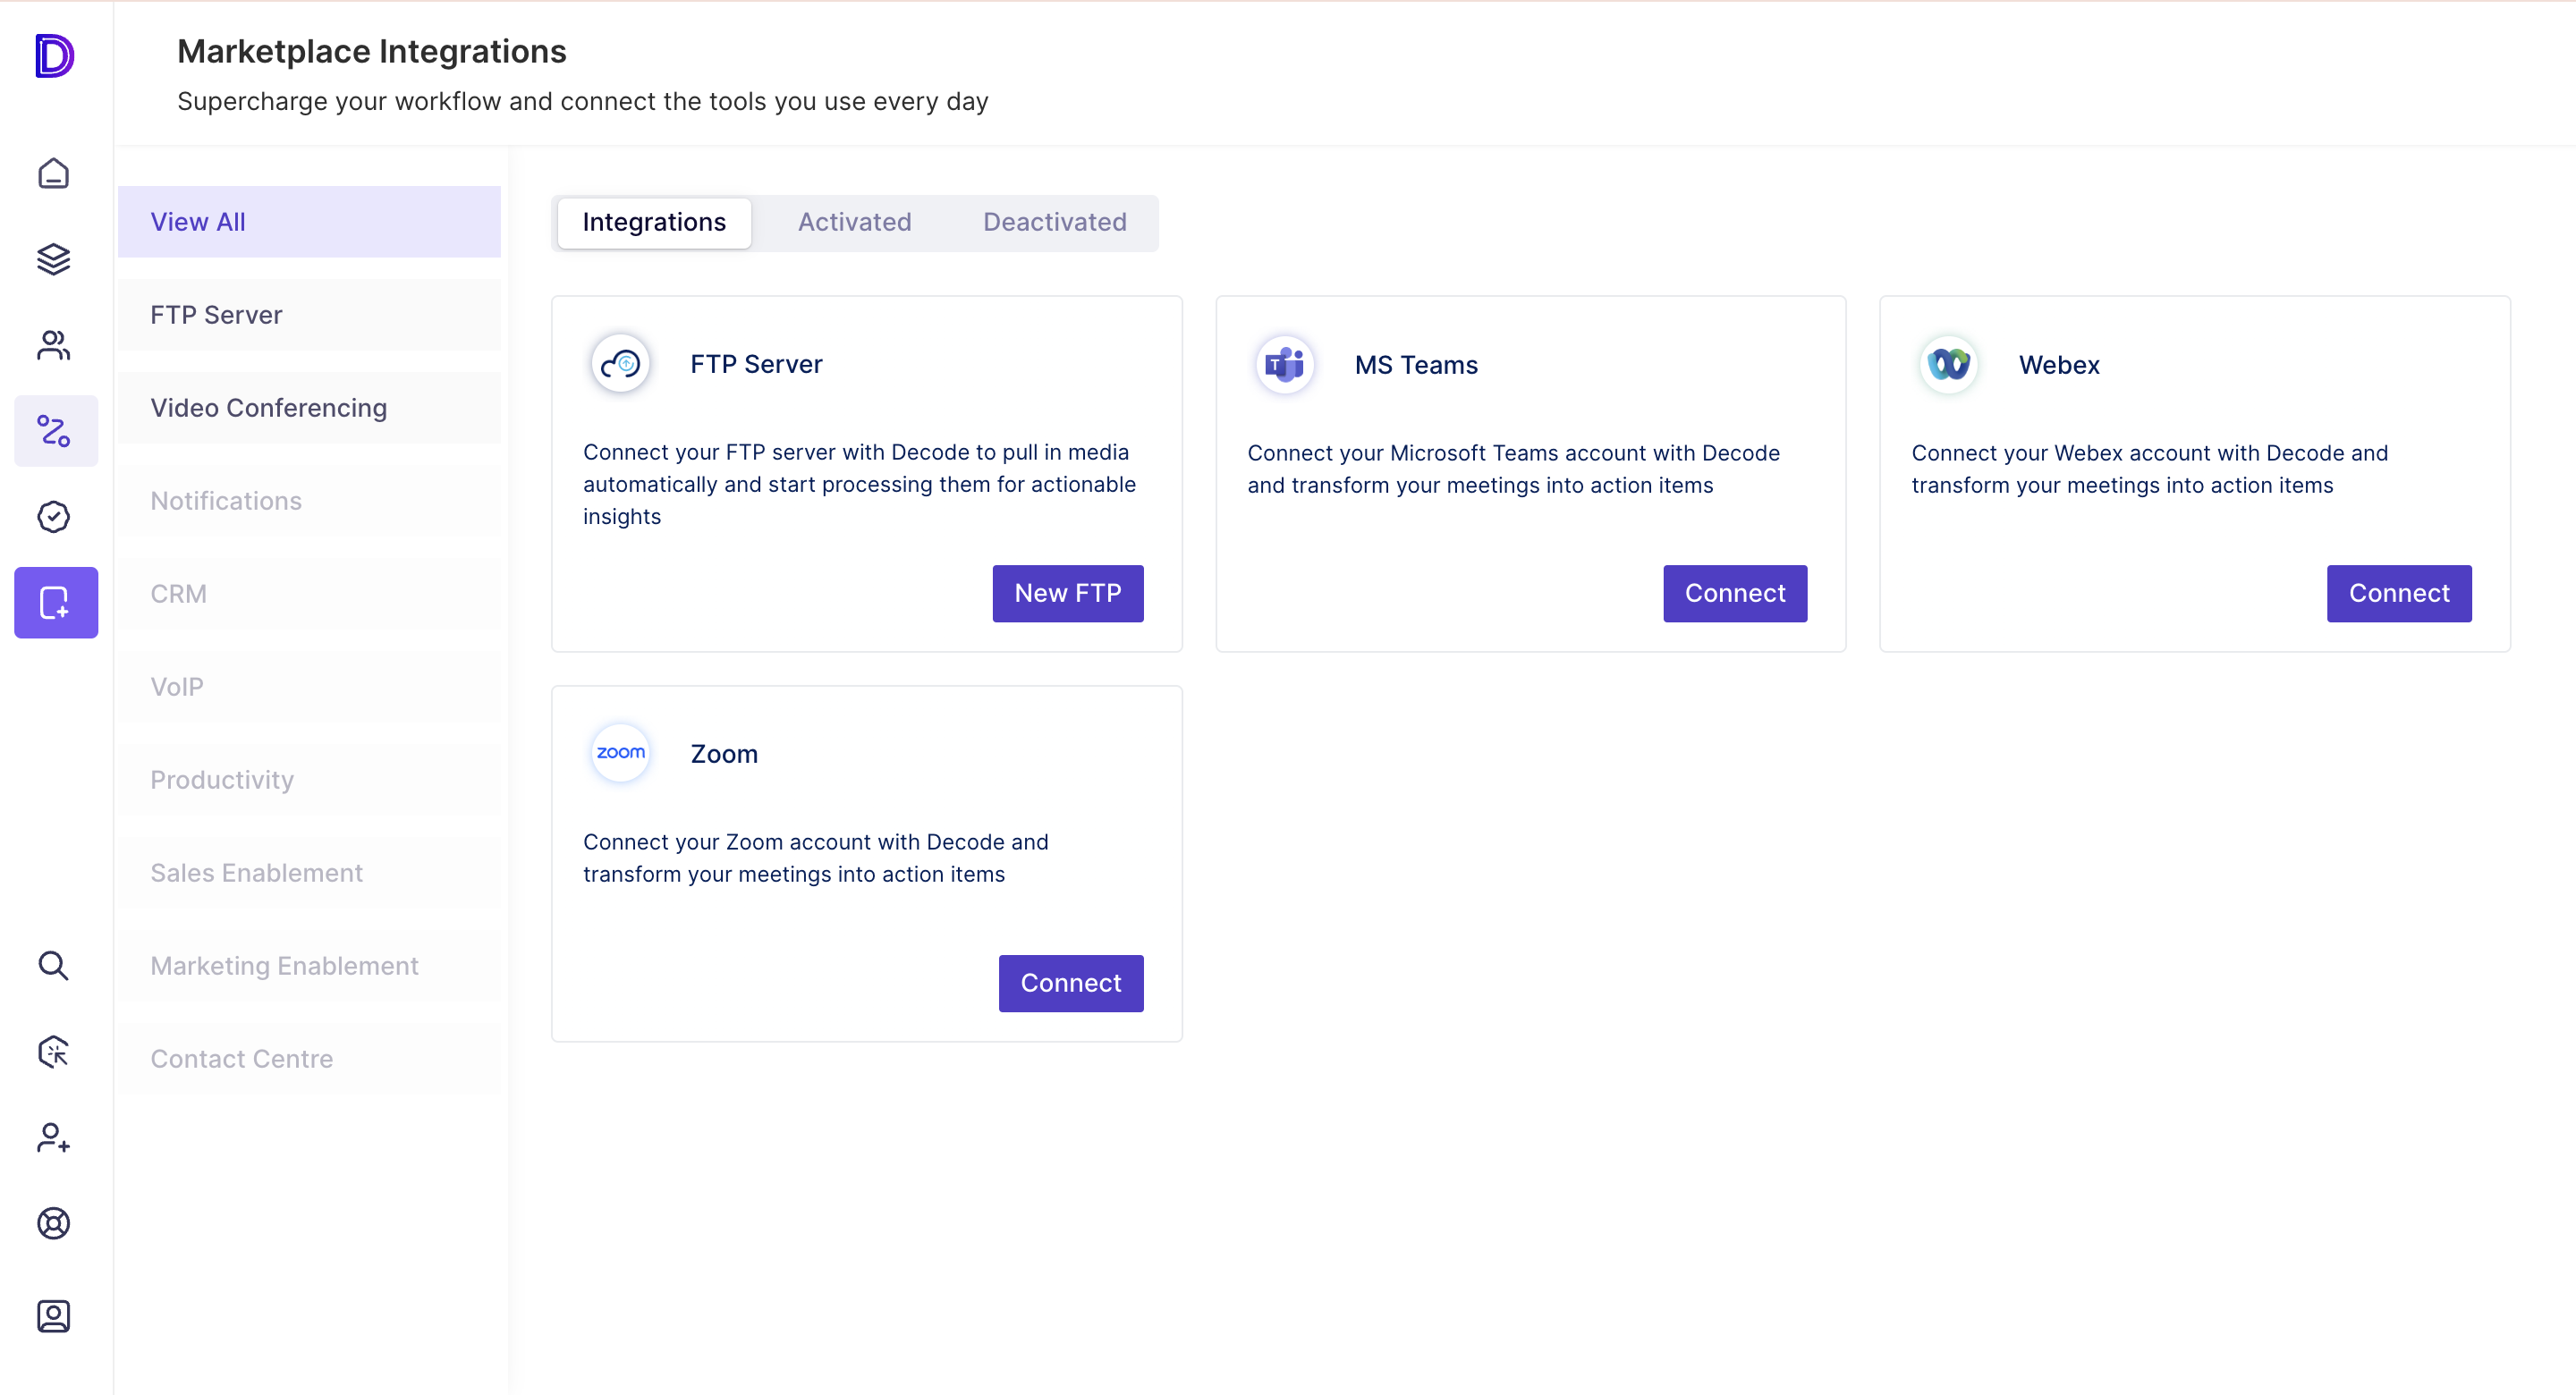
Step 3: You will find “Webex” under the “View All” and “Video Conferencing” subcategories. Click on the “Connect” button under the “Webex” option. A form will open up like the one below:
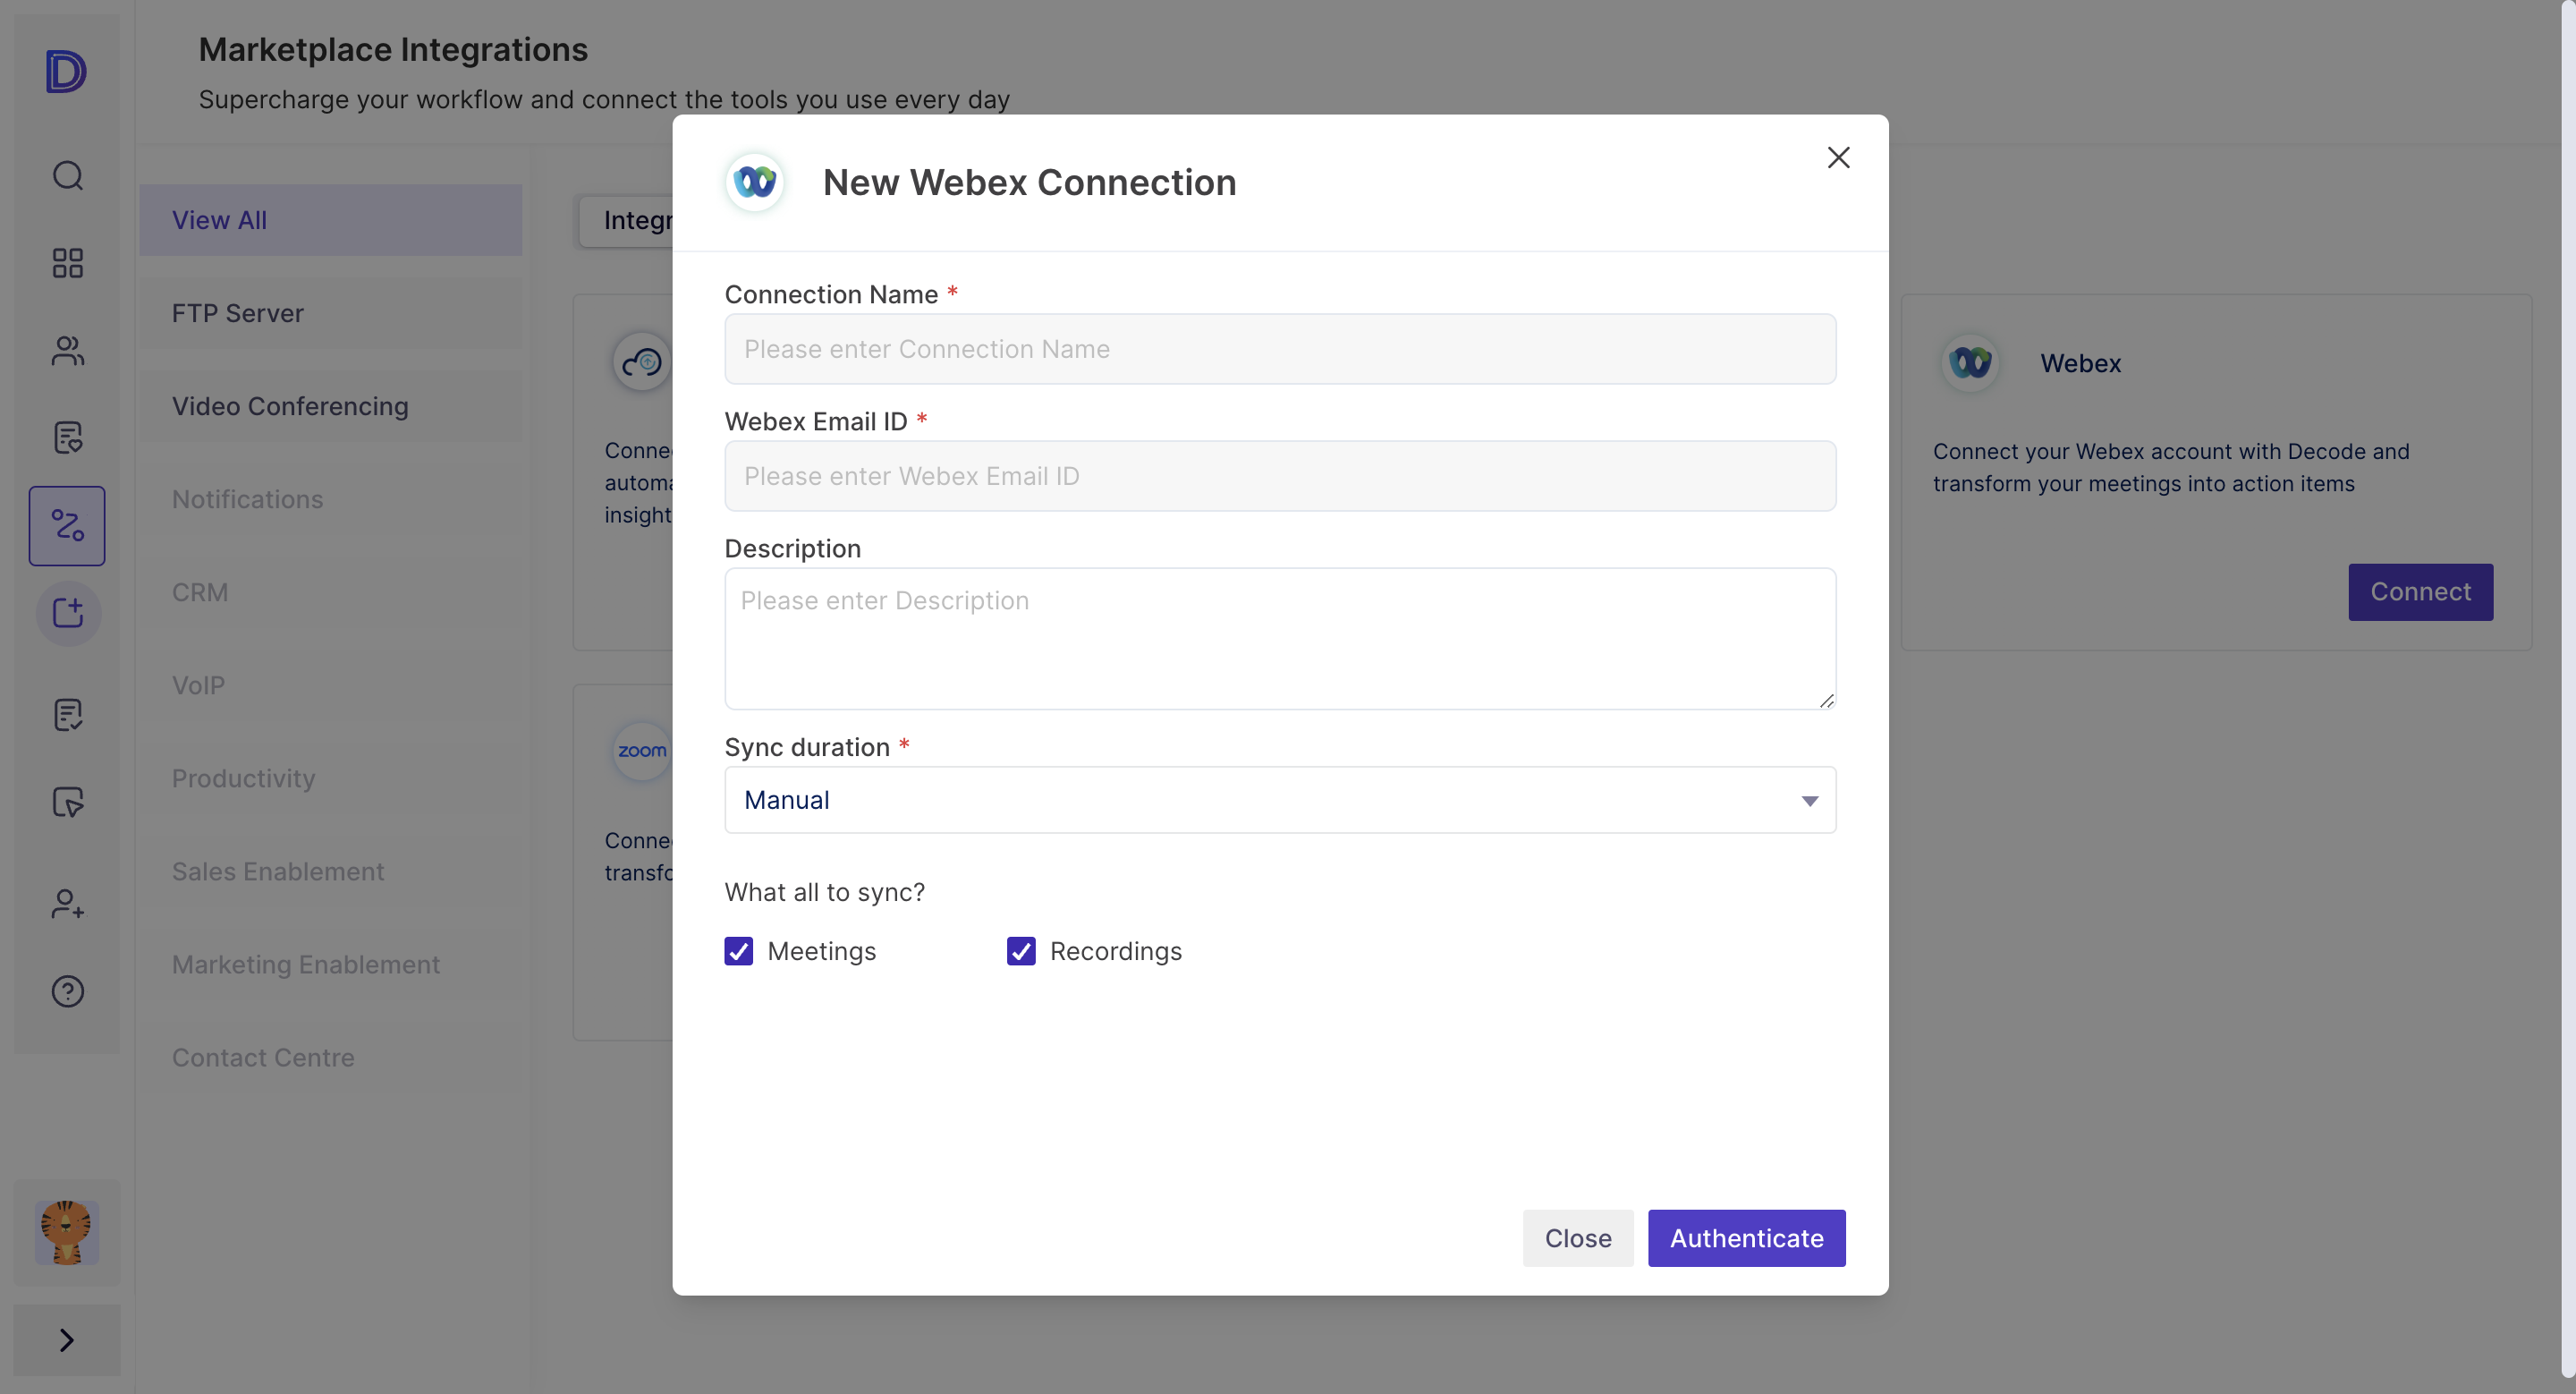
Step 4: In this form, you will need to enter the following details:
- A name for your connection to uniquely identify it.
- Your Webex account email ID
- Description – An optional field to enter any description around the connection you are trying to setup
- Sync Duration – You can choose between Manual, daily, weekly, and real-time.
- When you choose manual sync, recordings from the Webex Cloud will be synced into your Decode workspace only when you initiate a sync.
- When you choose daily, recordings from the Webex Cloud are synced daily automatically. You can still initiate a manual sync if you wish to.
- When you choose weekly, recordings from the Webex Cloud are synced weekly automatically. You can still initiate a manual sync if you wish to.
- When you choose real-time, recordings from the Webex Cloud are synced as soon as they are available in the cloud, automatically. You can still initiate a manual sync if you wish to.
- Sync Duration applies only for syncing recordings. Meetings are always synced in real time.
- You can also choose between what you would like to sync. By default, both meetings and recordings are selected. You can choose one or the other to sync with your workspace.
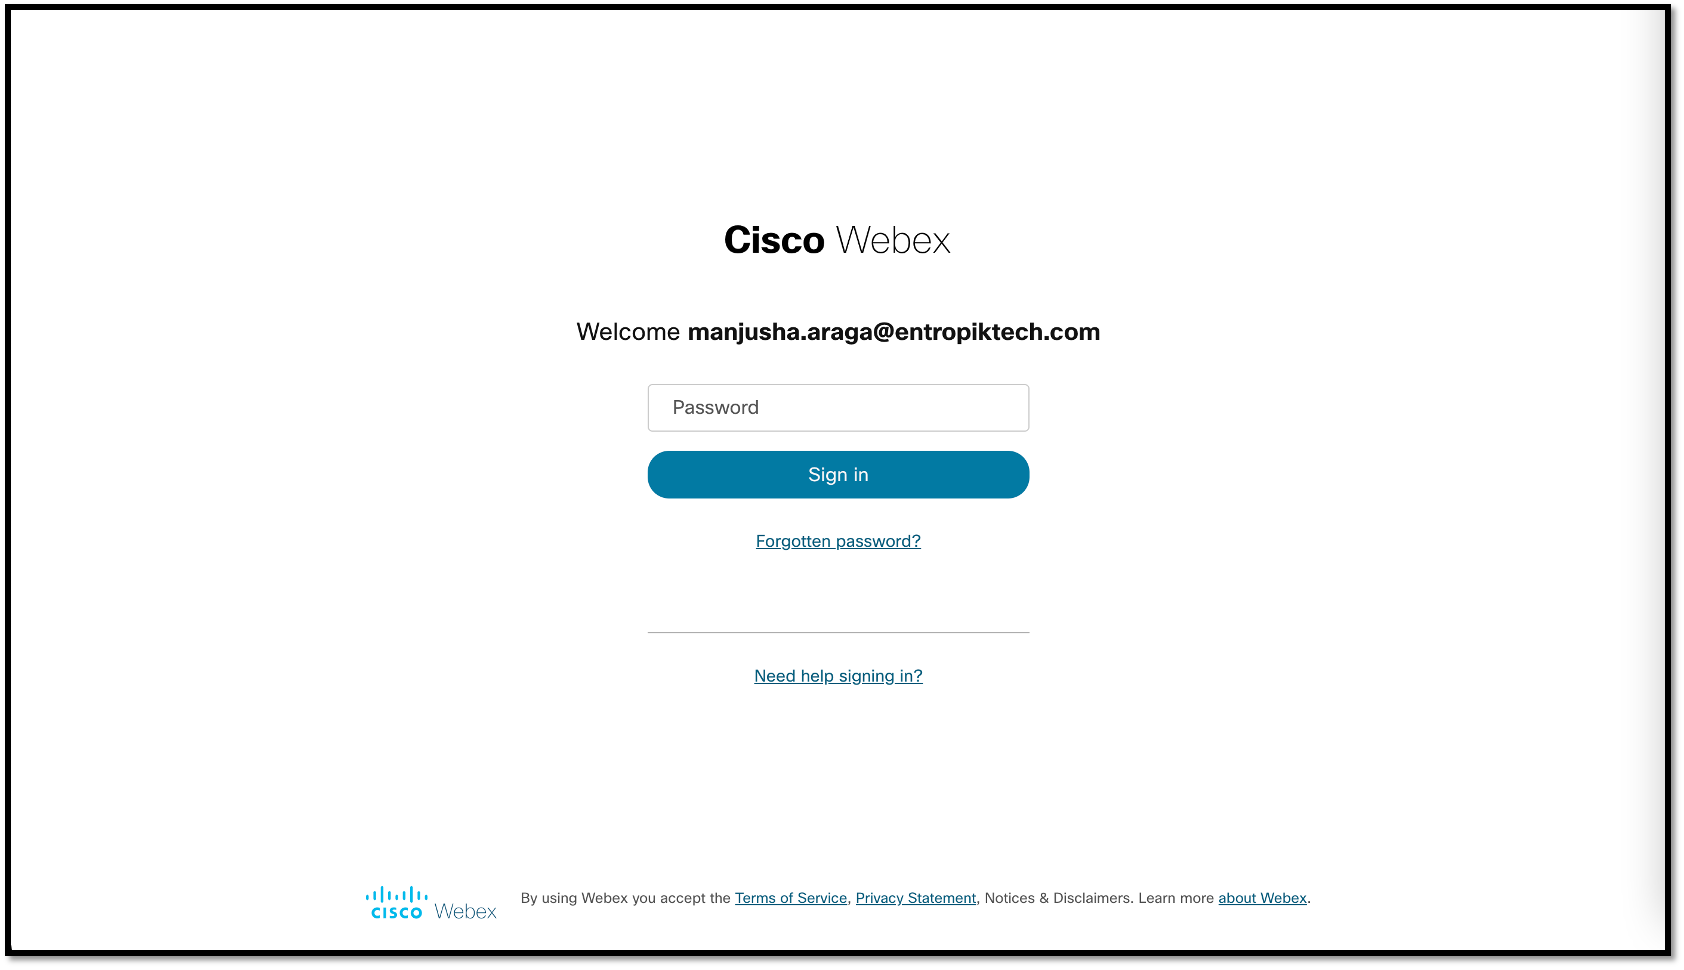
Step 5: Click on the Authenticate button. You will be redirected to Webex Sign-in Page. You will need to enter the password to your Webex account here.
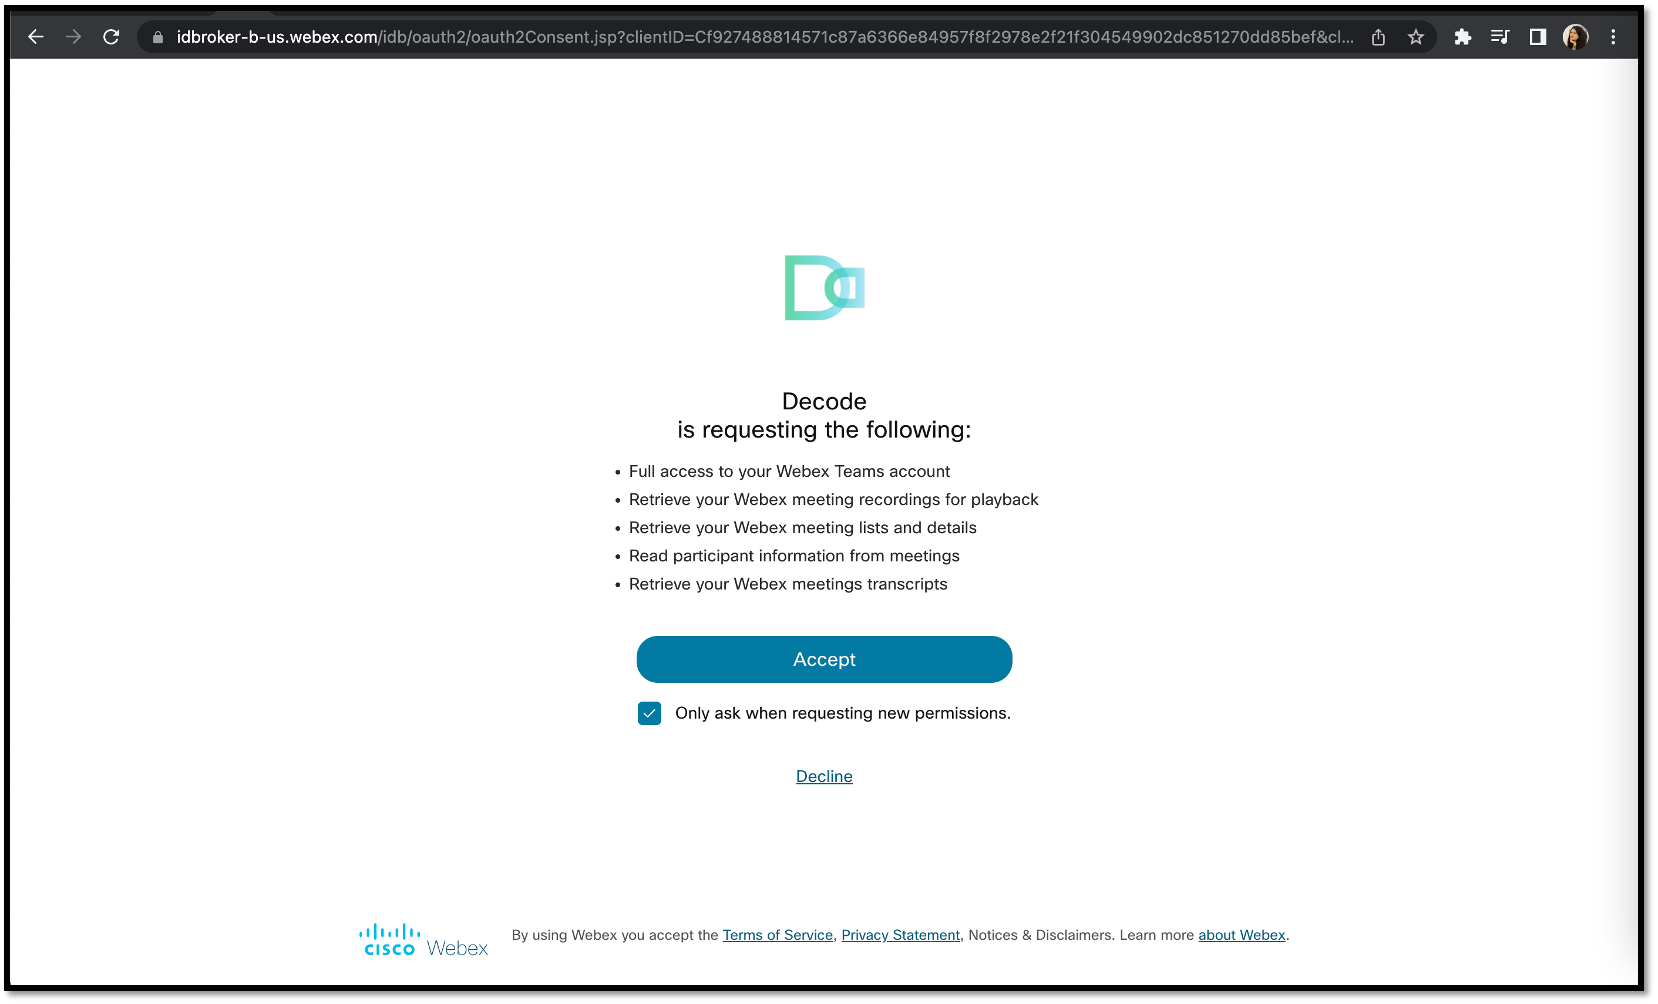
Step 6: Once signed in successfully, you will be asked to accept the permissions so that Decode can access your meetings and recordings.
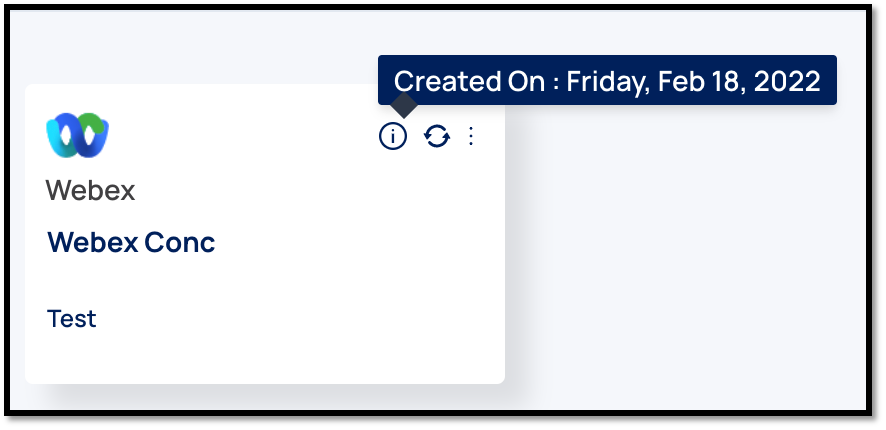
Step 7: Once accepted, you will be redirected back to Decode, where you will be able to see the new set-up connection in the activated section. When the connection is newly set up, all the available files in the Webex cloud will be synced automatically to the user's home organization. All your upcoming meetings for the next 45 days will also be synced for the first time. Anytime post the setup, you will be able to see the sync status by hovering over the sync icon. This button can also be used to initiate a sync manually.
The connection setup date can be looked at by hovering on the information icon.
Getting the files ready for processing:
Step 1: Once the connection is set up, all the recordings will be pulled into your Decode workspace, and you will be able to see them under the External media section in the Media module. Recordings coming from Webex will have the Webex logo.
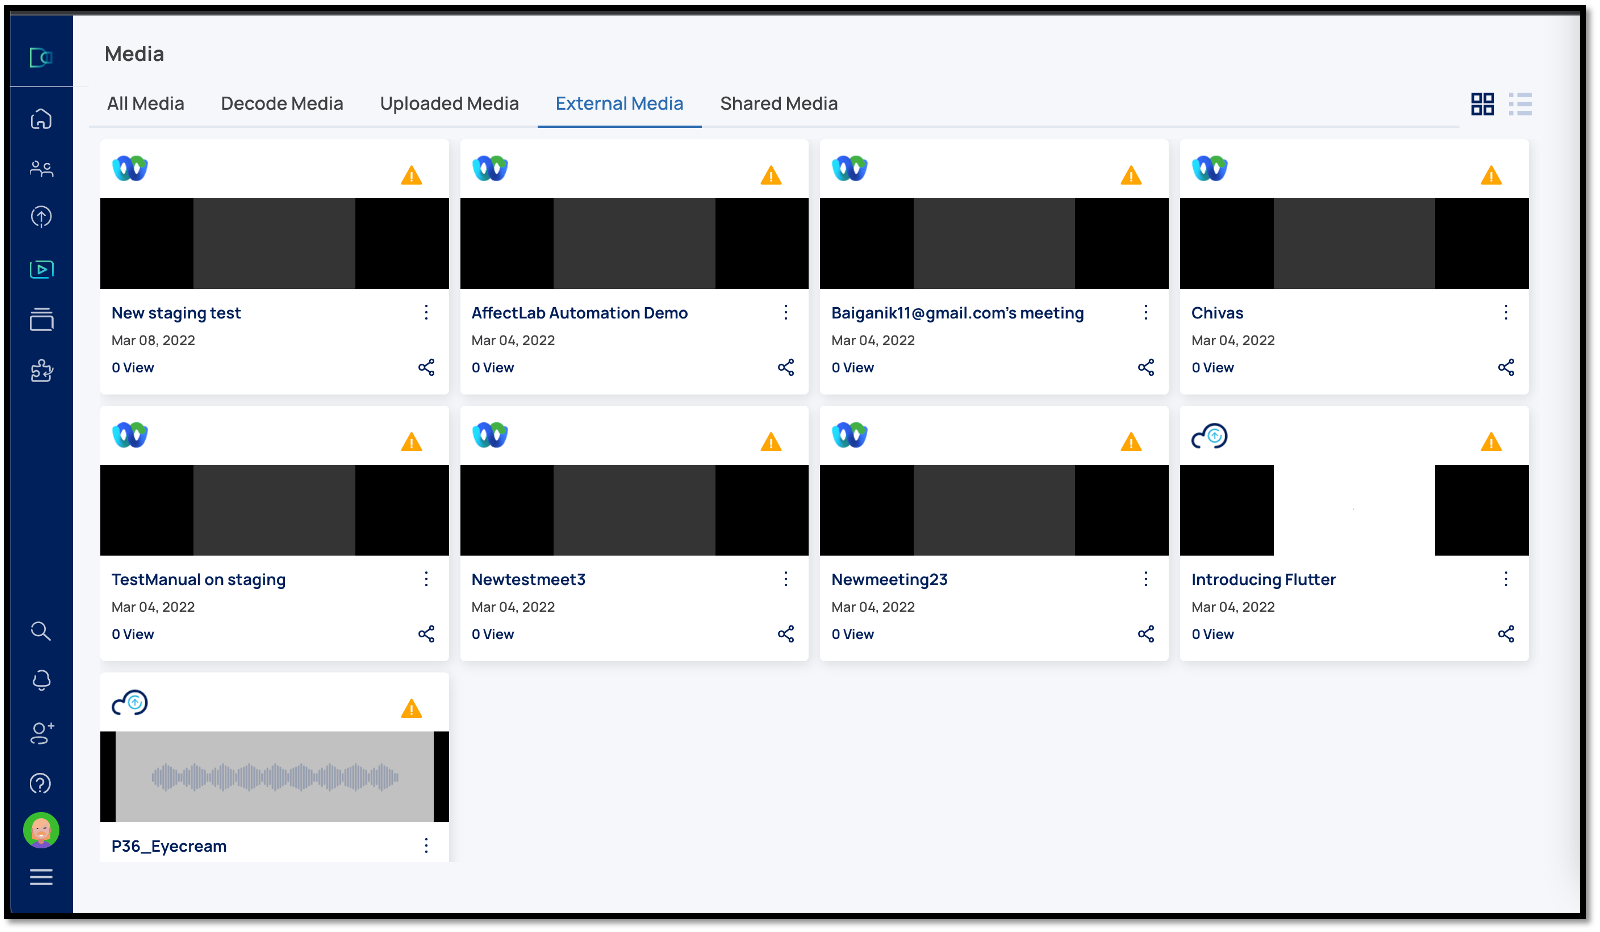
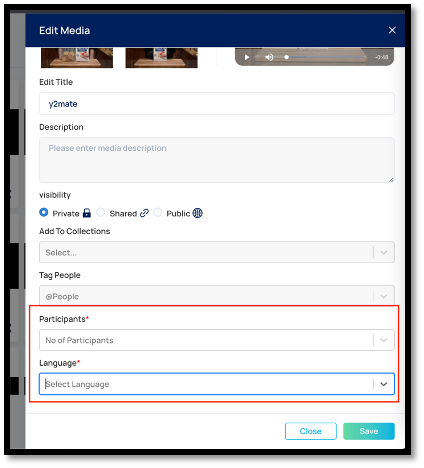
All the media being newly pulled will have an exclamation icon on them. You will need to input some data to start processing these for transcripts and analytics.
Step 2: To do so, click on the edit option from the breadcrumbs menu for that media. A form like the one below will open up. You will need to choose the number of participants/speakers in the media and the language in which the conversation took place in the media. Once done, click Save, and the media will start processing transcripts and analytics generation.