
How to create Highlight in Decode?
Overview
Highlighting important parts of a transcript is an essential part of any research study, and with Decode's Highlight feature, you can easily draw attention to the most relevant parts of your transcript. With a few simple clicks, you can create highlights in your transcripts, making it easier to review and analyze your data. In this article, we'll show you how to create highlights in Decode
Steps
Step 1: Once you login into your Decode account, you will be directed to the dashboard.
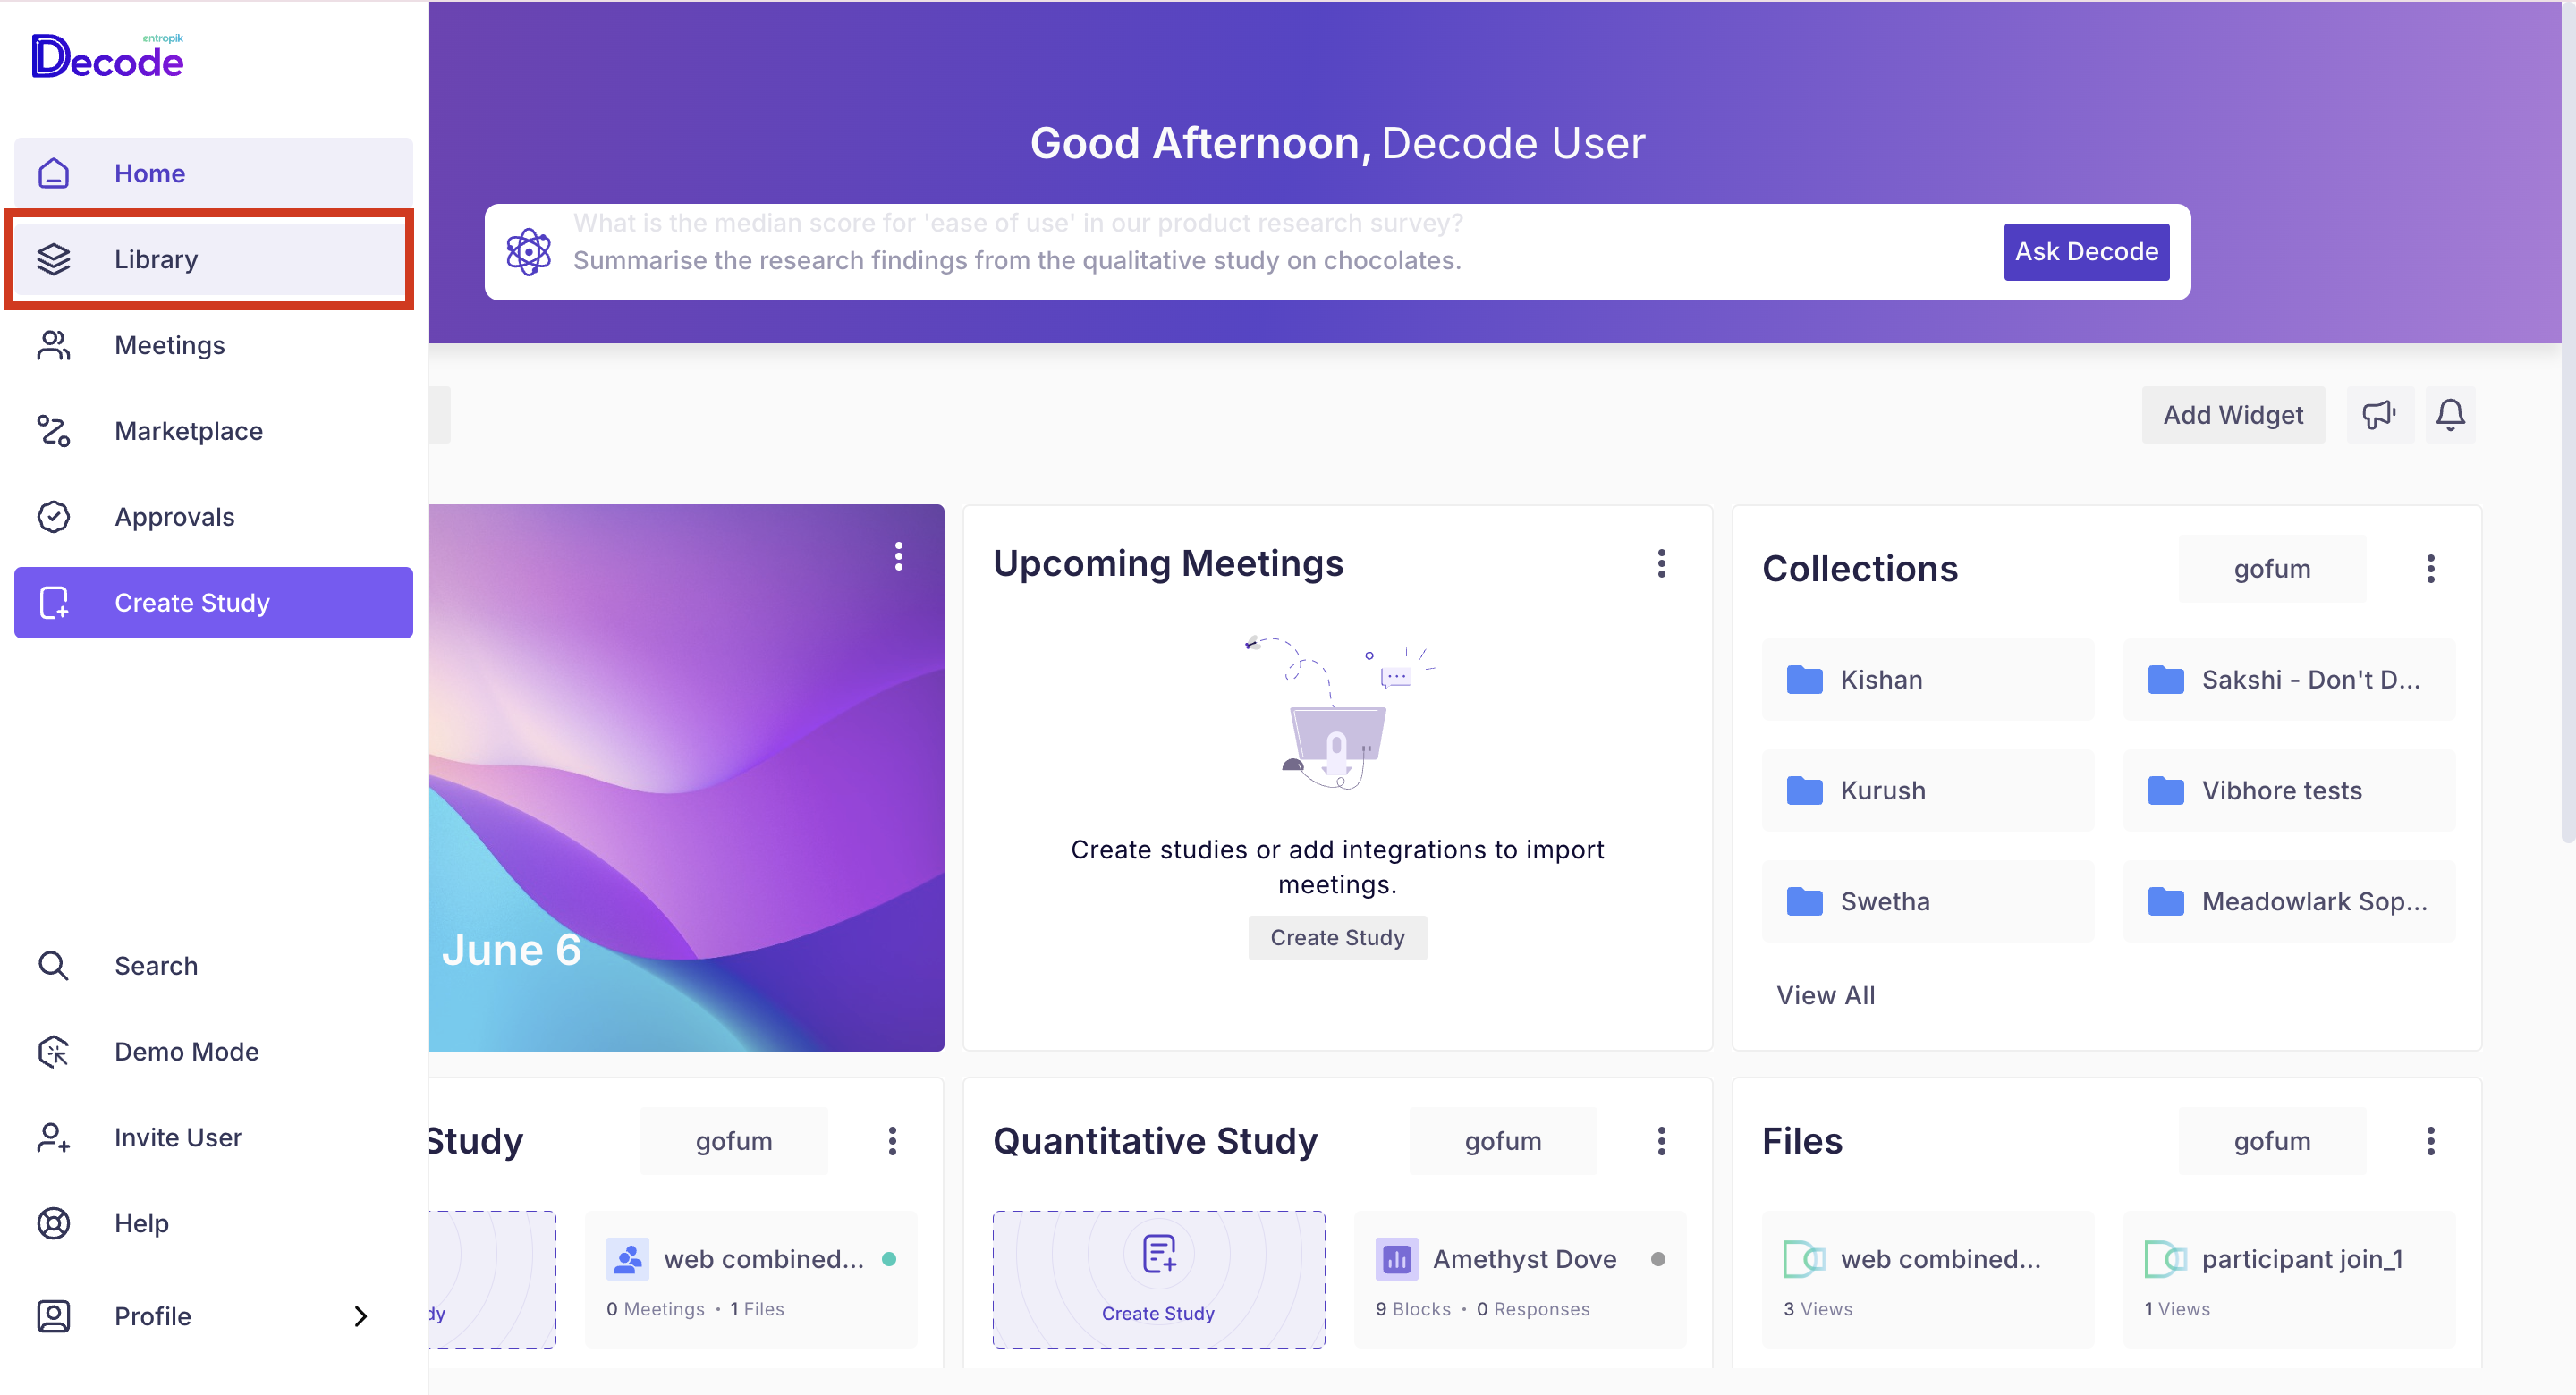
Step 2: From the navigation panel on the left-hand side, click on the "Library" icon.
Step 3: You will see all the studies and media uploaded on this page. Click on any qualitative study or media to open it.
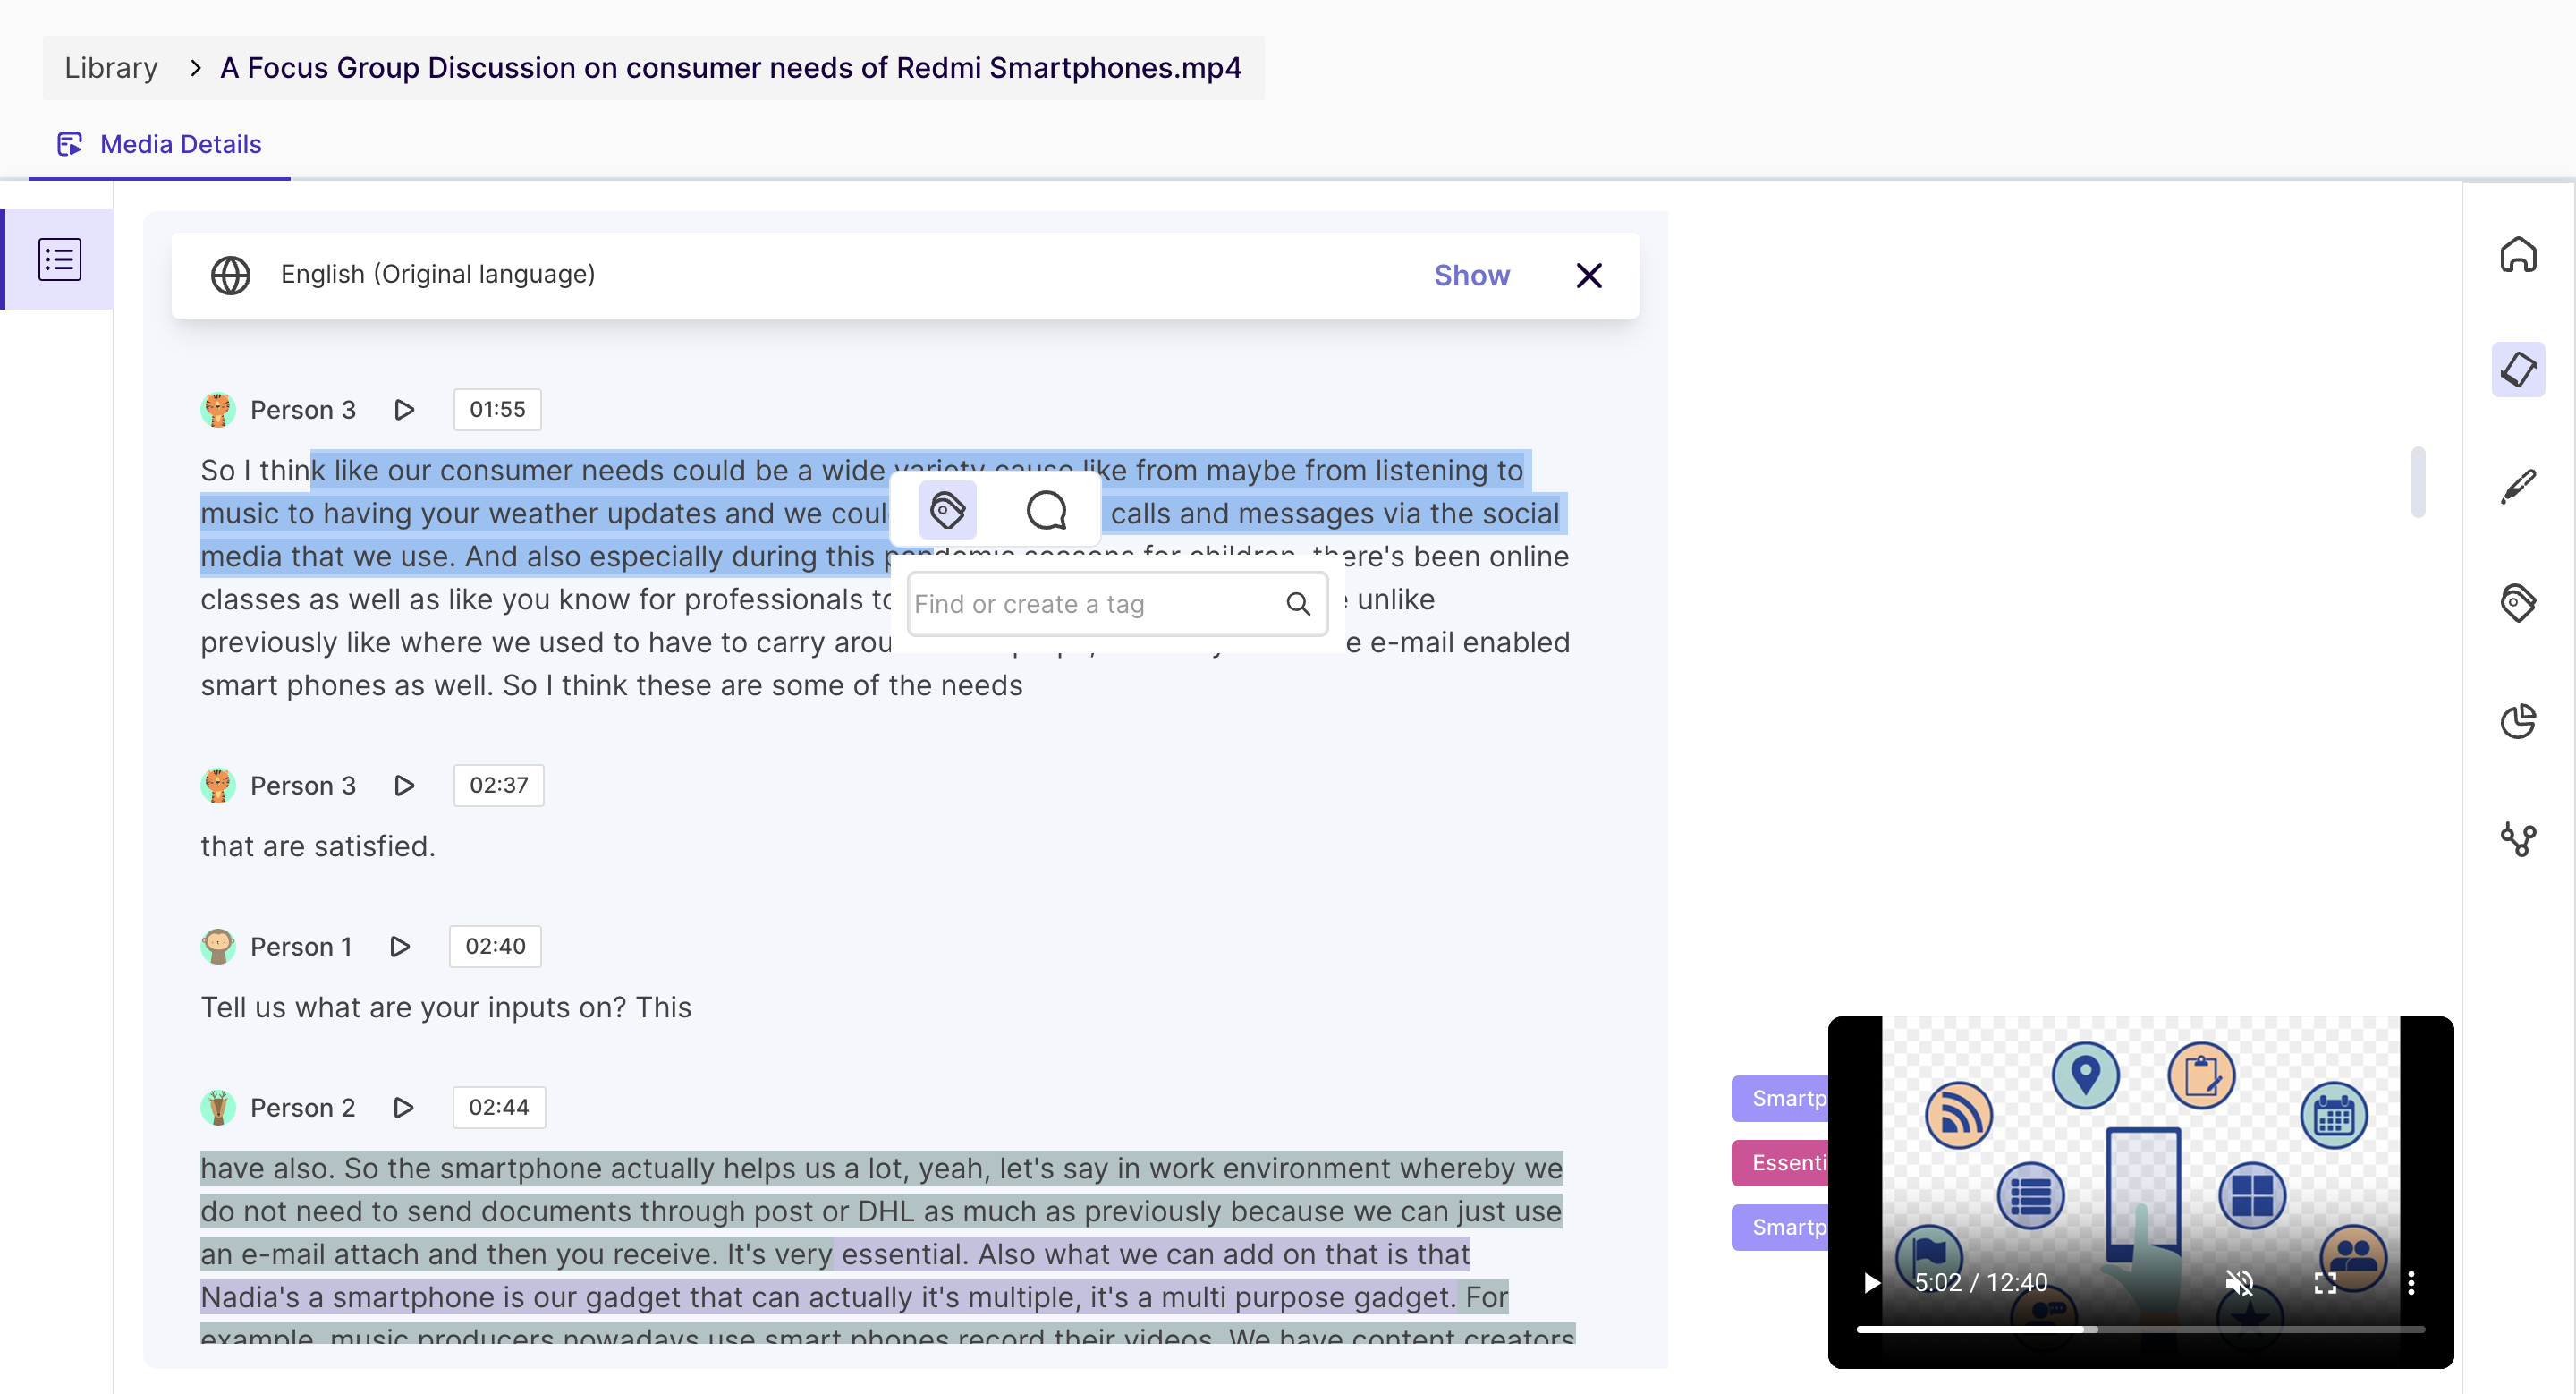
Step 4: Once you open the study or media, you will land on the Media detail page, where you will find the basic media details. To open the transcript page, click on the "Transcript" icon from the right navigation panel.

Step 5: Once you are on the transcript page, you will find the speaker-wise transcripts and the highlights on the left(if created before).
To create a highlight, select the desired part of the transcript using your mouse, and automatically, an option list will appear on the screen where you can add the highlighted name. Once you add the name, click on the create option in the options list, and your highlight will get created.
Step 6: Once your highlight is created, it will be available on the right side of the transcript page and in the highlight section. You can share, download and view emotional analytics of the highlights also.