Setting up an FTP/SFTP connection
This article guides you through the process of setting up a connection with an FTP/SFTP server so that all your audio and video files can be directly pulled into your Decode workspace and transcripts and analytics can be generated.
Setting up the connection:
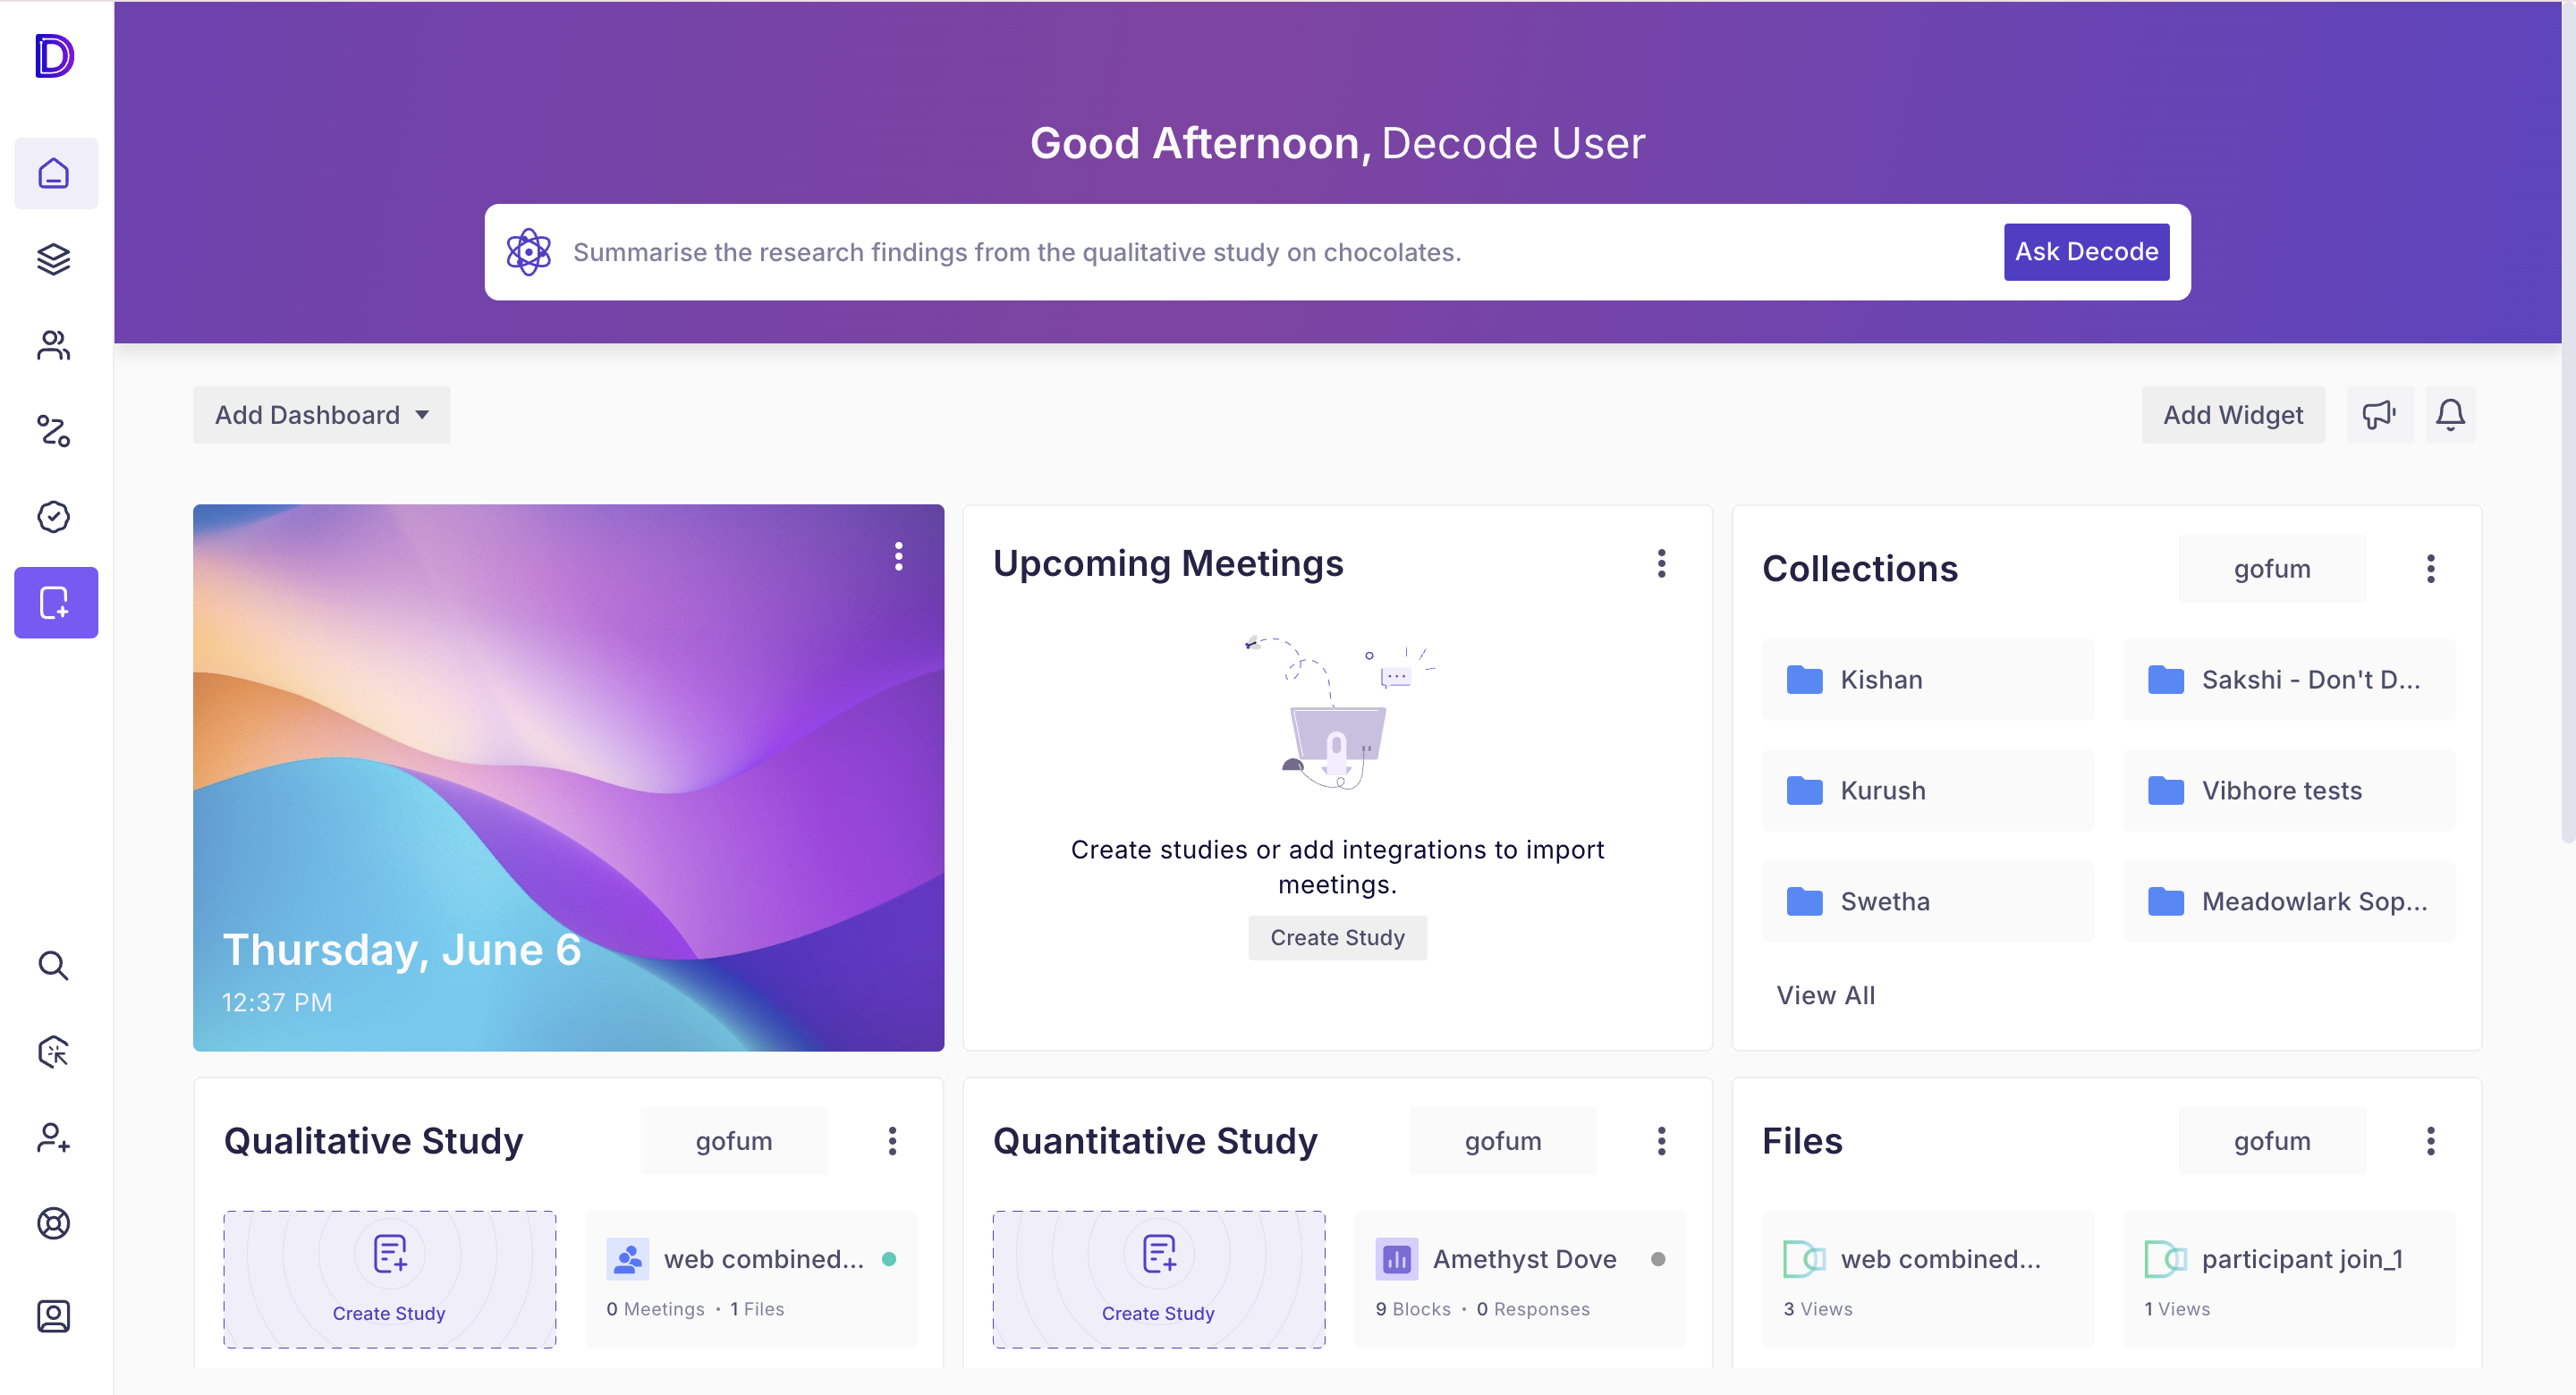
Step 1: Once you log into your Decode account, you will be automatically directed to your home page.
Step 2: Click on the marketplace icon in the left navigation panel to access Decode Marketplace.
Step 3: You will find “FTP Server Integration” under the “View All” and “Integration” subcategories.
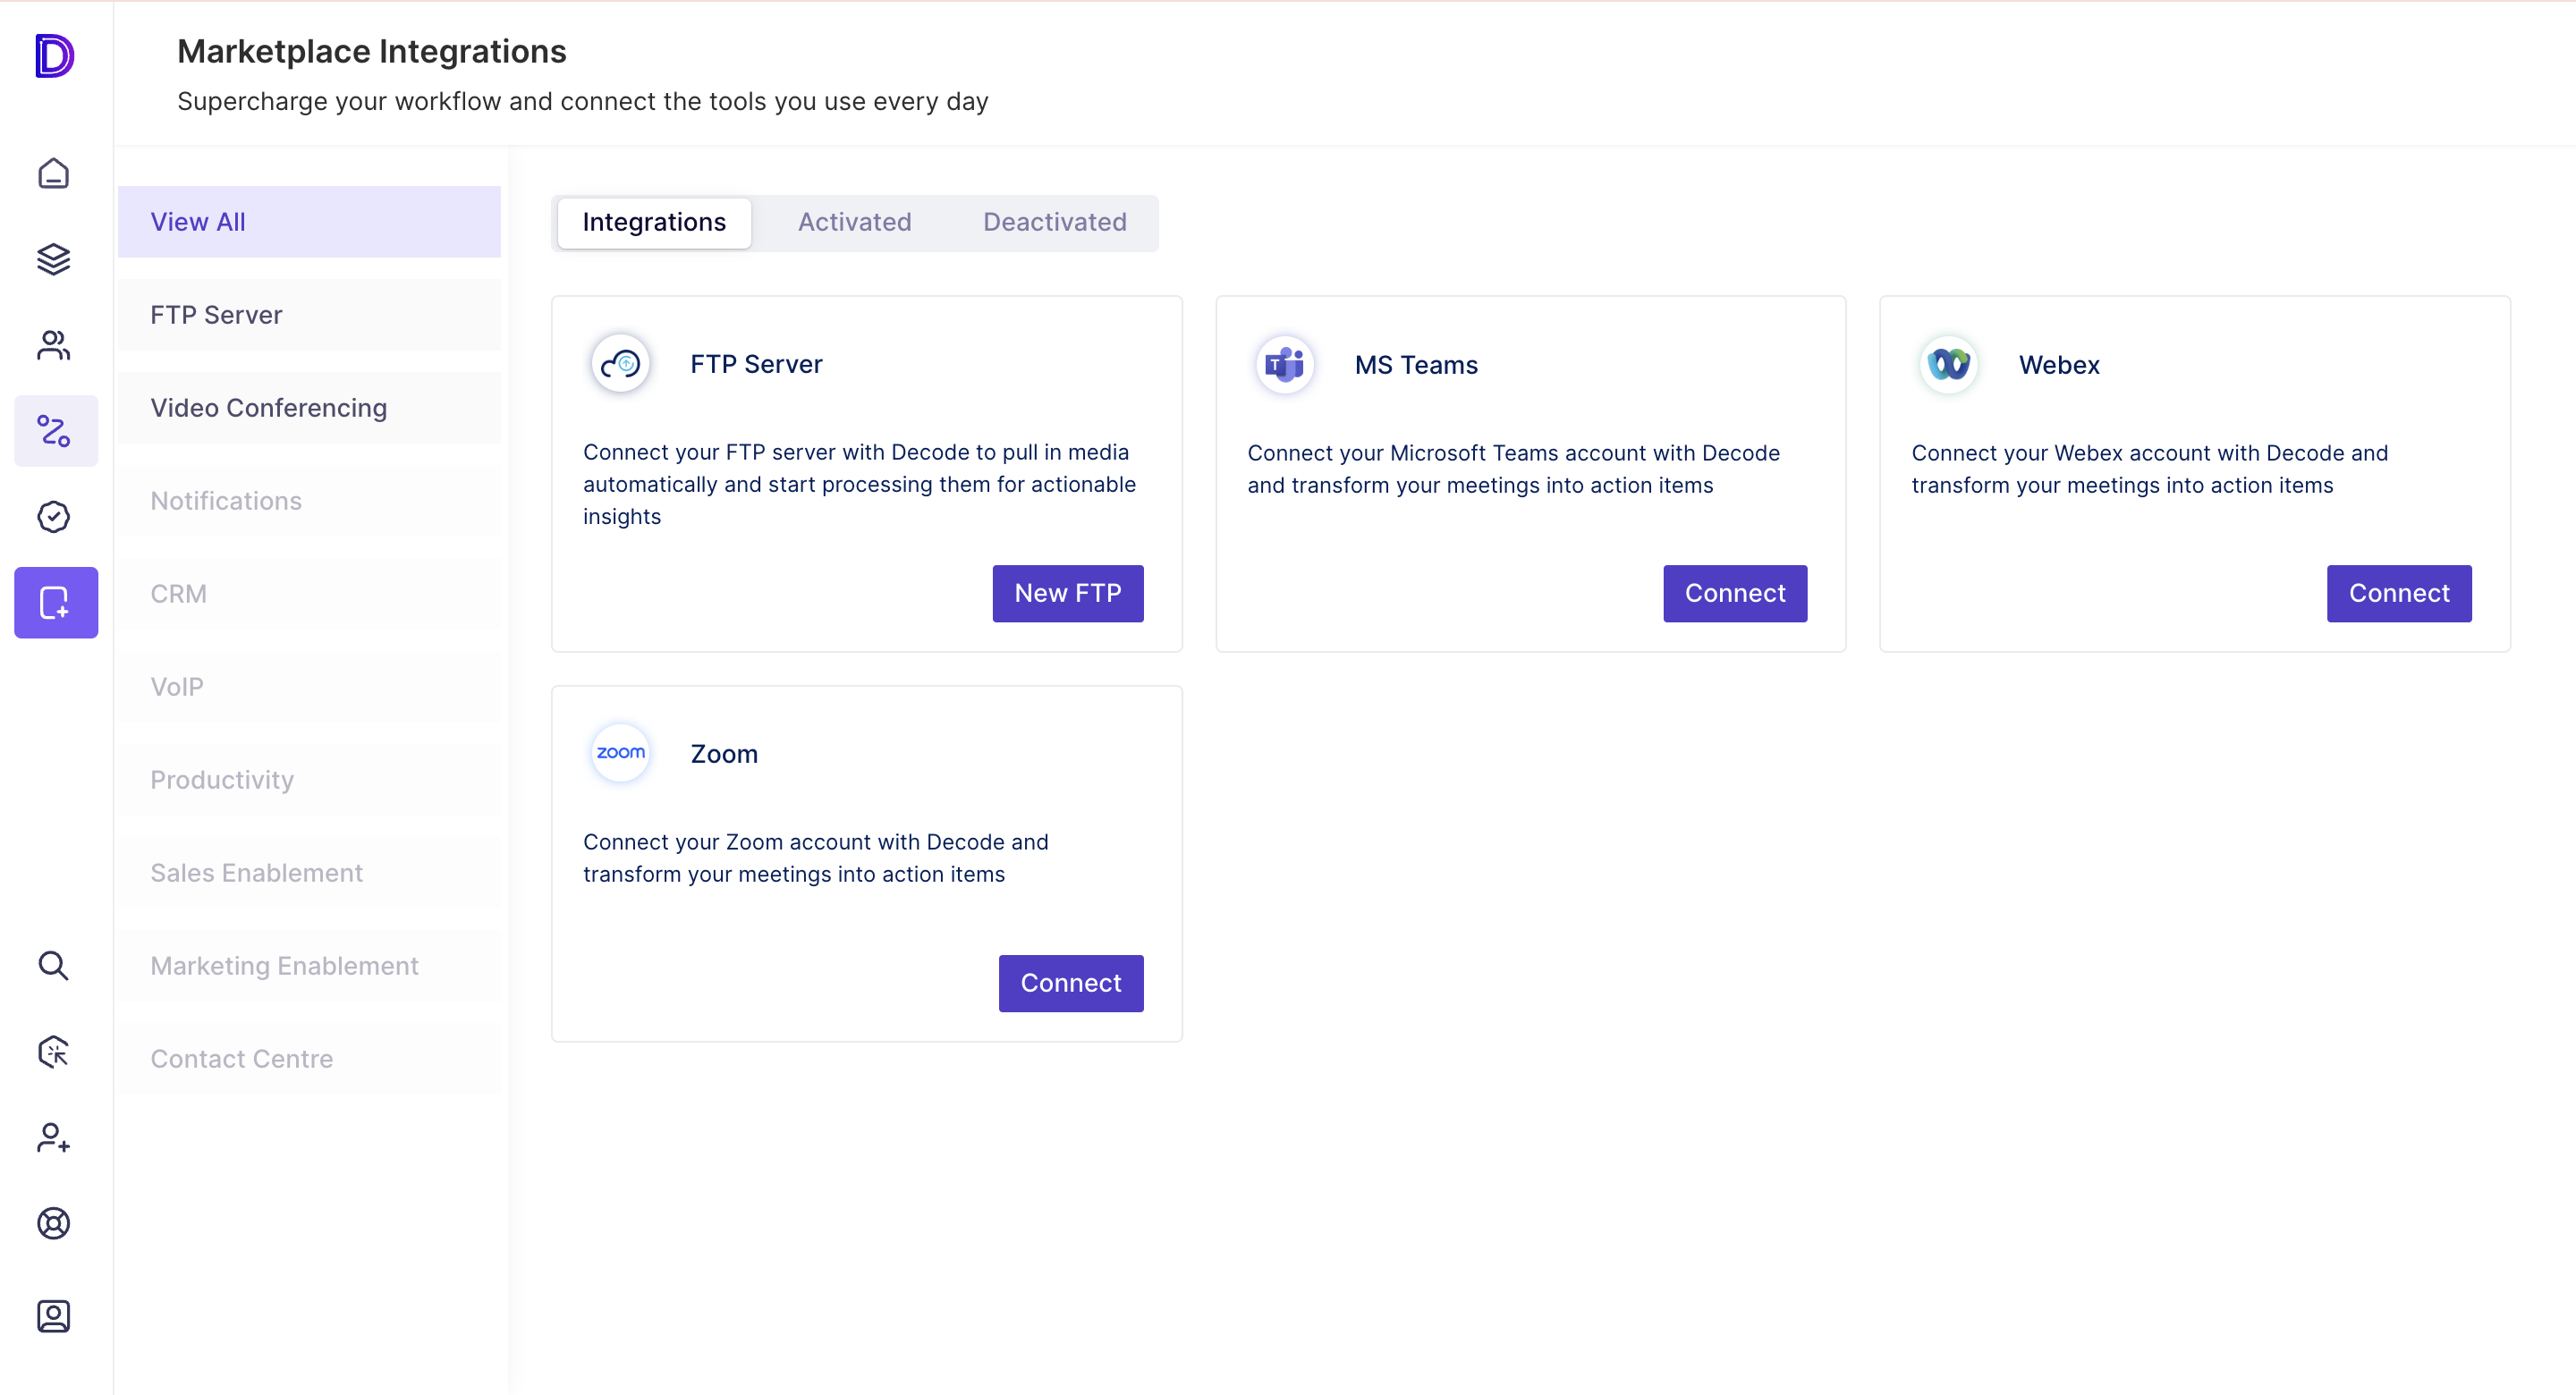
Step 4: Click on the “New FTP” button under the “FTP Server Integration” option. A form will open up like the one below.
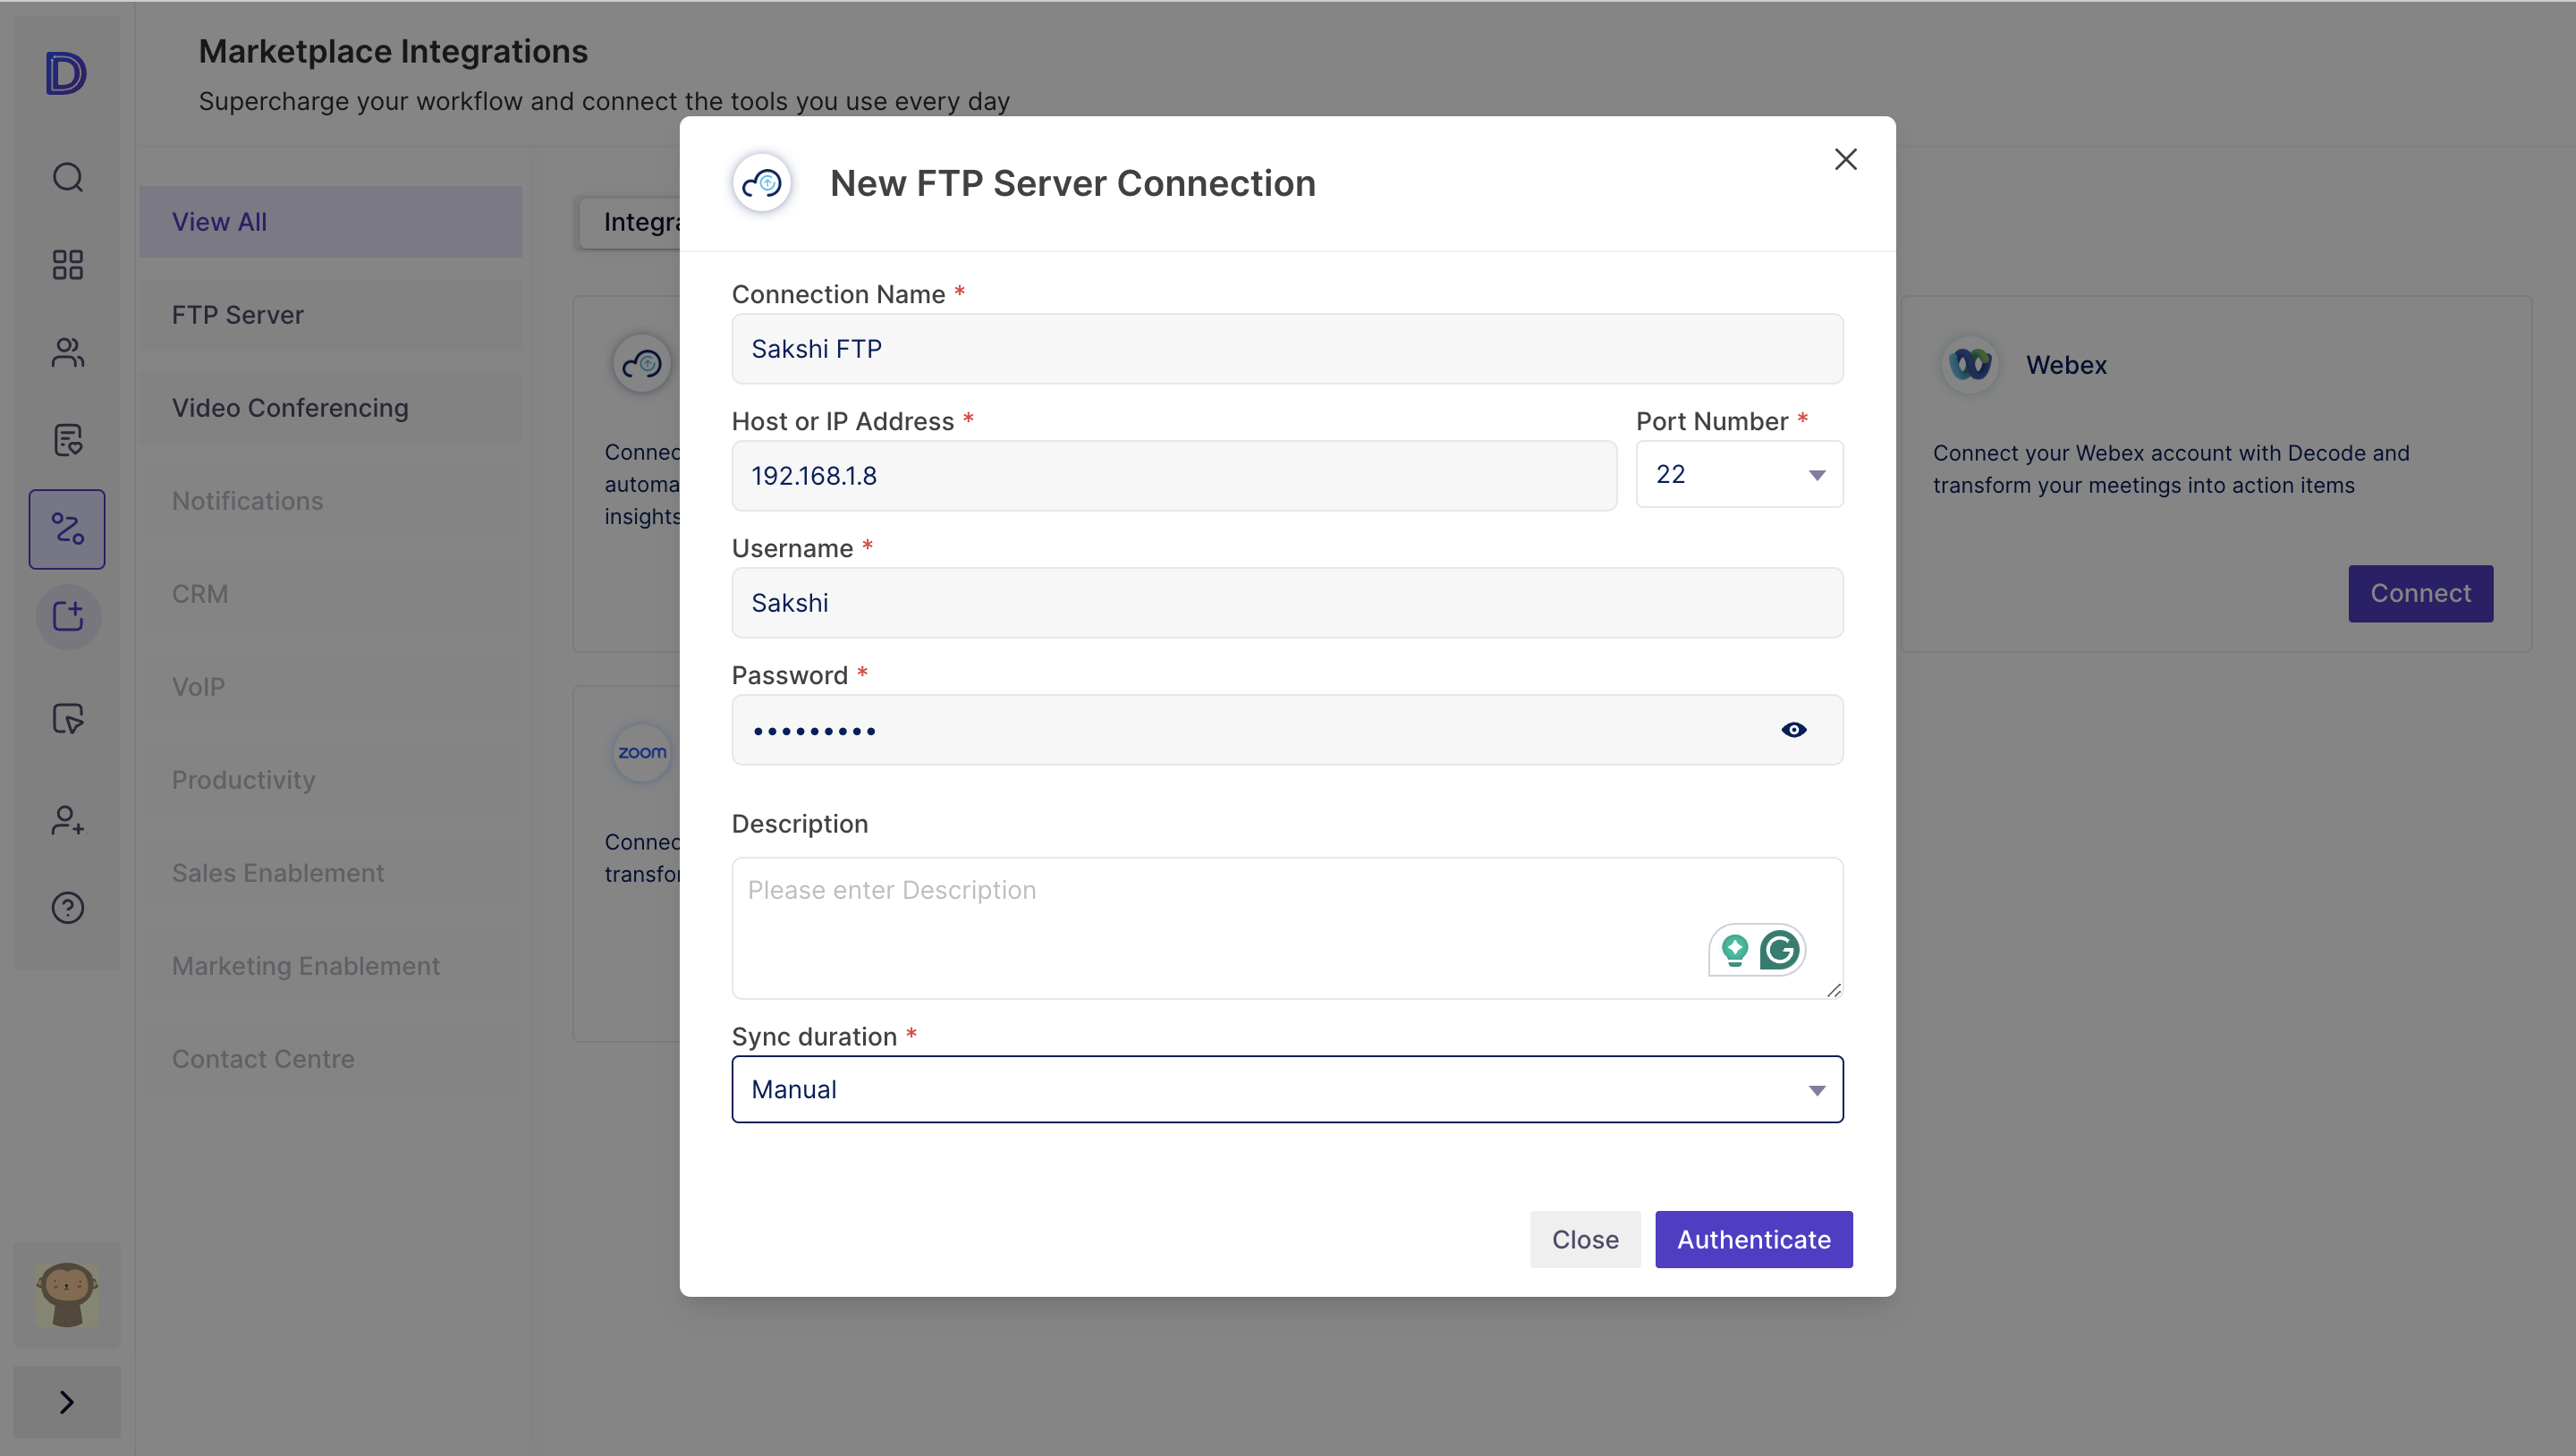
- A name for your connection to uniquely identify it.
- The hostname/IP address of your FTP/SFTP server
- Port number – It can either be 21 or 22
- Username and Password – Your credentials to authenticate and setup the connection
- Description – An optional field to enter any description around the connection you are trying to set.
- Sync Duration – You can choose between Manual, daily and weekly.
- When you choose manual sync, files from the server will be synced into your Decode workspace only when you initiate a sync.
- When you choose daily, new files from the server are synced daily automatically. You can still initiate a manual sync if you wish to.
- When you choose weekly, new files from the server are synced weekly automatically. You can still initiate a manual sync if you wish to.
Step 5: Click on the Authenticate button. We will check for the validity of the credentials entered and set up a connection with the server. Once the connection is successful, you will be notified with a toaster message like:

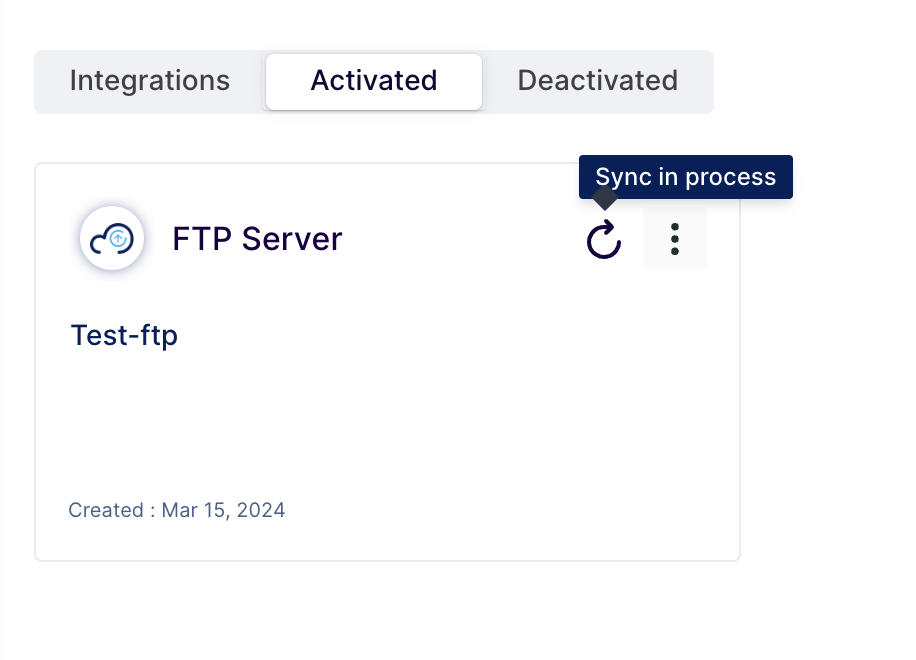
Step 6: Click on the Save button. This new connection will now be available under the activated section on the same marketplace page.

Step 7: When the connection is newly set up, all the available files in the server will be synced automatically. You will be able to see the sync status by hovering over the sync icon. This button can also be used to initiate a sync manually.
Getting the files ready for processing:
Step 1: Once the connection is set up, all the media files will be pulled into your Decode workspace, and you will be able to see them in the library.
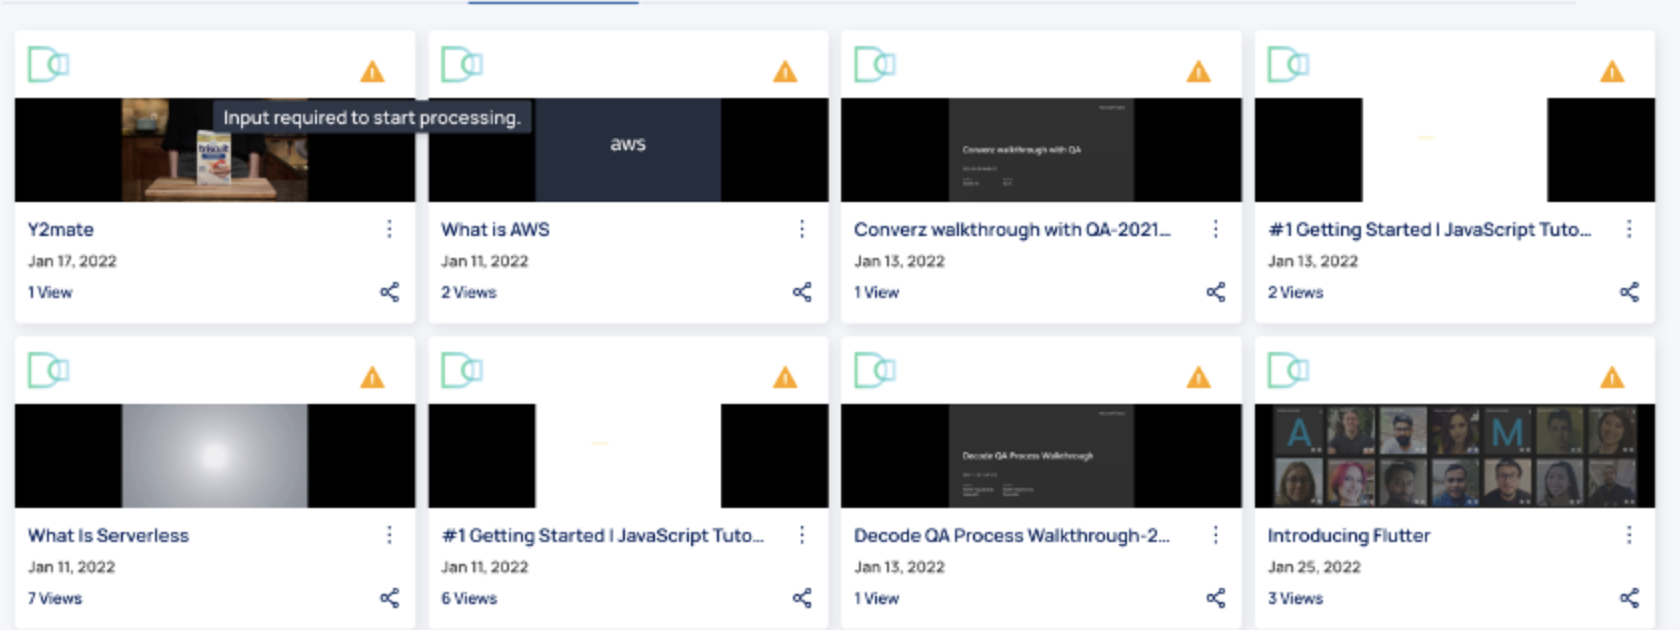
All the media being newly pulled will have a warning icon on them with a tooltip that you will need to input some data to start processing these for transcripts and analytics.
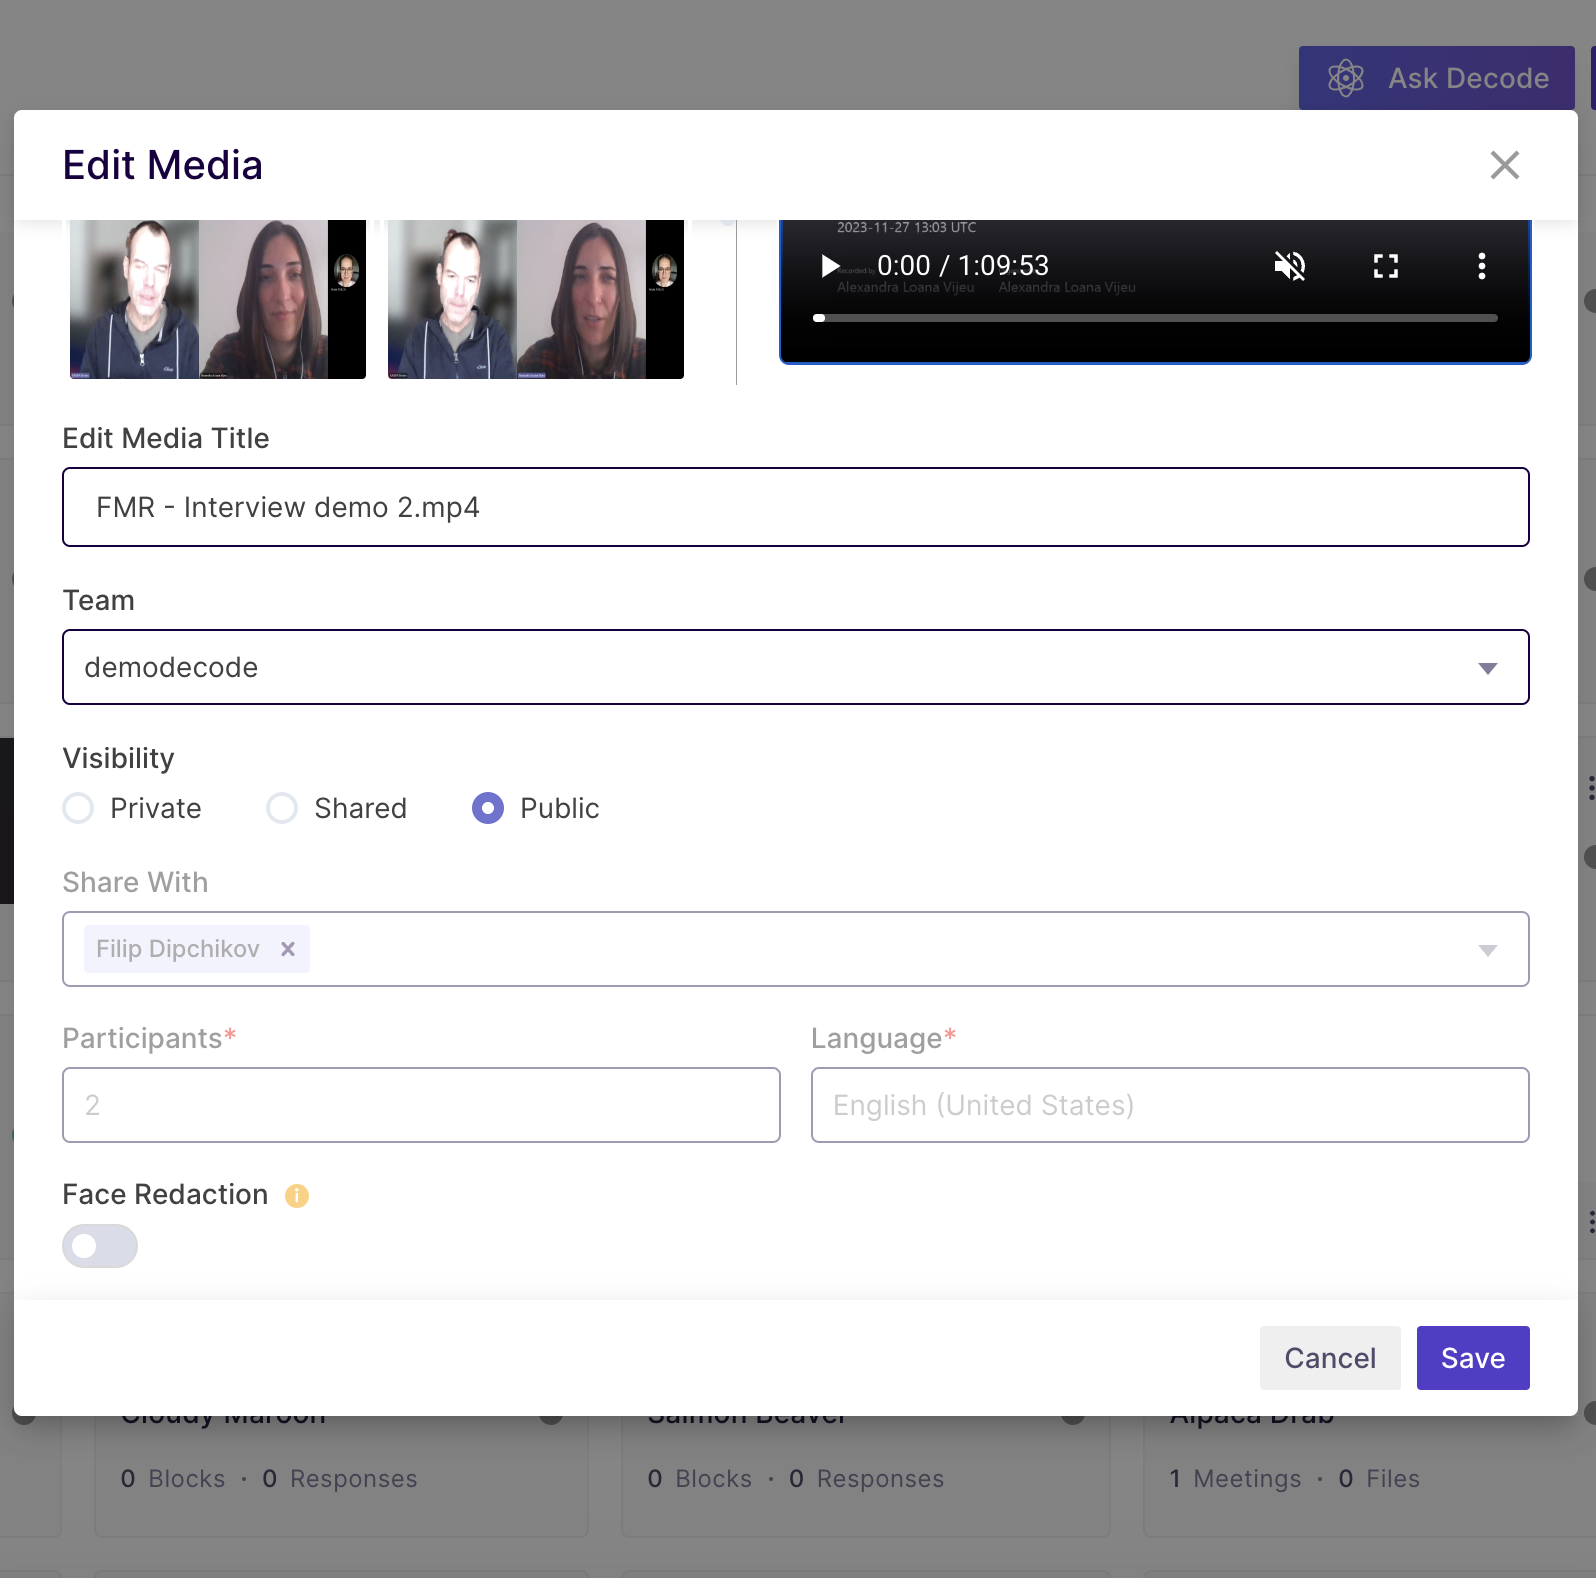
Step 2: To do so, click on the edit option from the breadcrumbs menu for that media. A form like the one below will open up. You will need to choose the number of participants/speakers in the media and the language – an accent that they spoke in. Once done, hit Save and the media will start processing for transcripts and analytics generation.