
Setting Up a Prototype Block
Overview
The Prototype Test block in Decode lets you import a Figma prototype and test how participants navigate through it to complete a given task. You can define the path participants should follow or let them navigate freely, and capture data on their navigation behaviour, attention and emotional responses.
Before You Begin
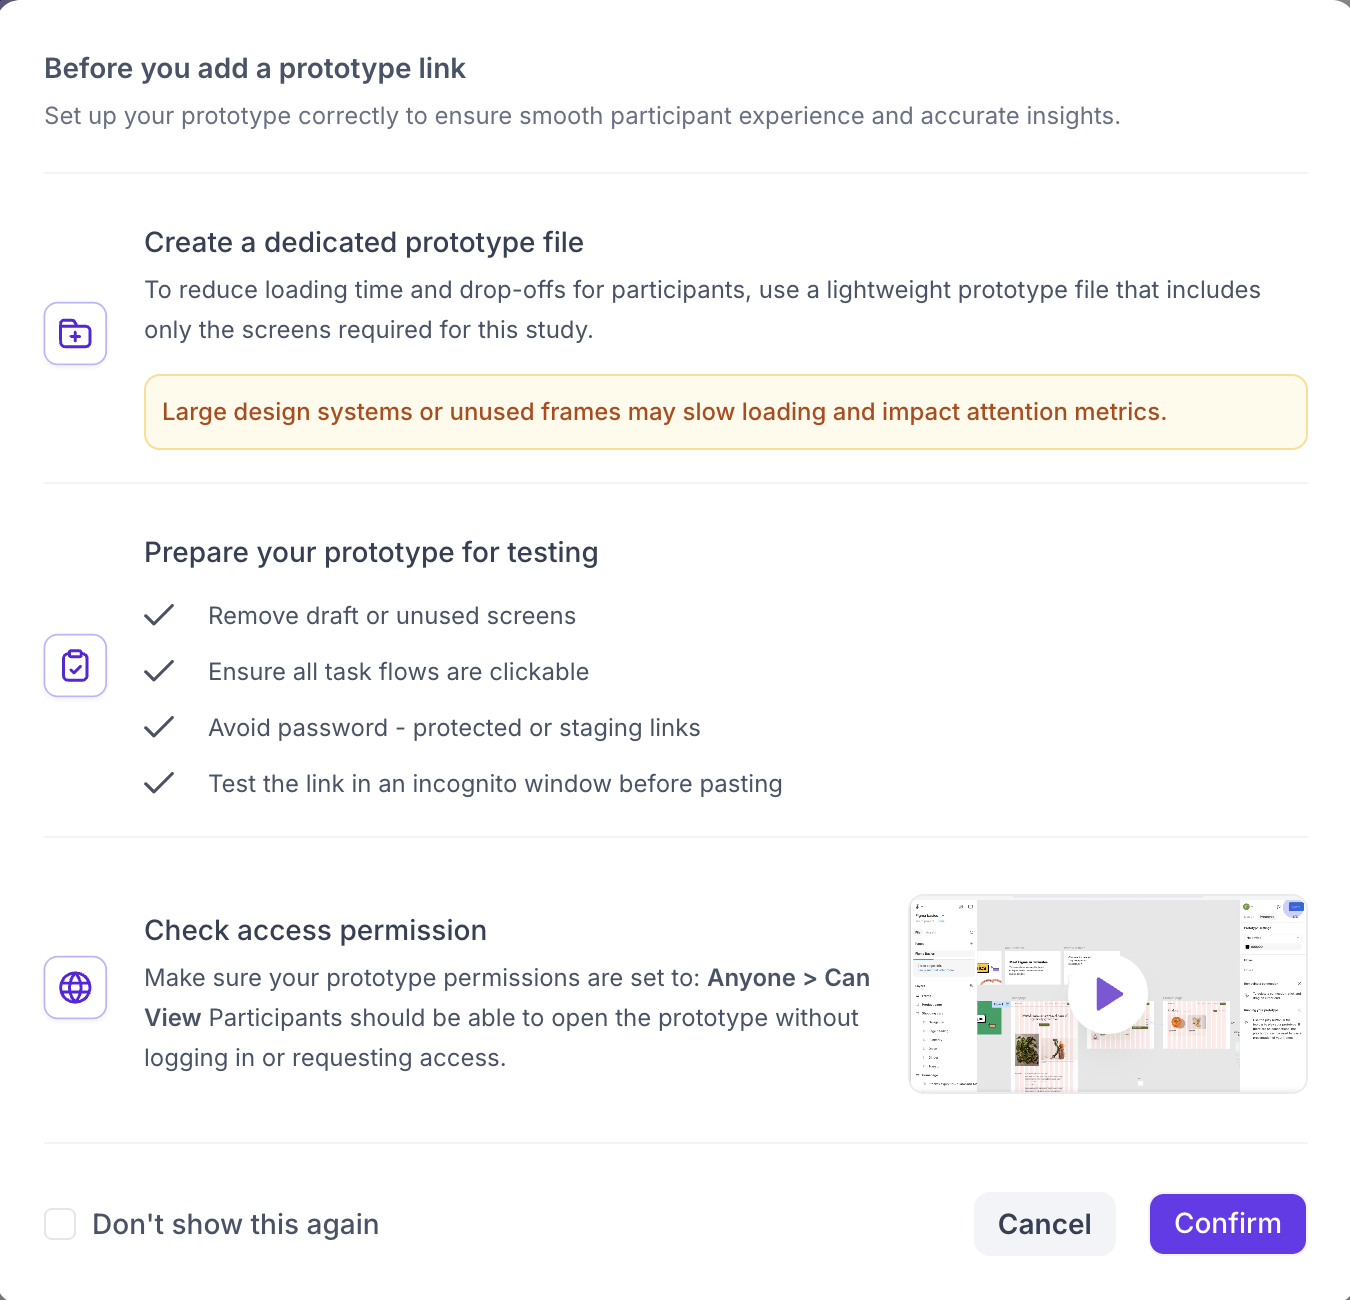
When you add a Prototype Test block, a checklist appears before you can add the prototype link. Review each point and click confirm to proceed
- Create a dedicated prototype file containing only the screens required for this study. Large design files with unused frames or complex design systems can slow loading and affect results
- Remove any draft or unused screens
- Ensure all task flows are clickable and all screens are connected
- Test the prototype link in an incognito window before importing to confirm it opens correctly
- Set the Figma sharing permission to Anyone with the link can view, or if it is a password protected prototype you can import and add the password within Decode
How to Set Up a Prototype Test
Step 1: Add the Block
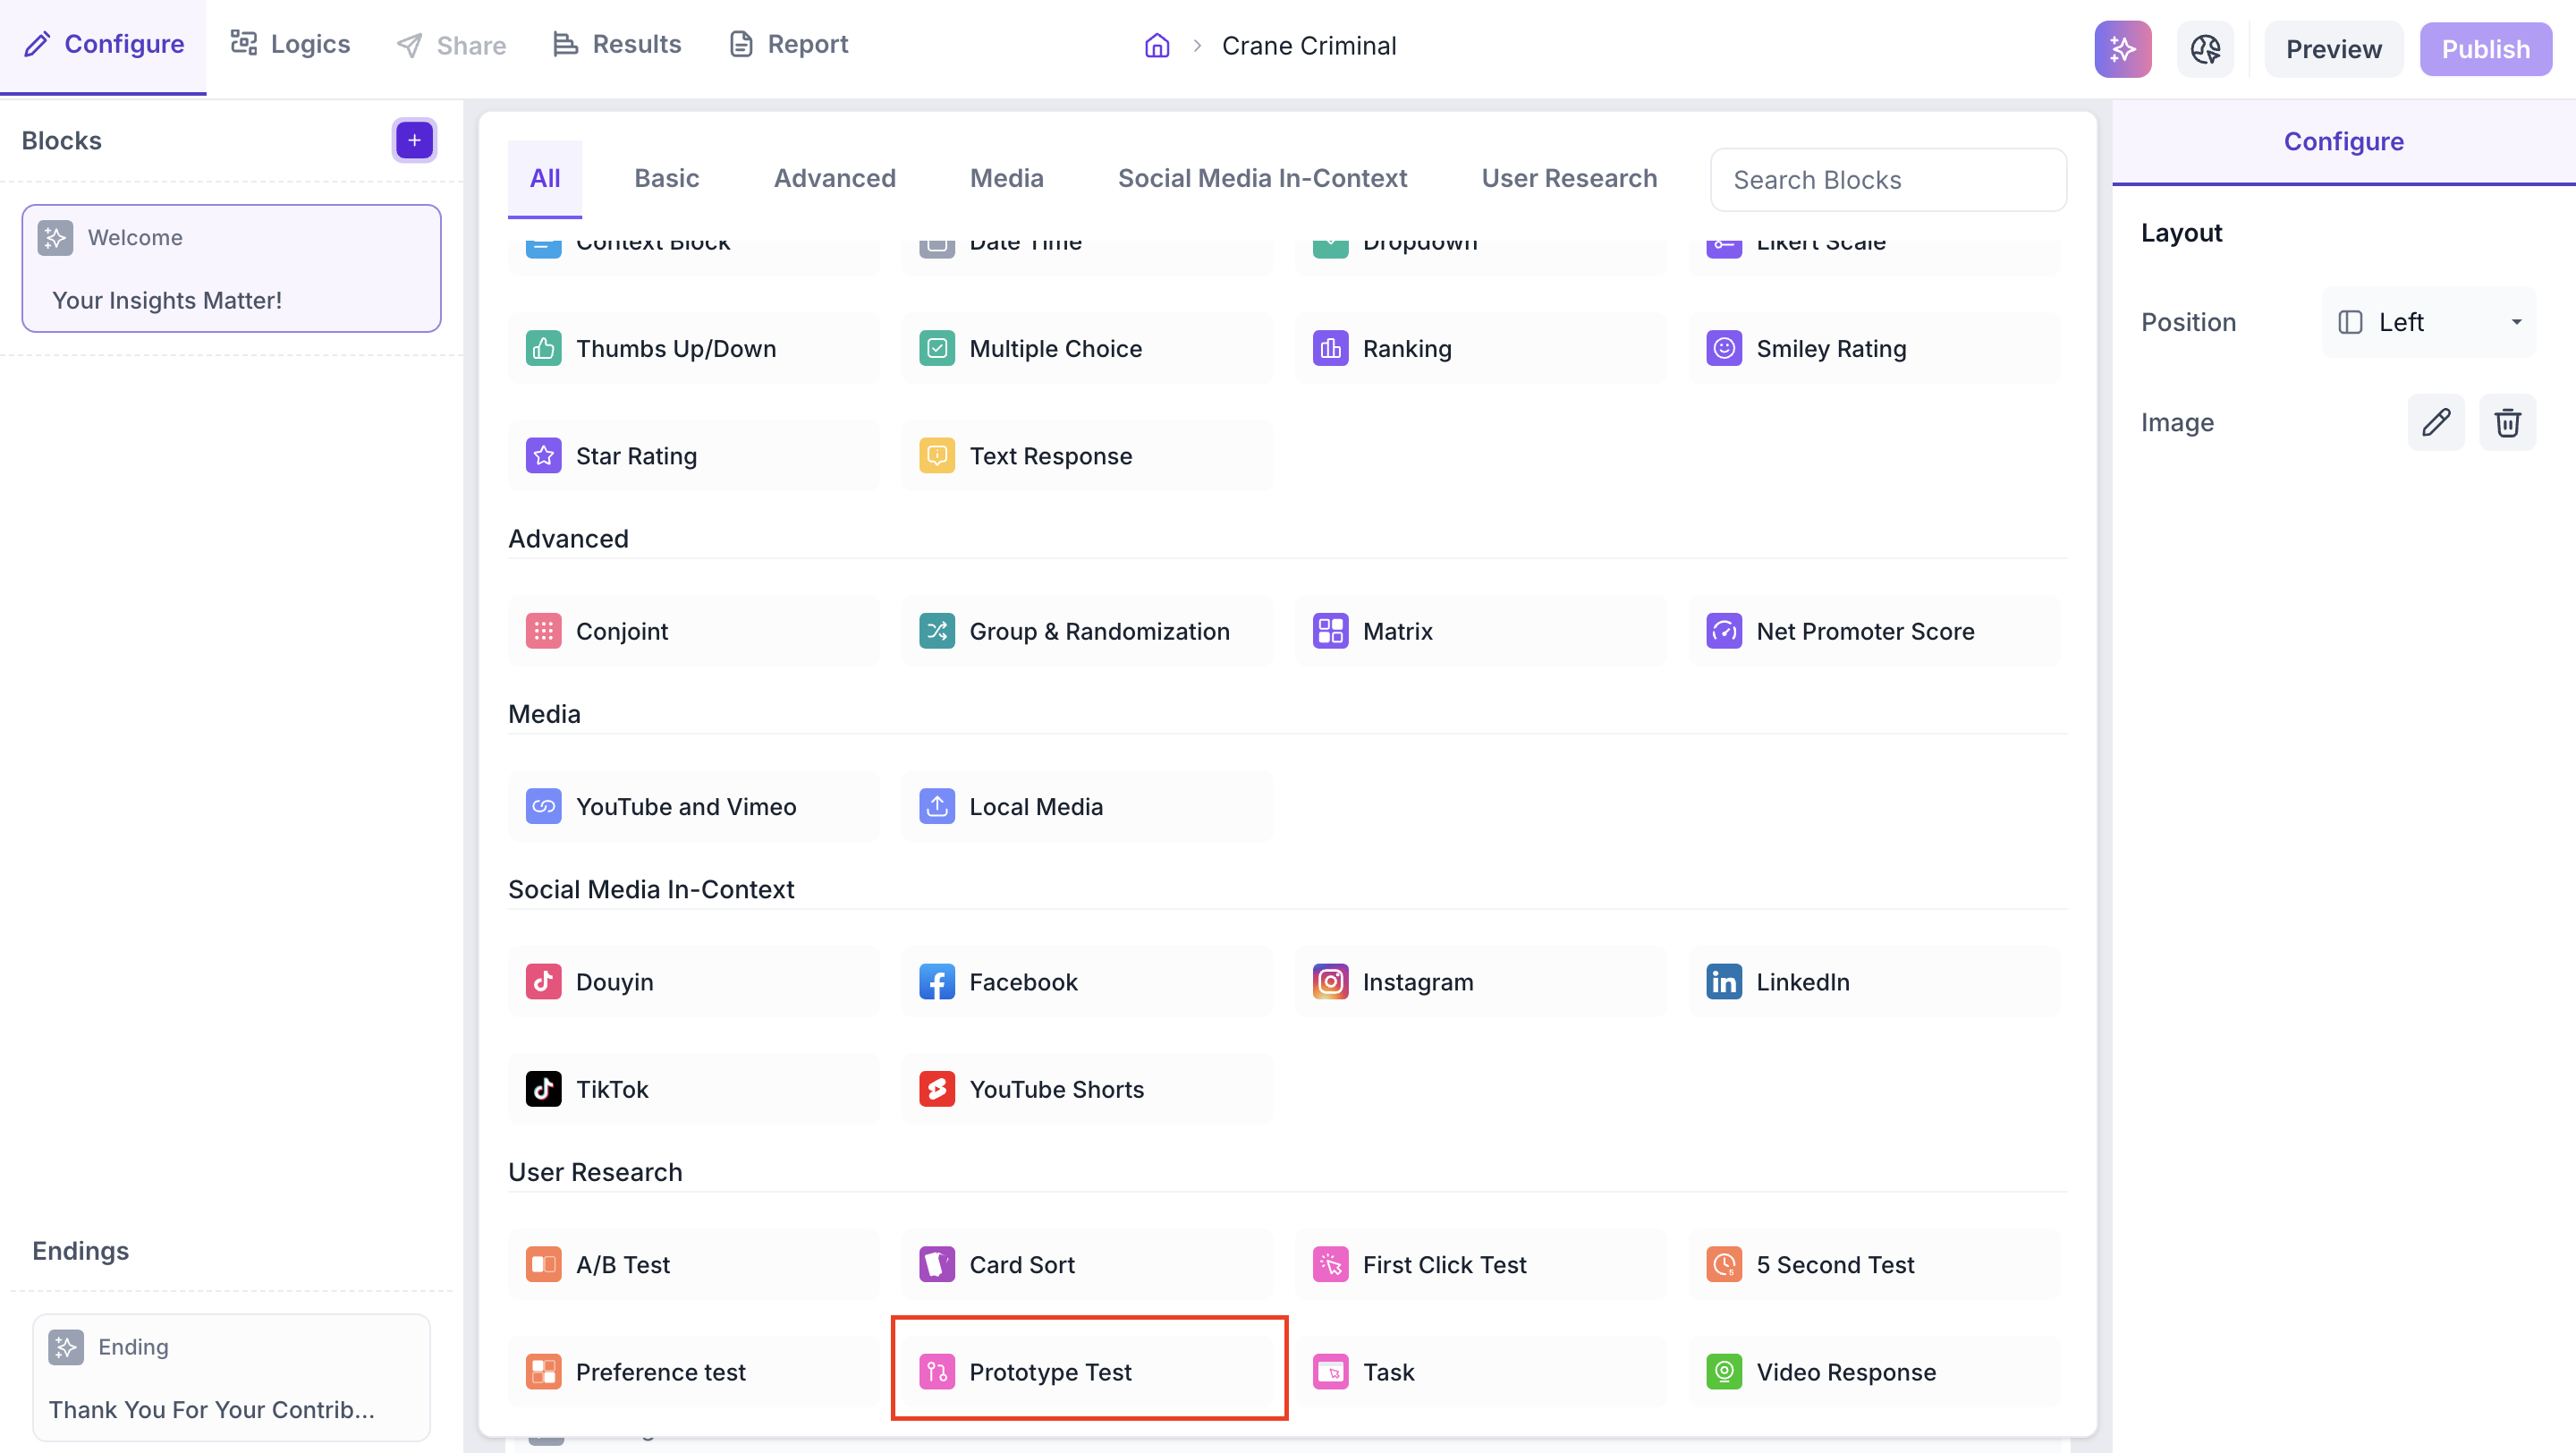
Click the + icon in the left panel to open the block selection panel. Under the User Research section, select Prototype Test.
Step 2: Import the Prototype
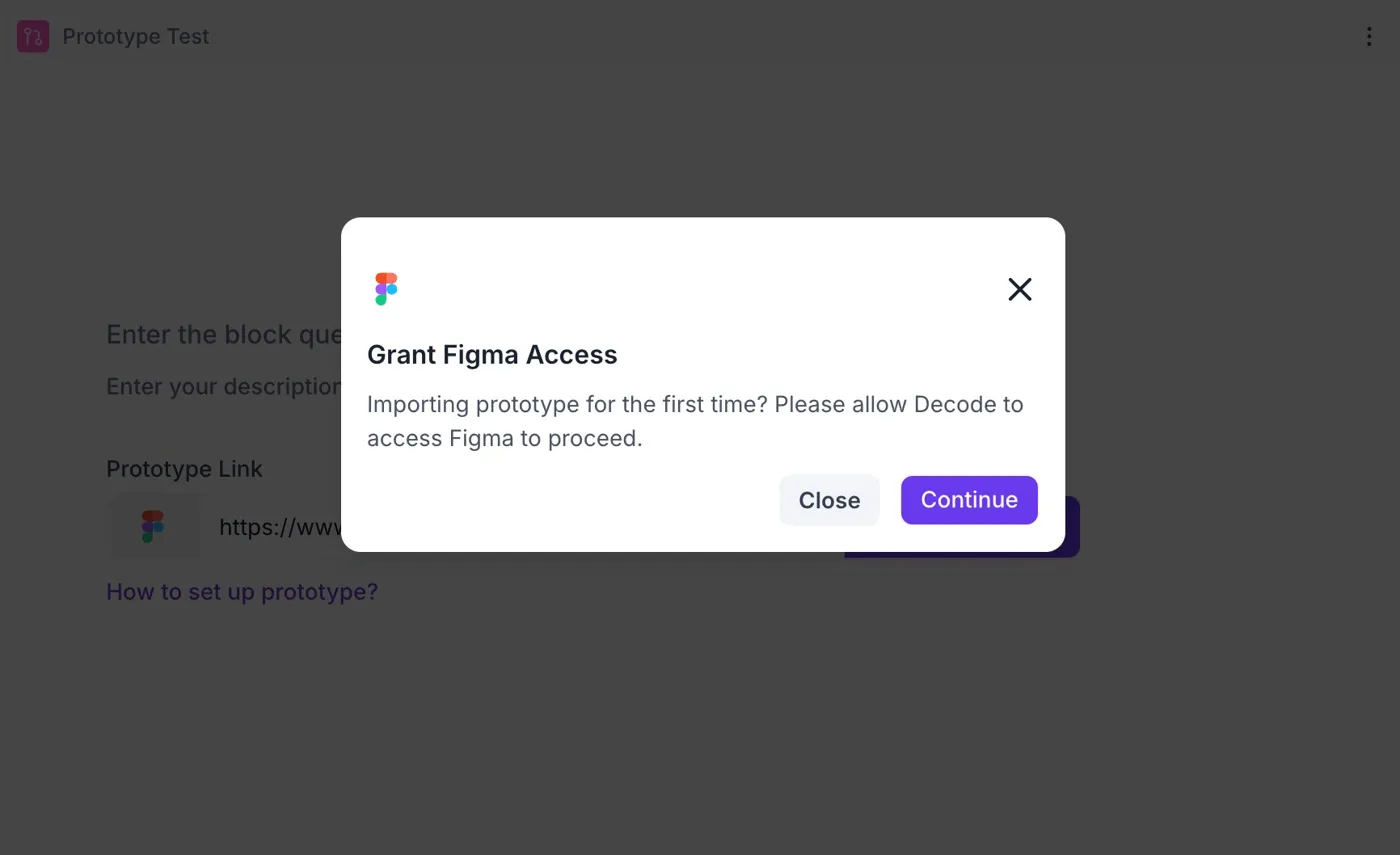
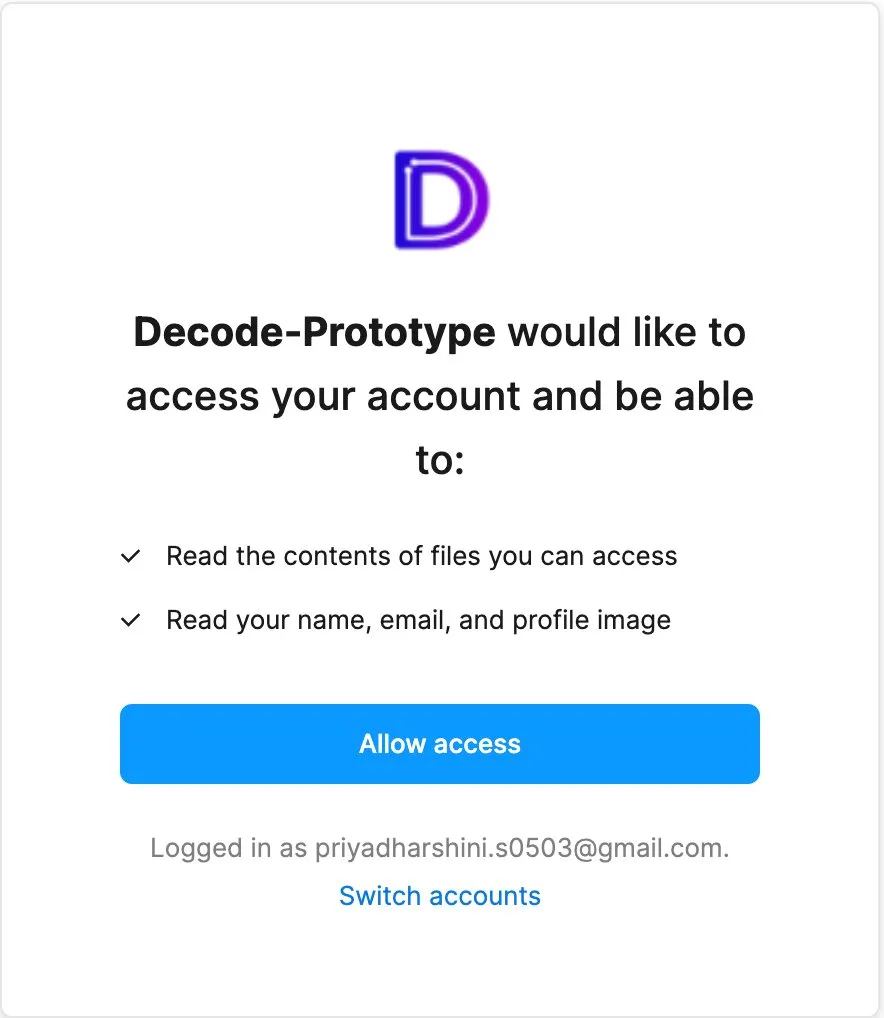
Paste your Figma prototype URL into the Prototype Link field and click Import Prototype. If this is your first time importing, Decode will prompt you to grant Figma access. Click Continue and then Allow Access on the Figma permissions screen.
Figma Access
When you import a Figma prototype for the first time, Decode will request access to your Figma account. Decode will only be able to read the contents of files you can access and read your name, email and profile image. No other access is requested.
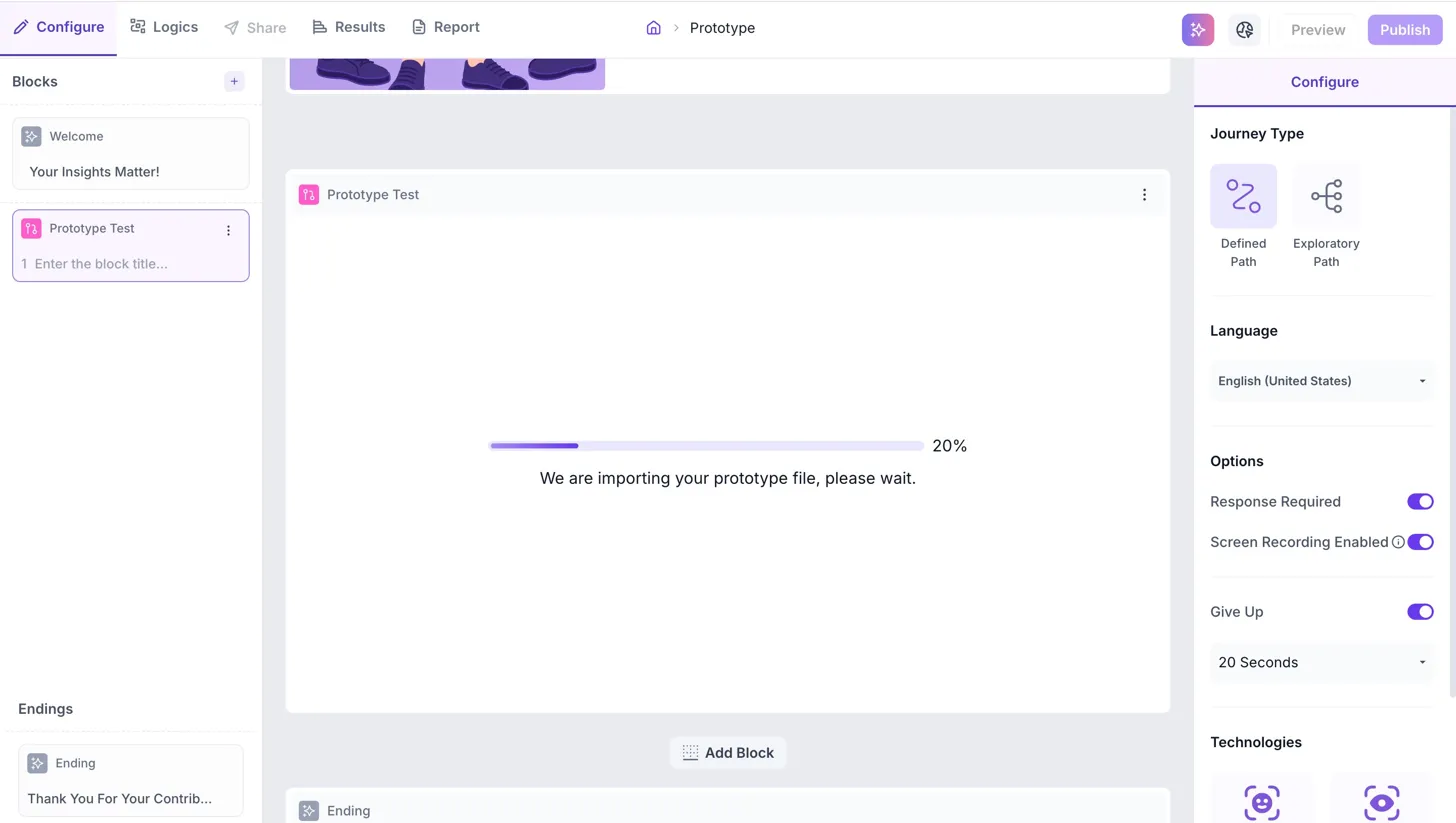
The prototype will begin importing and a progress bar will be shown as below.
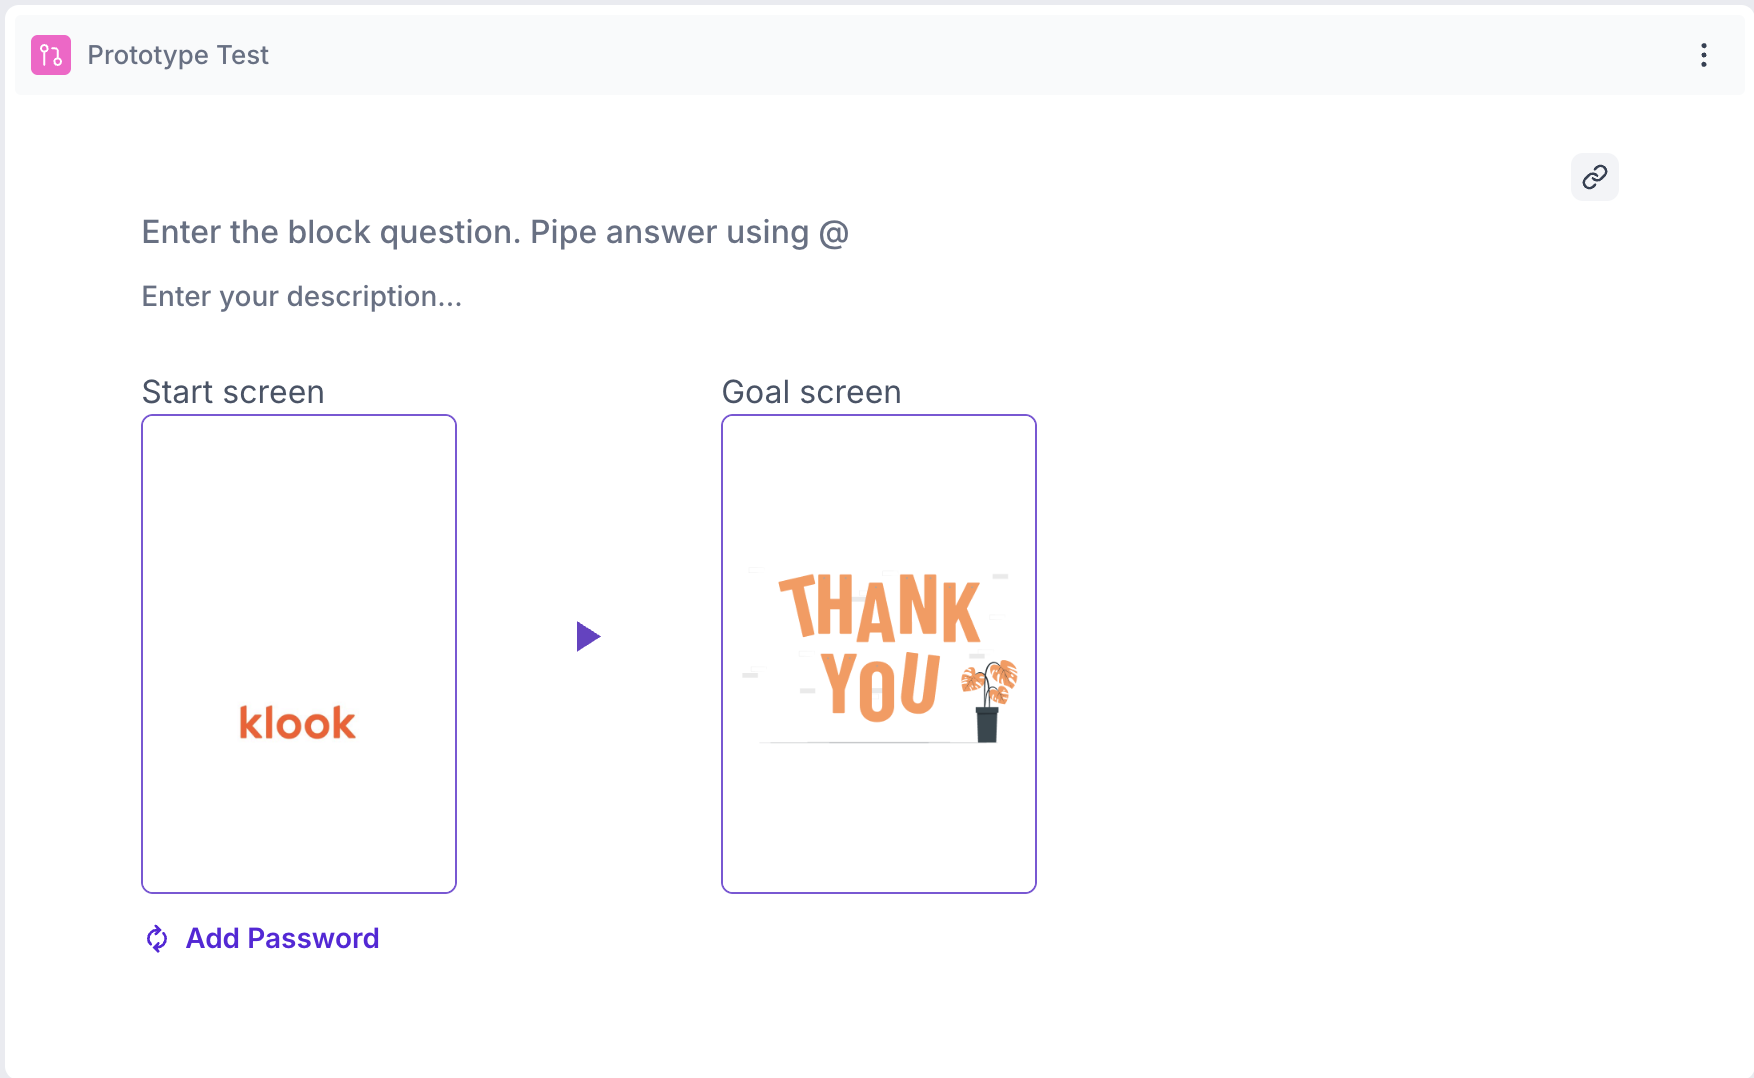
Password Protected Prototypes
If your prototype is password protected, click Add Password after importing and enter the password. During the test, participants will see a popup prompting them to enter the password. They can copy and paste it directly from the popup to proceed.
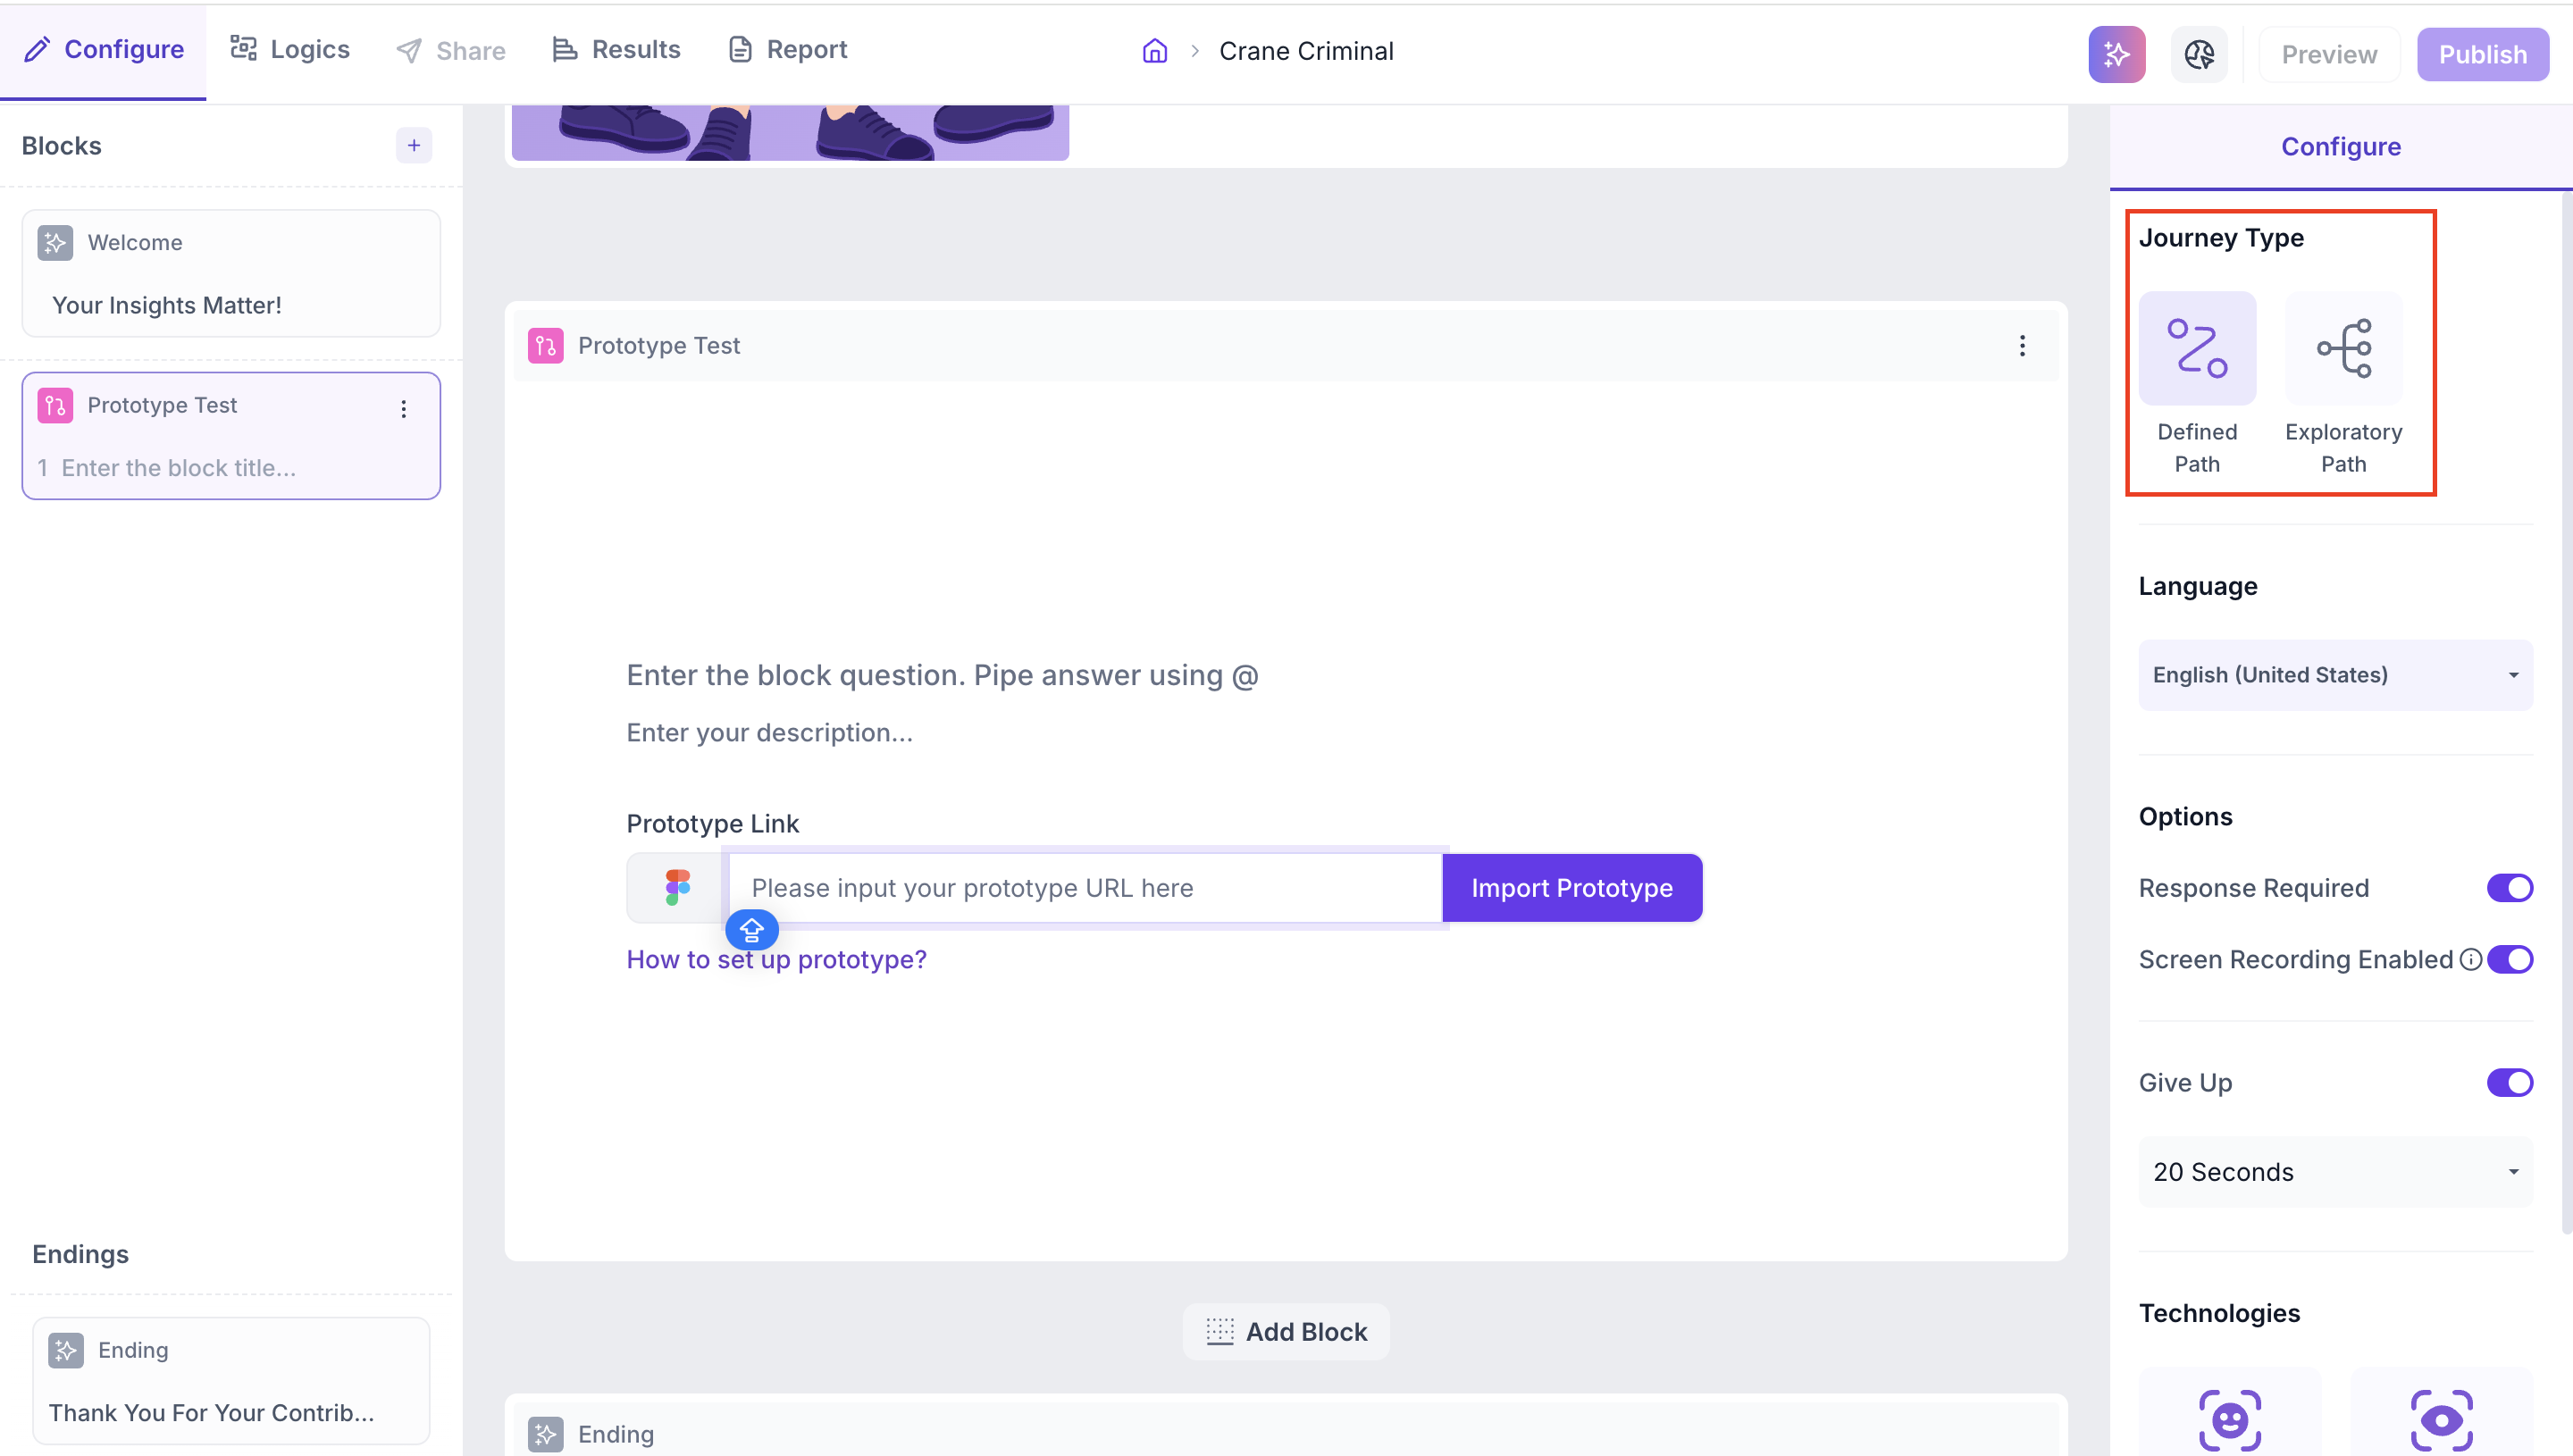
Step 3: Select the Journey Type
In the Configure panel, select the journey type for this block. The journey type determines how participants navigate through the prototype and what data is collected.
- Defined Path: A specific sequence of screens is configured from start to goal. Results show how many participants followed the defined sequence, how many reached the goal through an alternate sequence and how many did not reach the goal
- Exploratory Path: A start screen and a goal screen are set. Participants navigate freely through the prototype and every path taken is recorded to show how participants reached the goal
Step 4: Configure the Journey
Defined Path
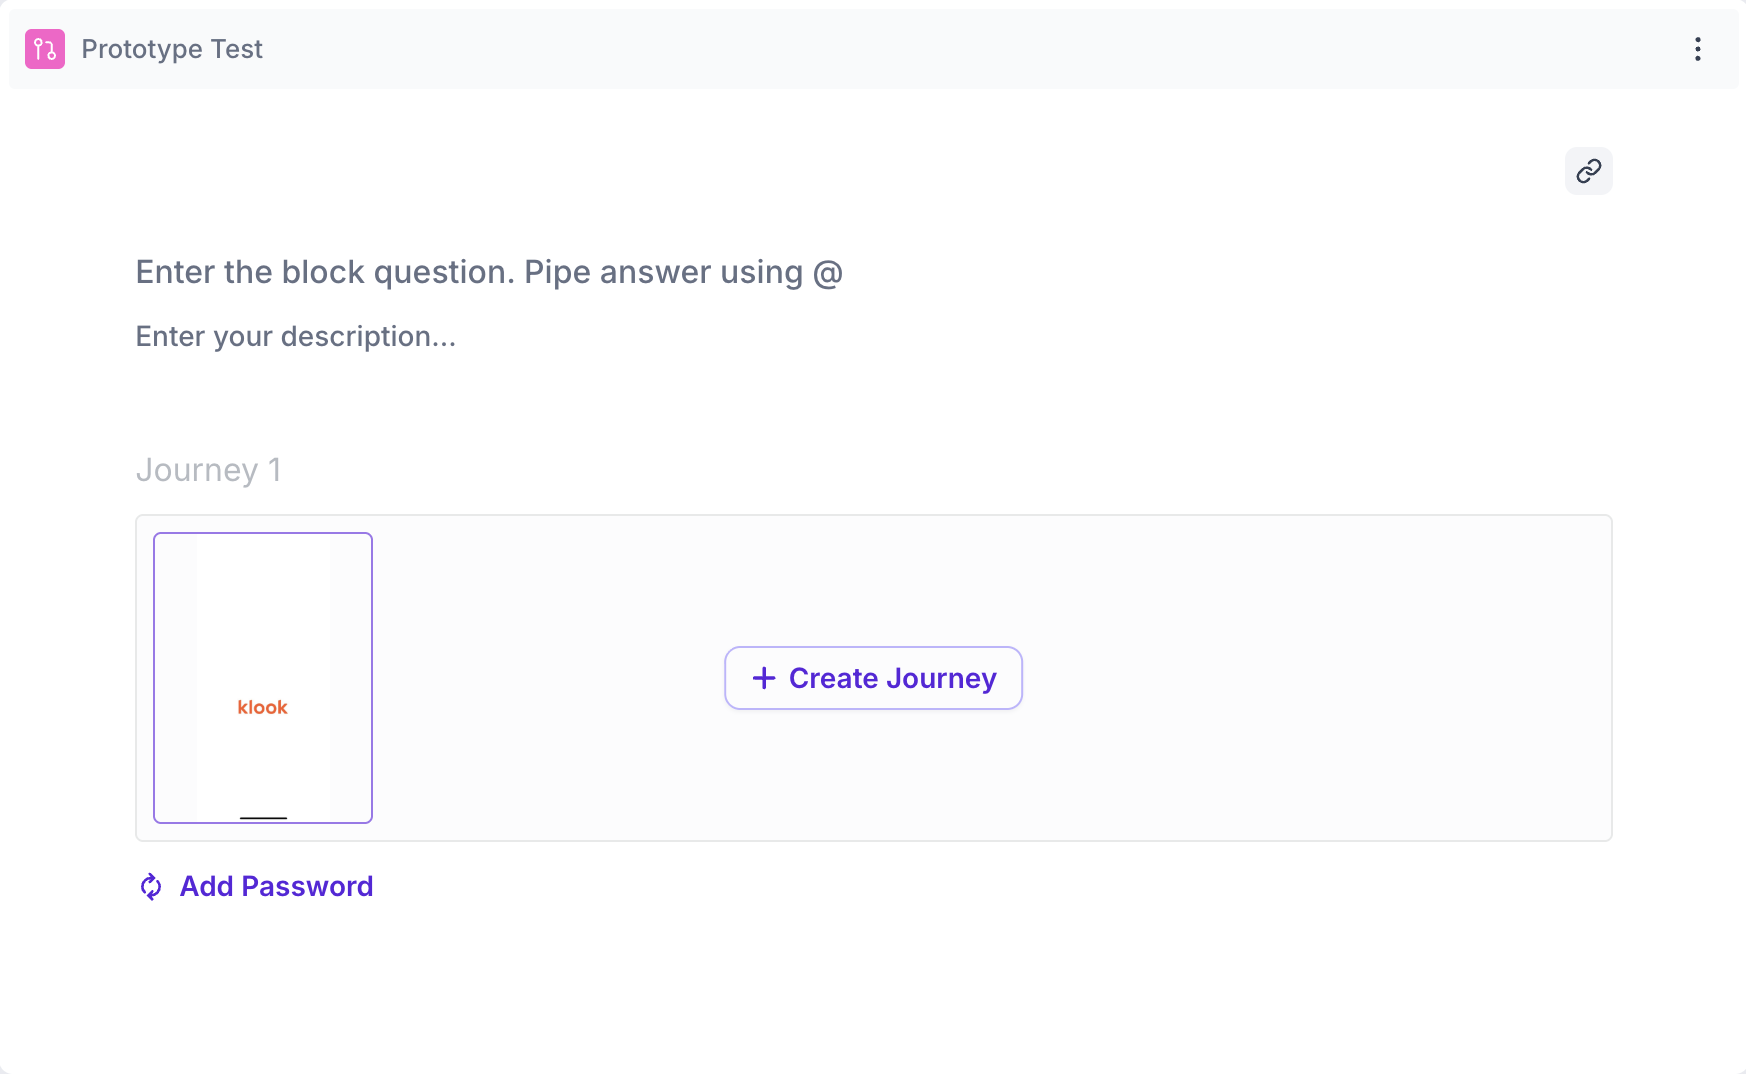
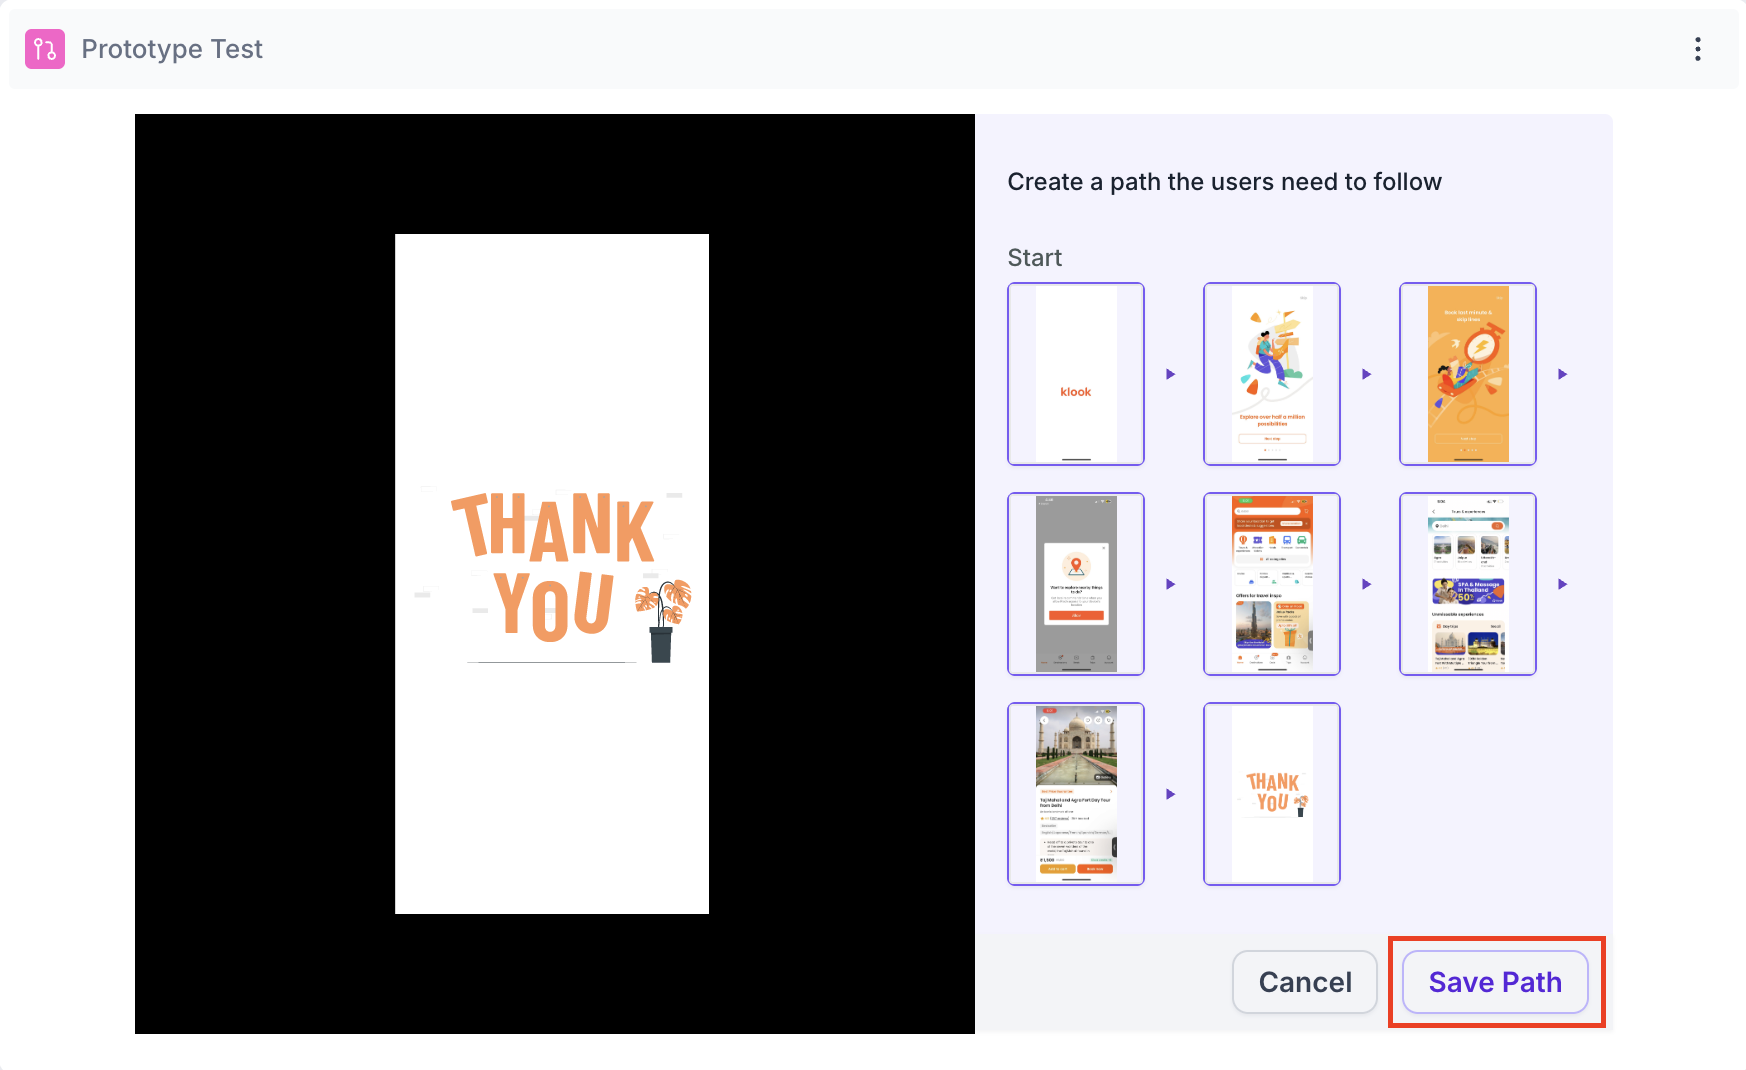
Click Create Journey to begin. Select the start screen from the screen grid shown. Once the start screen is selected, the prototype becomes interactive. Click through the screens to build the path participants should follow to reach the goal. Each screen you click through is added to the journey sequence.
To remove a screen from the journey, use the delete option on that screen. Deleting a screen will also remove all screens that follow it in the sequence as they are dependent on it.
Click Save Path to finalise the journey. You can create multiple journeys within a single Defined Path test. This lets you test different navigation paths and understand which one participants prefer or complete most successfully. Each journey can be edited, deleted or viewed independently, as shown below.
Exploratory Path
Select the start screen and the goal screen. Participants will navigate freely from the start screen. Decode tracks every path taken and records whether participants reached the goal screen, as shown below.
Step 5: Configure Properties
Use the Configure panel to set the following properties.
Options
Response Required: Enabled by default. Participants must complete the prototype test before proceeding to the next block
Screen Recording Enabled: Records the participant's screen during the test. Available for desktop participants only. Recordings are not captured for mobile participants.
Give Up: When enabled, a Skip button appears for participants after the set time has elapsed. The time can be set between 20 and 120 seconds. Participants who see the Skip button can choose to skip the prototype or continue. Use this to prevent participants from getting stuck or looping within the prototype
Language
Select the language for this block. Transcripts will be generated in the selected language if the participant spoke during the session.
Technologies
Select the tracking technologies to enable for this block.
- Facial Coding: Tracks facial expressions to identify emotional responses such as happiness, surprise and anger. Requires the participant's camera to be enabled
- Eye Tracking: Monitors eye movement and gaze to understand which areas of each screen received the most visual attention
- Mouse Click: Records all clicks made by participants during the test, including misclicks on non-interactive areas