
How to Add Media Blocks in a Quantitative Study?
Overview
Media Blocks in Decode allow you to embed rich visual or video content directly into your survey. These are ideal for testing ads, product packaging, or brand imagery and capturing respondent reactions in real time.
In this article, you'll learn how to build a quantitative study using Media Blocks from uploading media to customizing each block’s settings.
Steps
Step 1: Log in to Decode
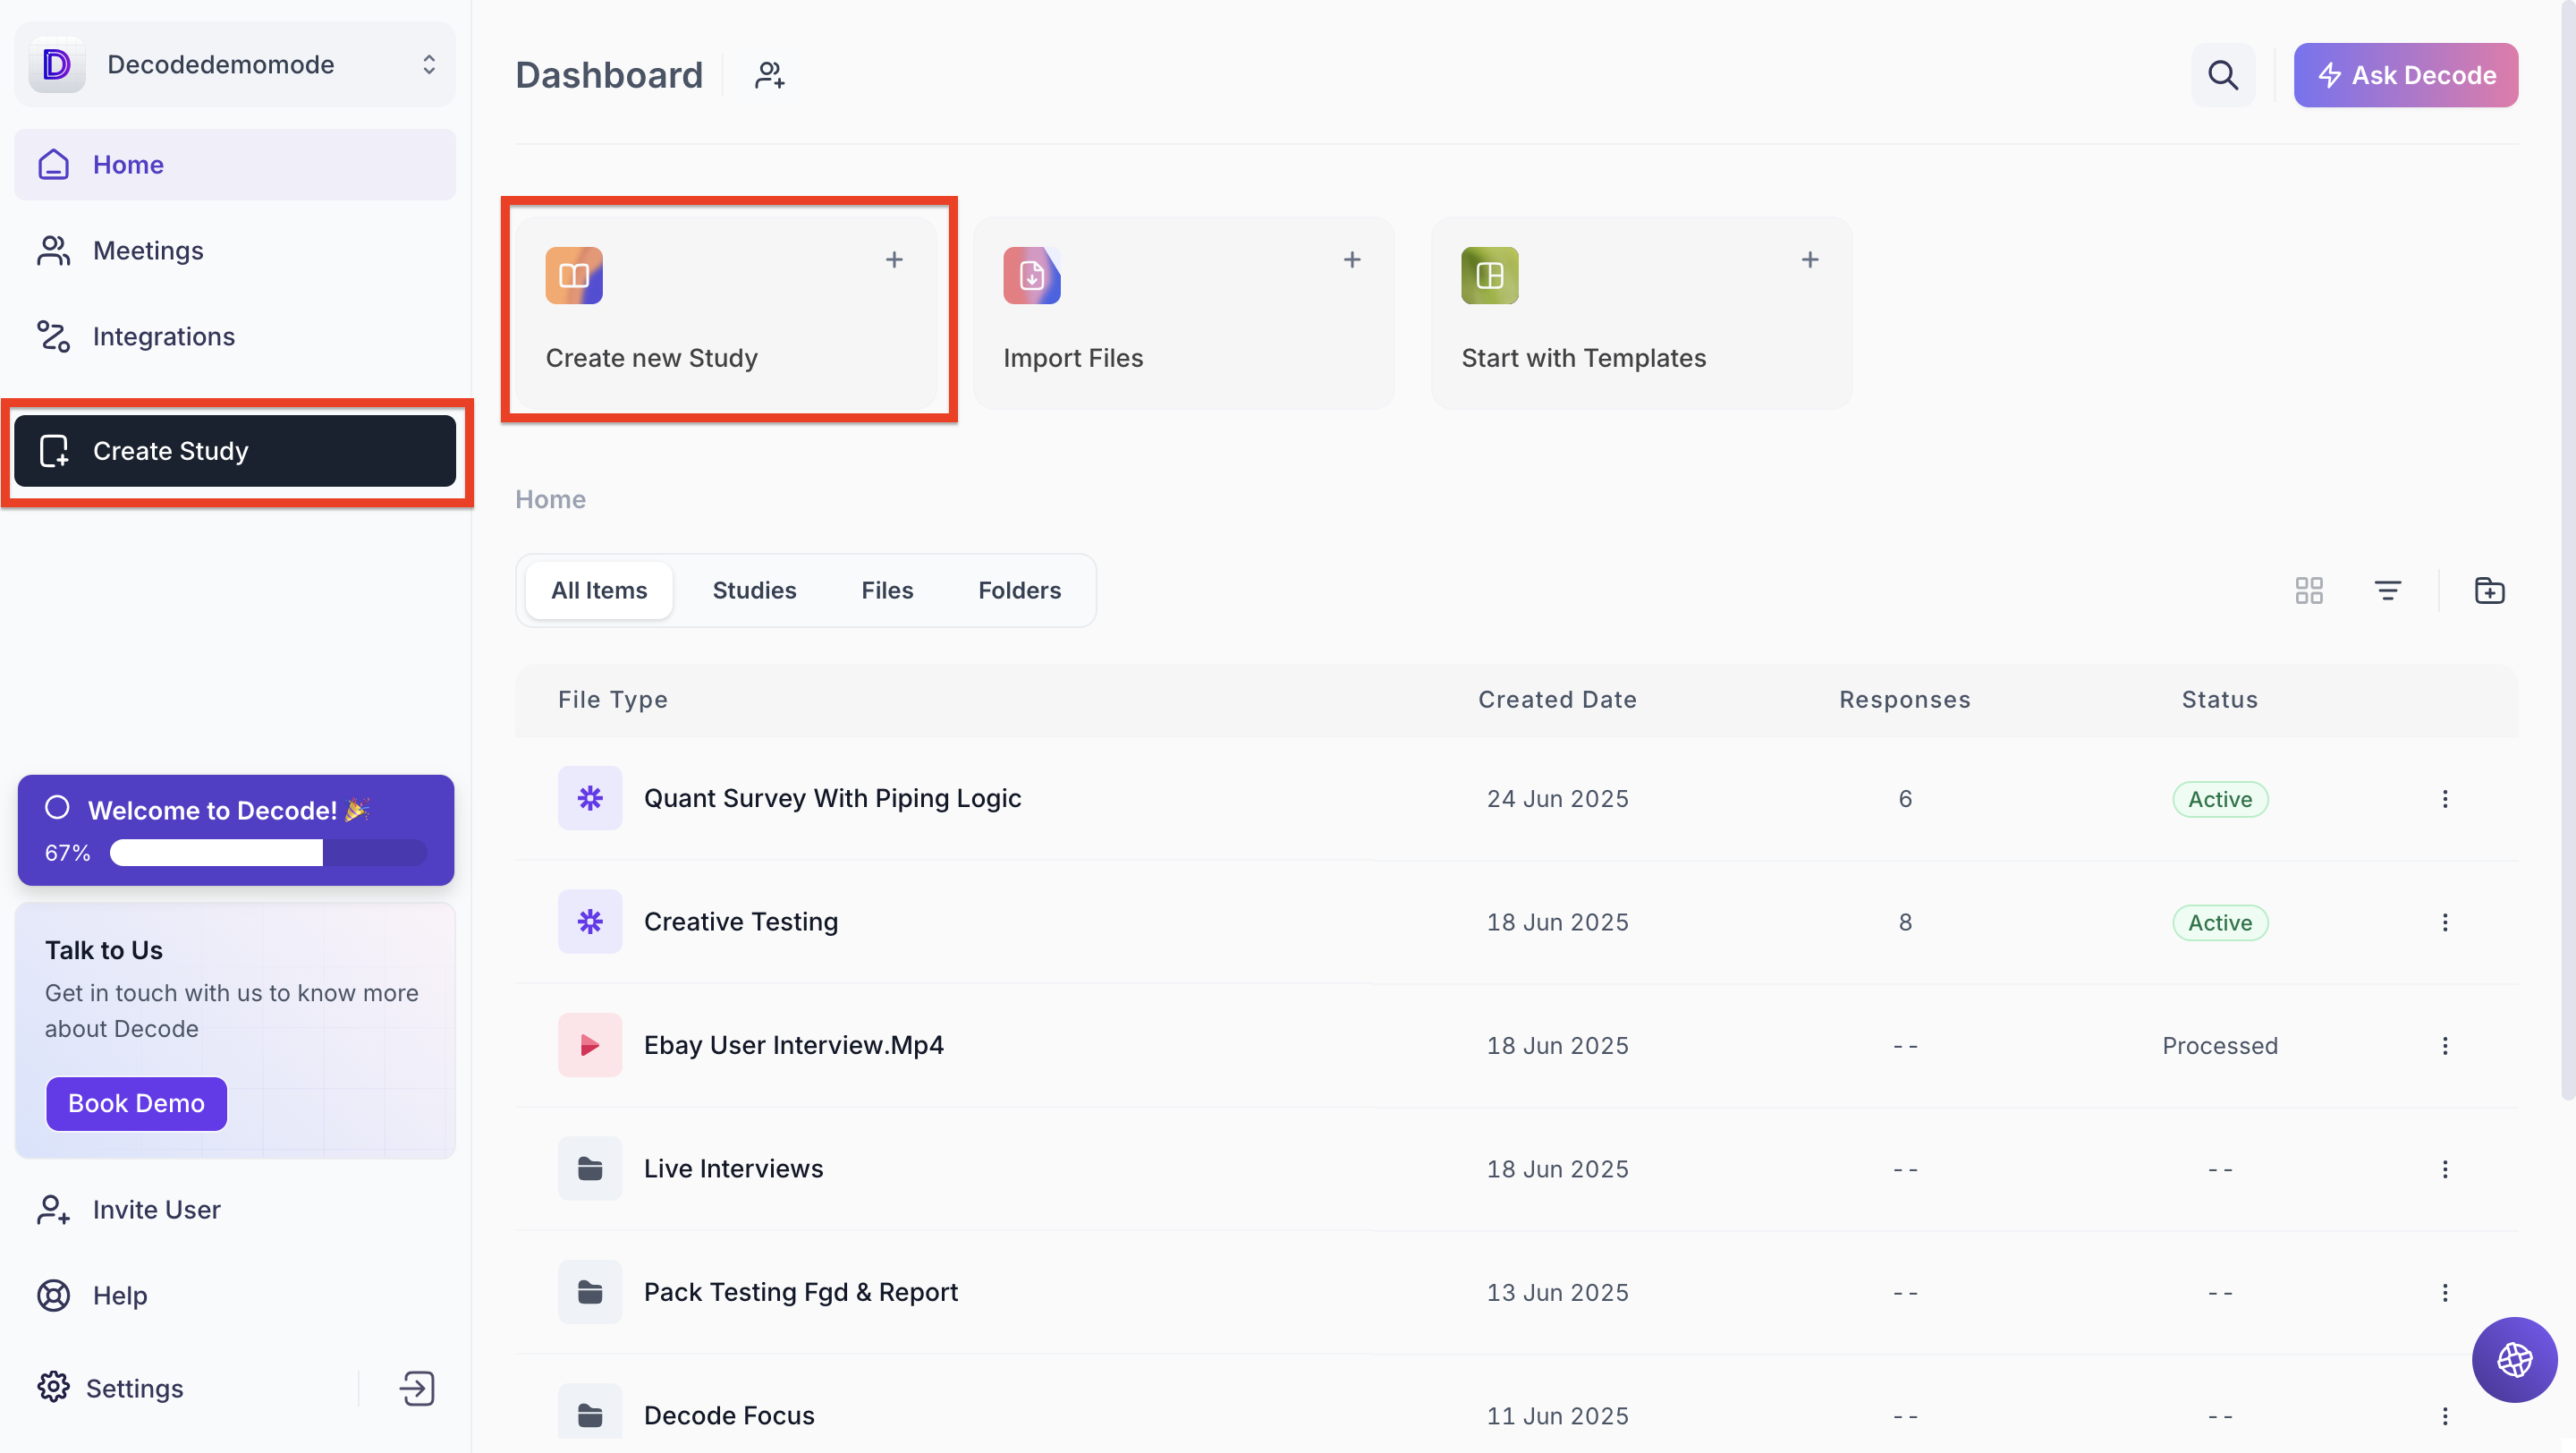
Once you log into your Decode account, you will be directed to the dashboard.
Step 2: Create a New Study
Click the “+” button from the left-hand navigation panel labeled Create Study or click “Create new Study” from the top panel on the dashboard.
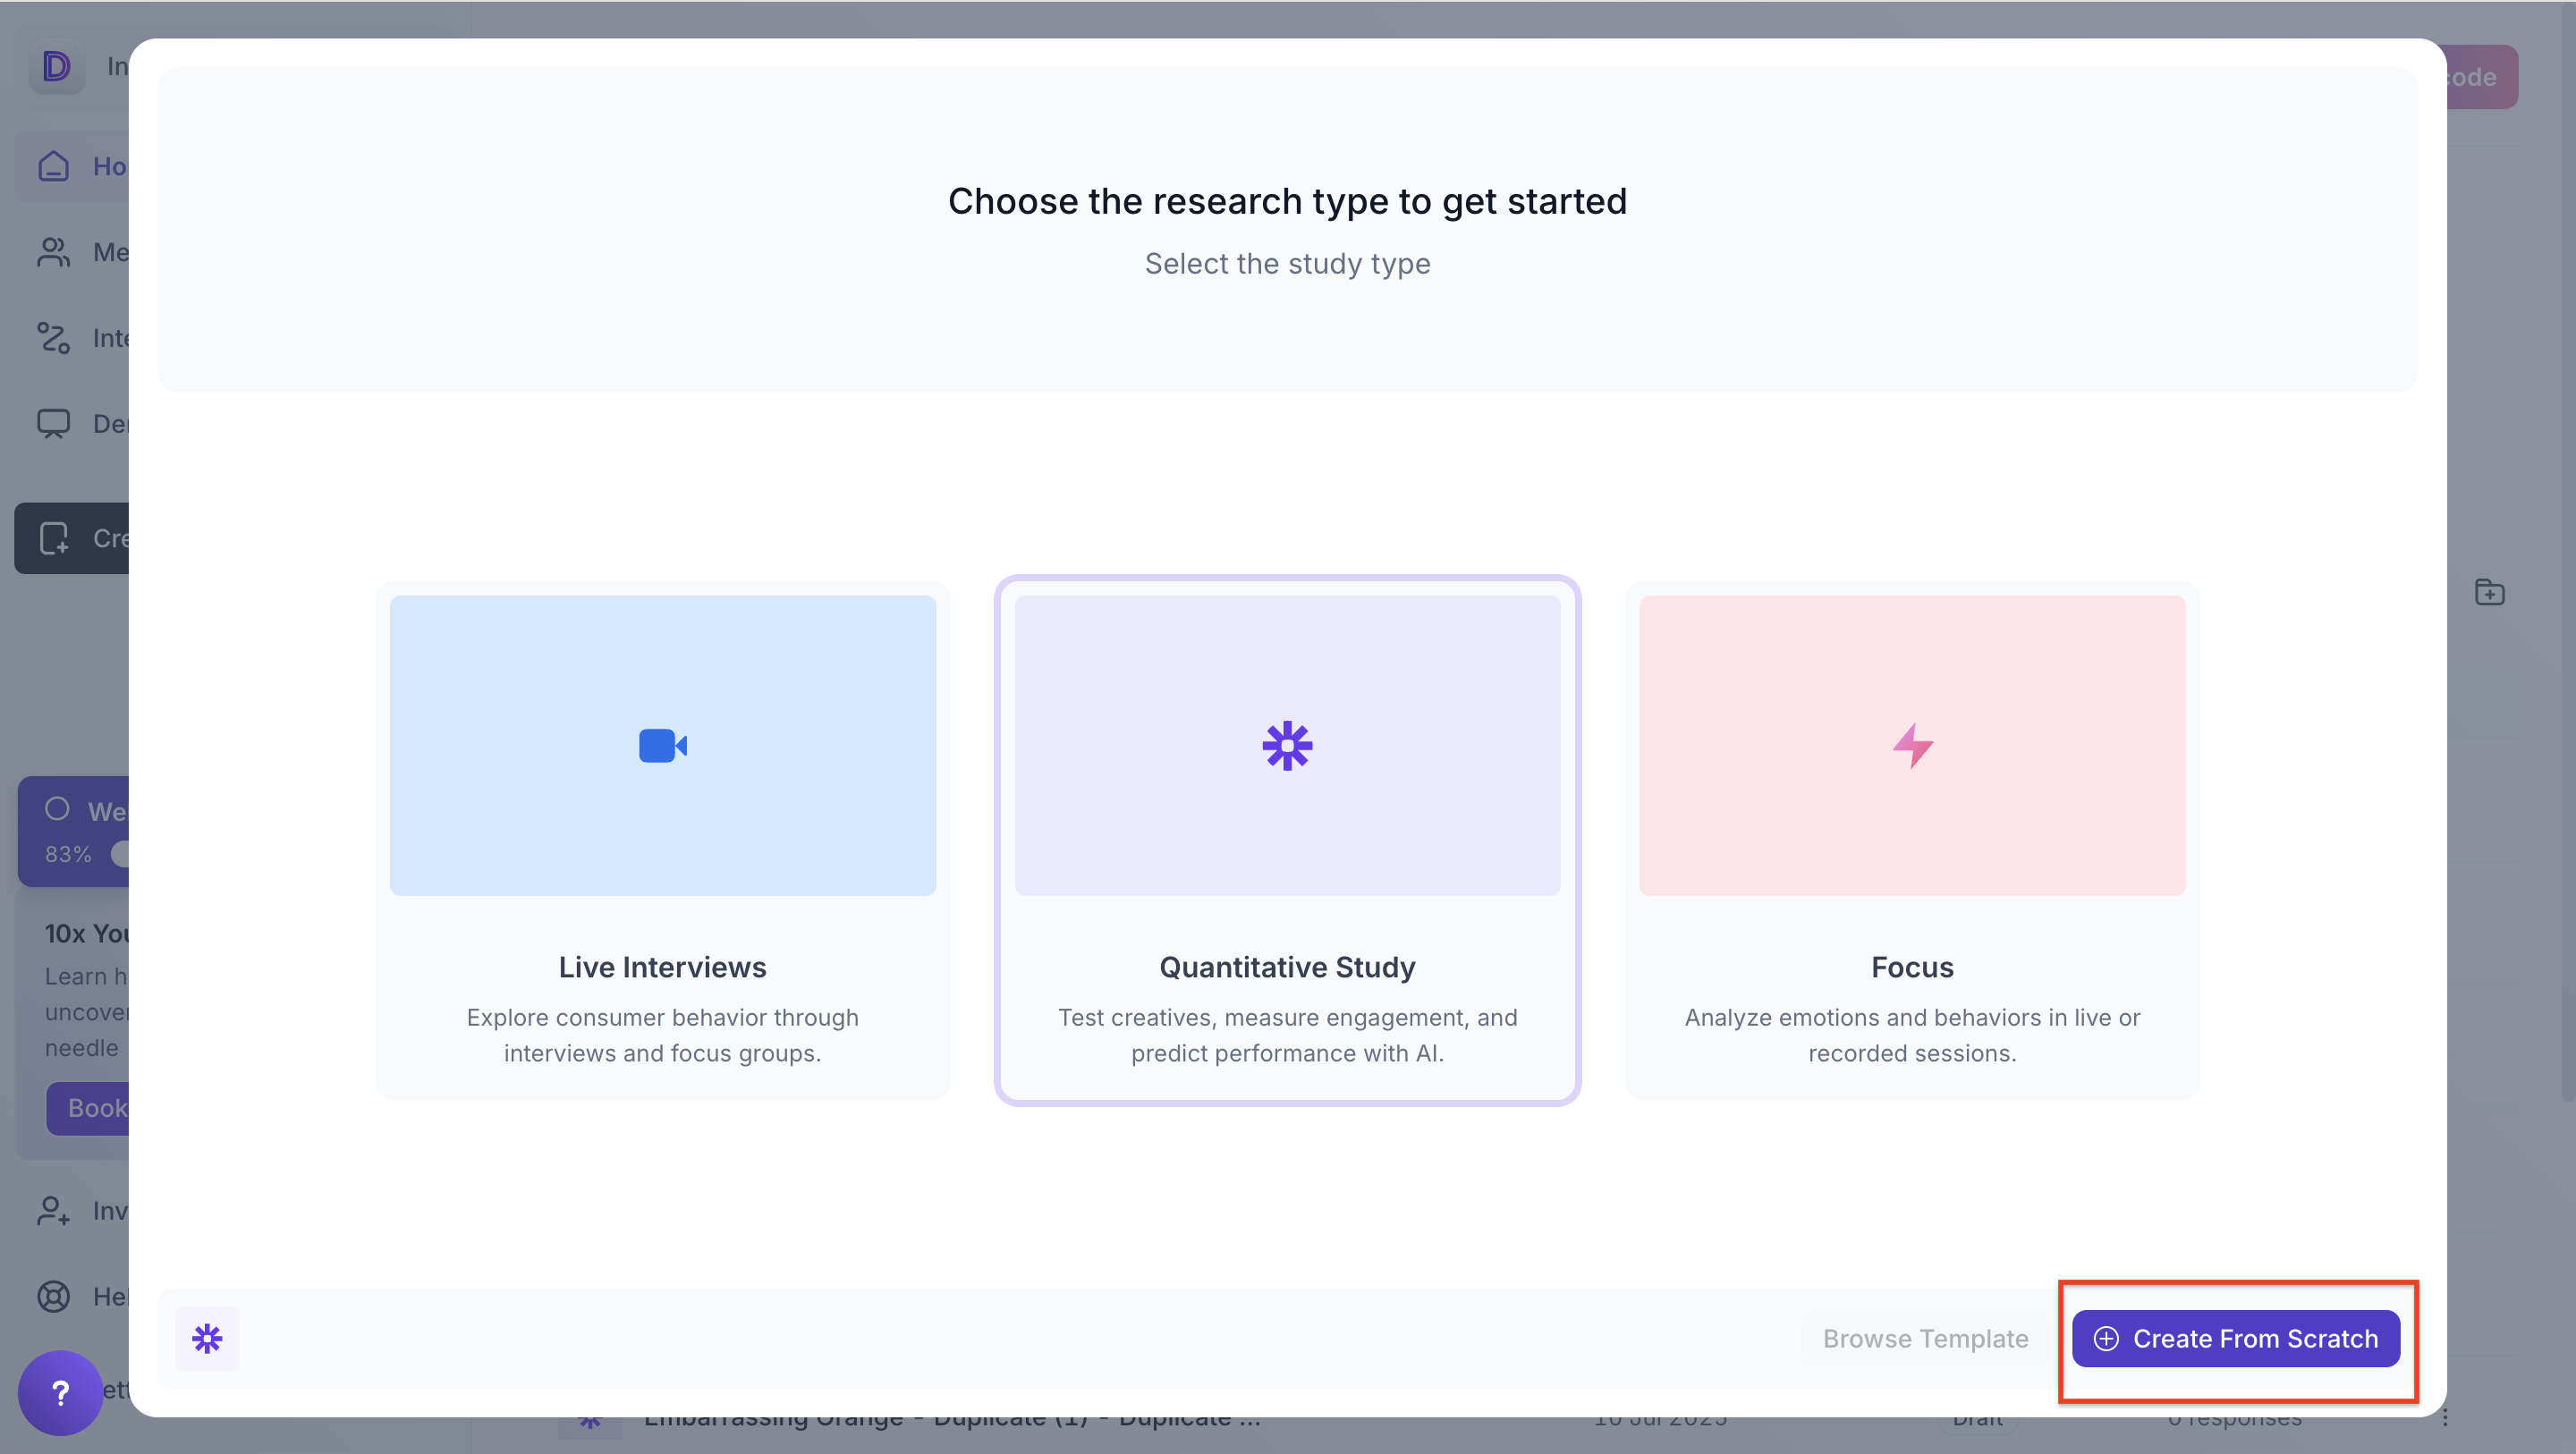
Step 3: Choose Research Type
A popup will appear to select the type of study:
- Choose Quantitative Study
- Then click Create from Scratch button
Step 4: Survey Configuration Page
Once your study is created, you'll be redirected to the survey configuration screen. This is where you can set up your study structure and add or edit blocks.
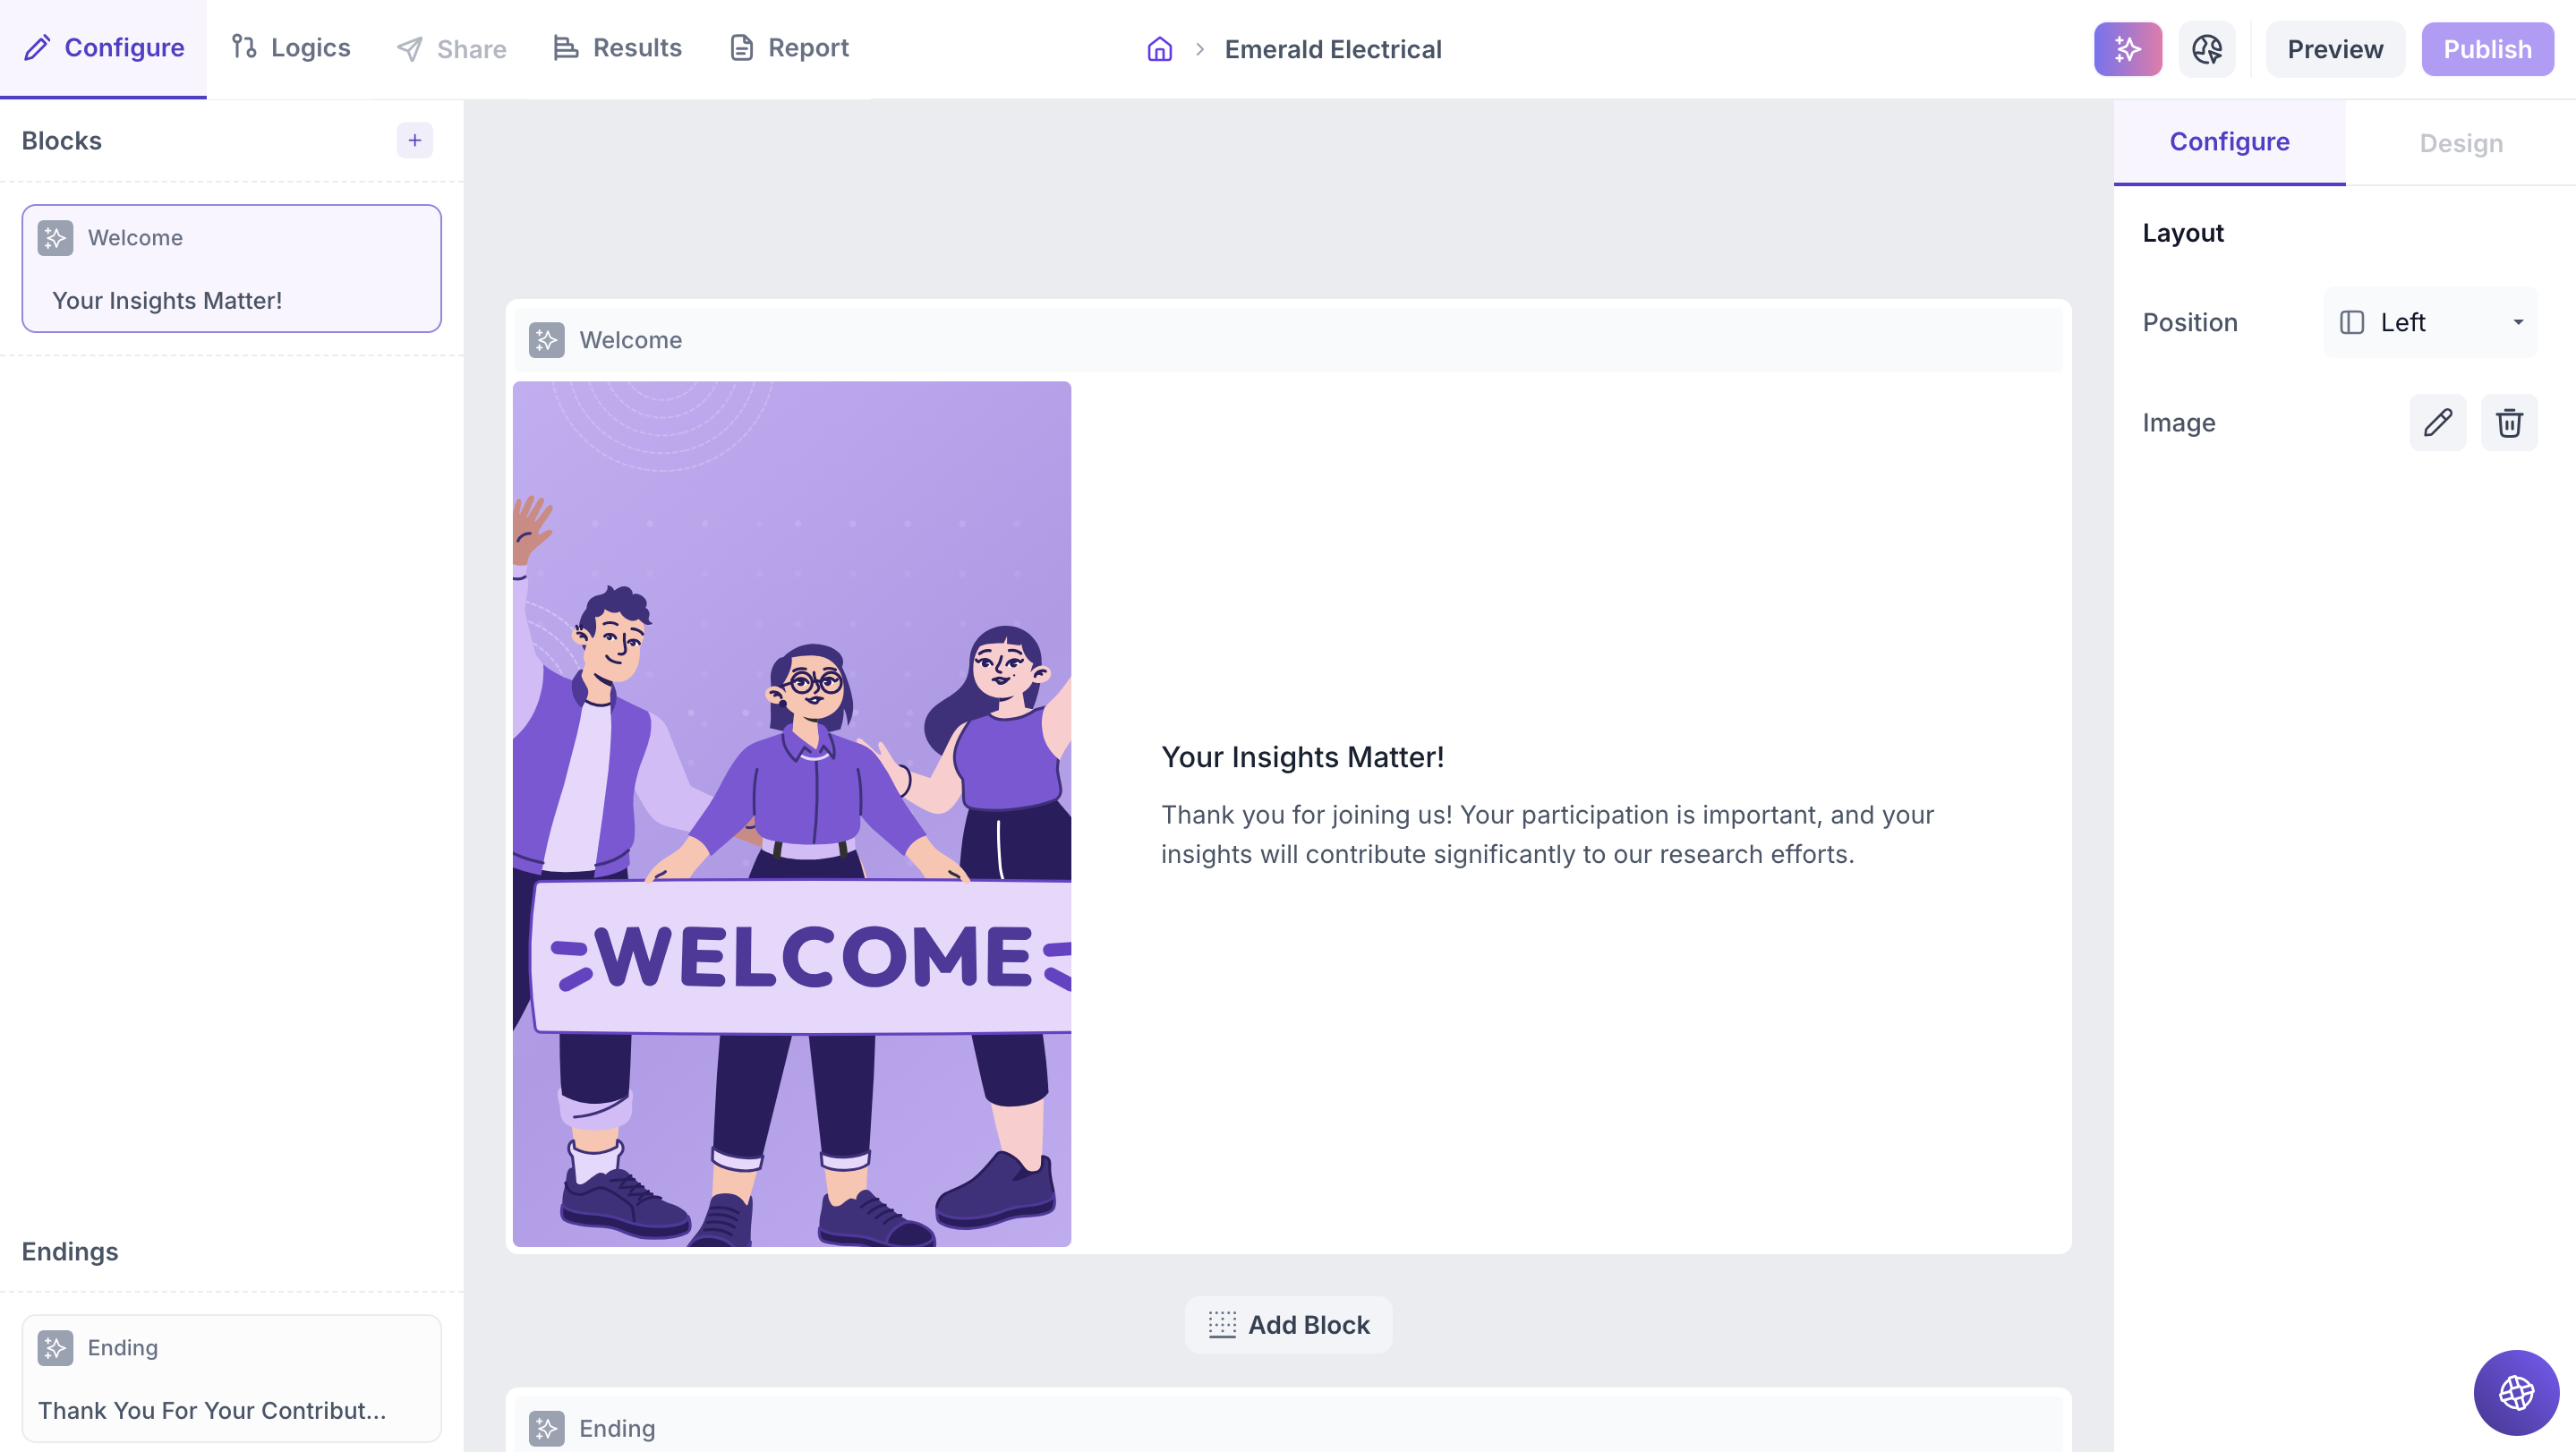
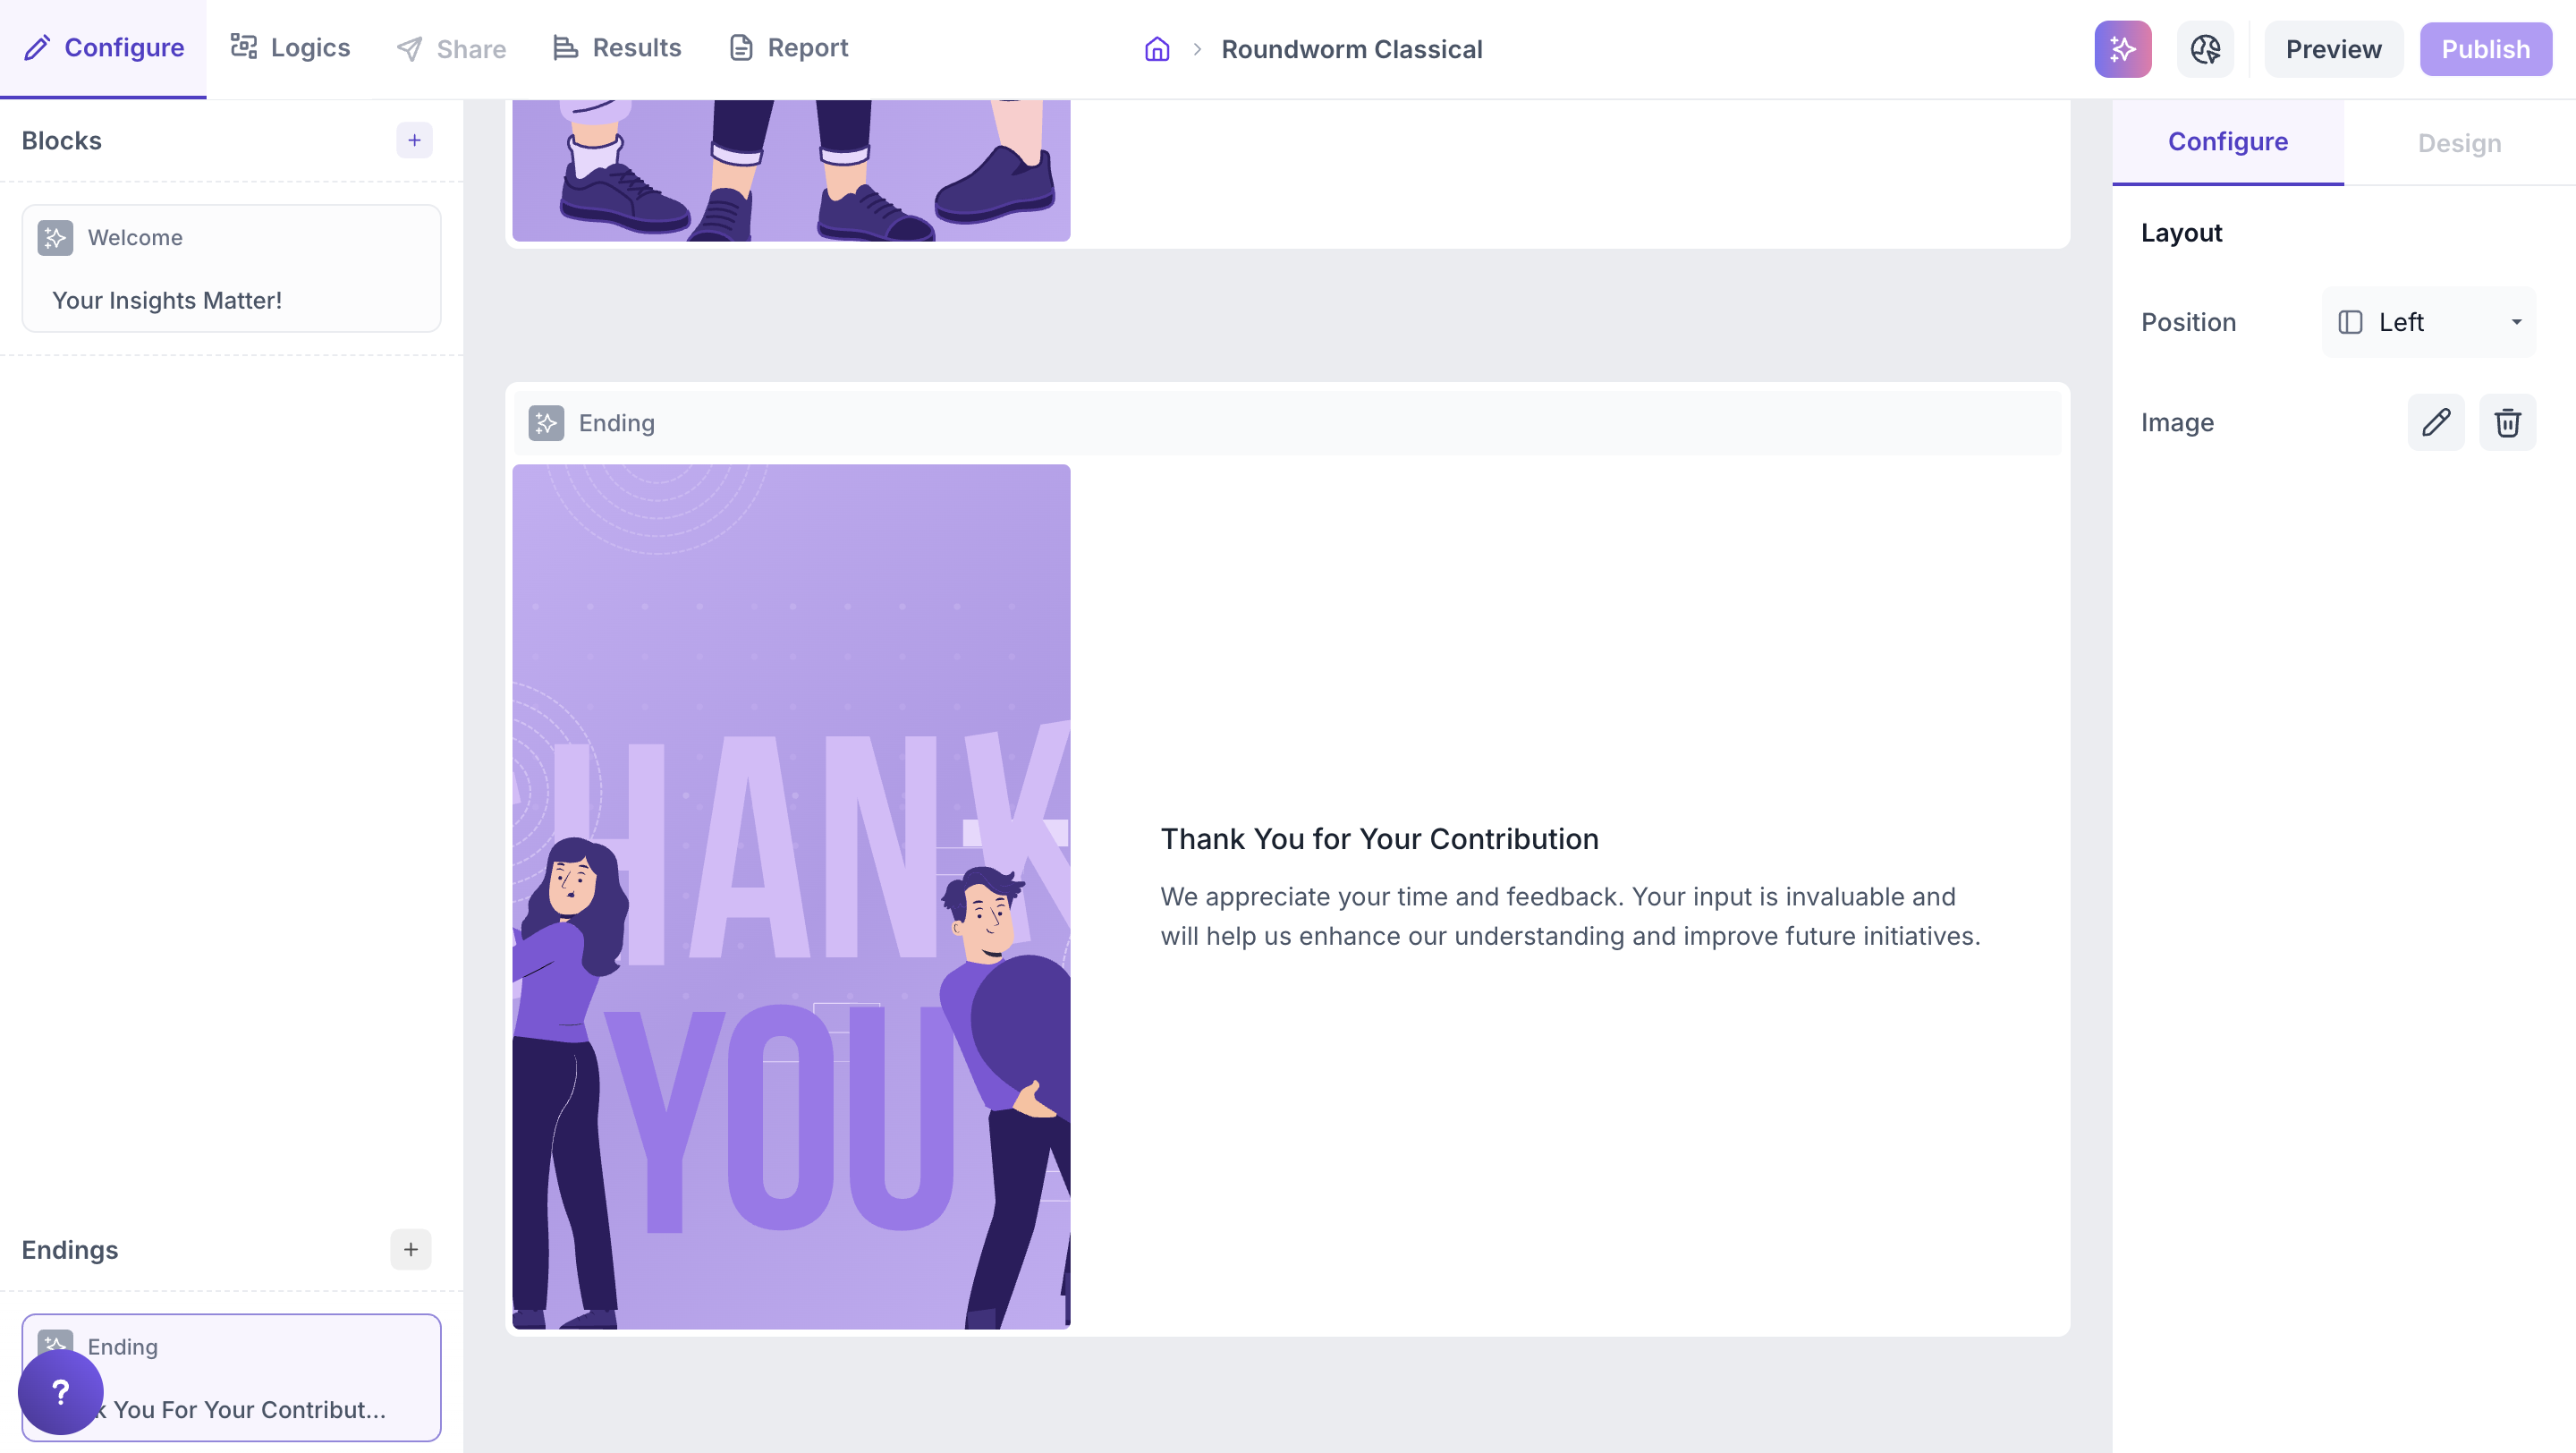
Step 5: Customize the Welcome and Thank You Pages
By default, your study will include a Welcome Page at the beginning and a Thank You Page at the end.
- The Welcome Page is where you can introduce the study, add a title, description, and relevant visuals.
- The Thank You Page allows you to acknowledge participant completion.
Welcome Page

Thank You Page
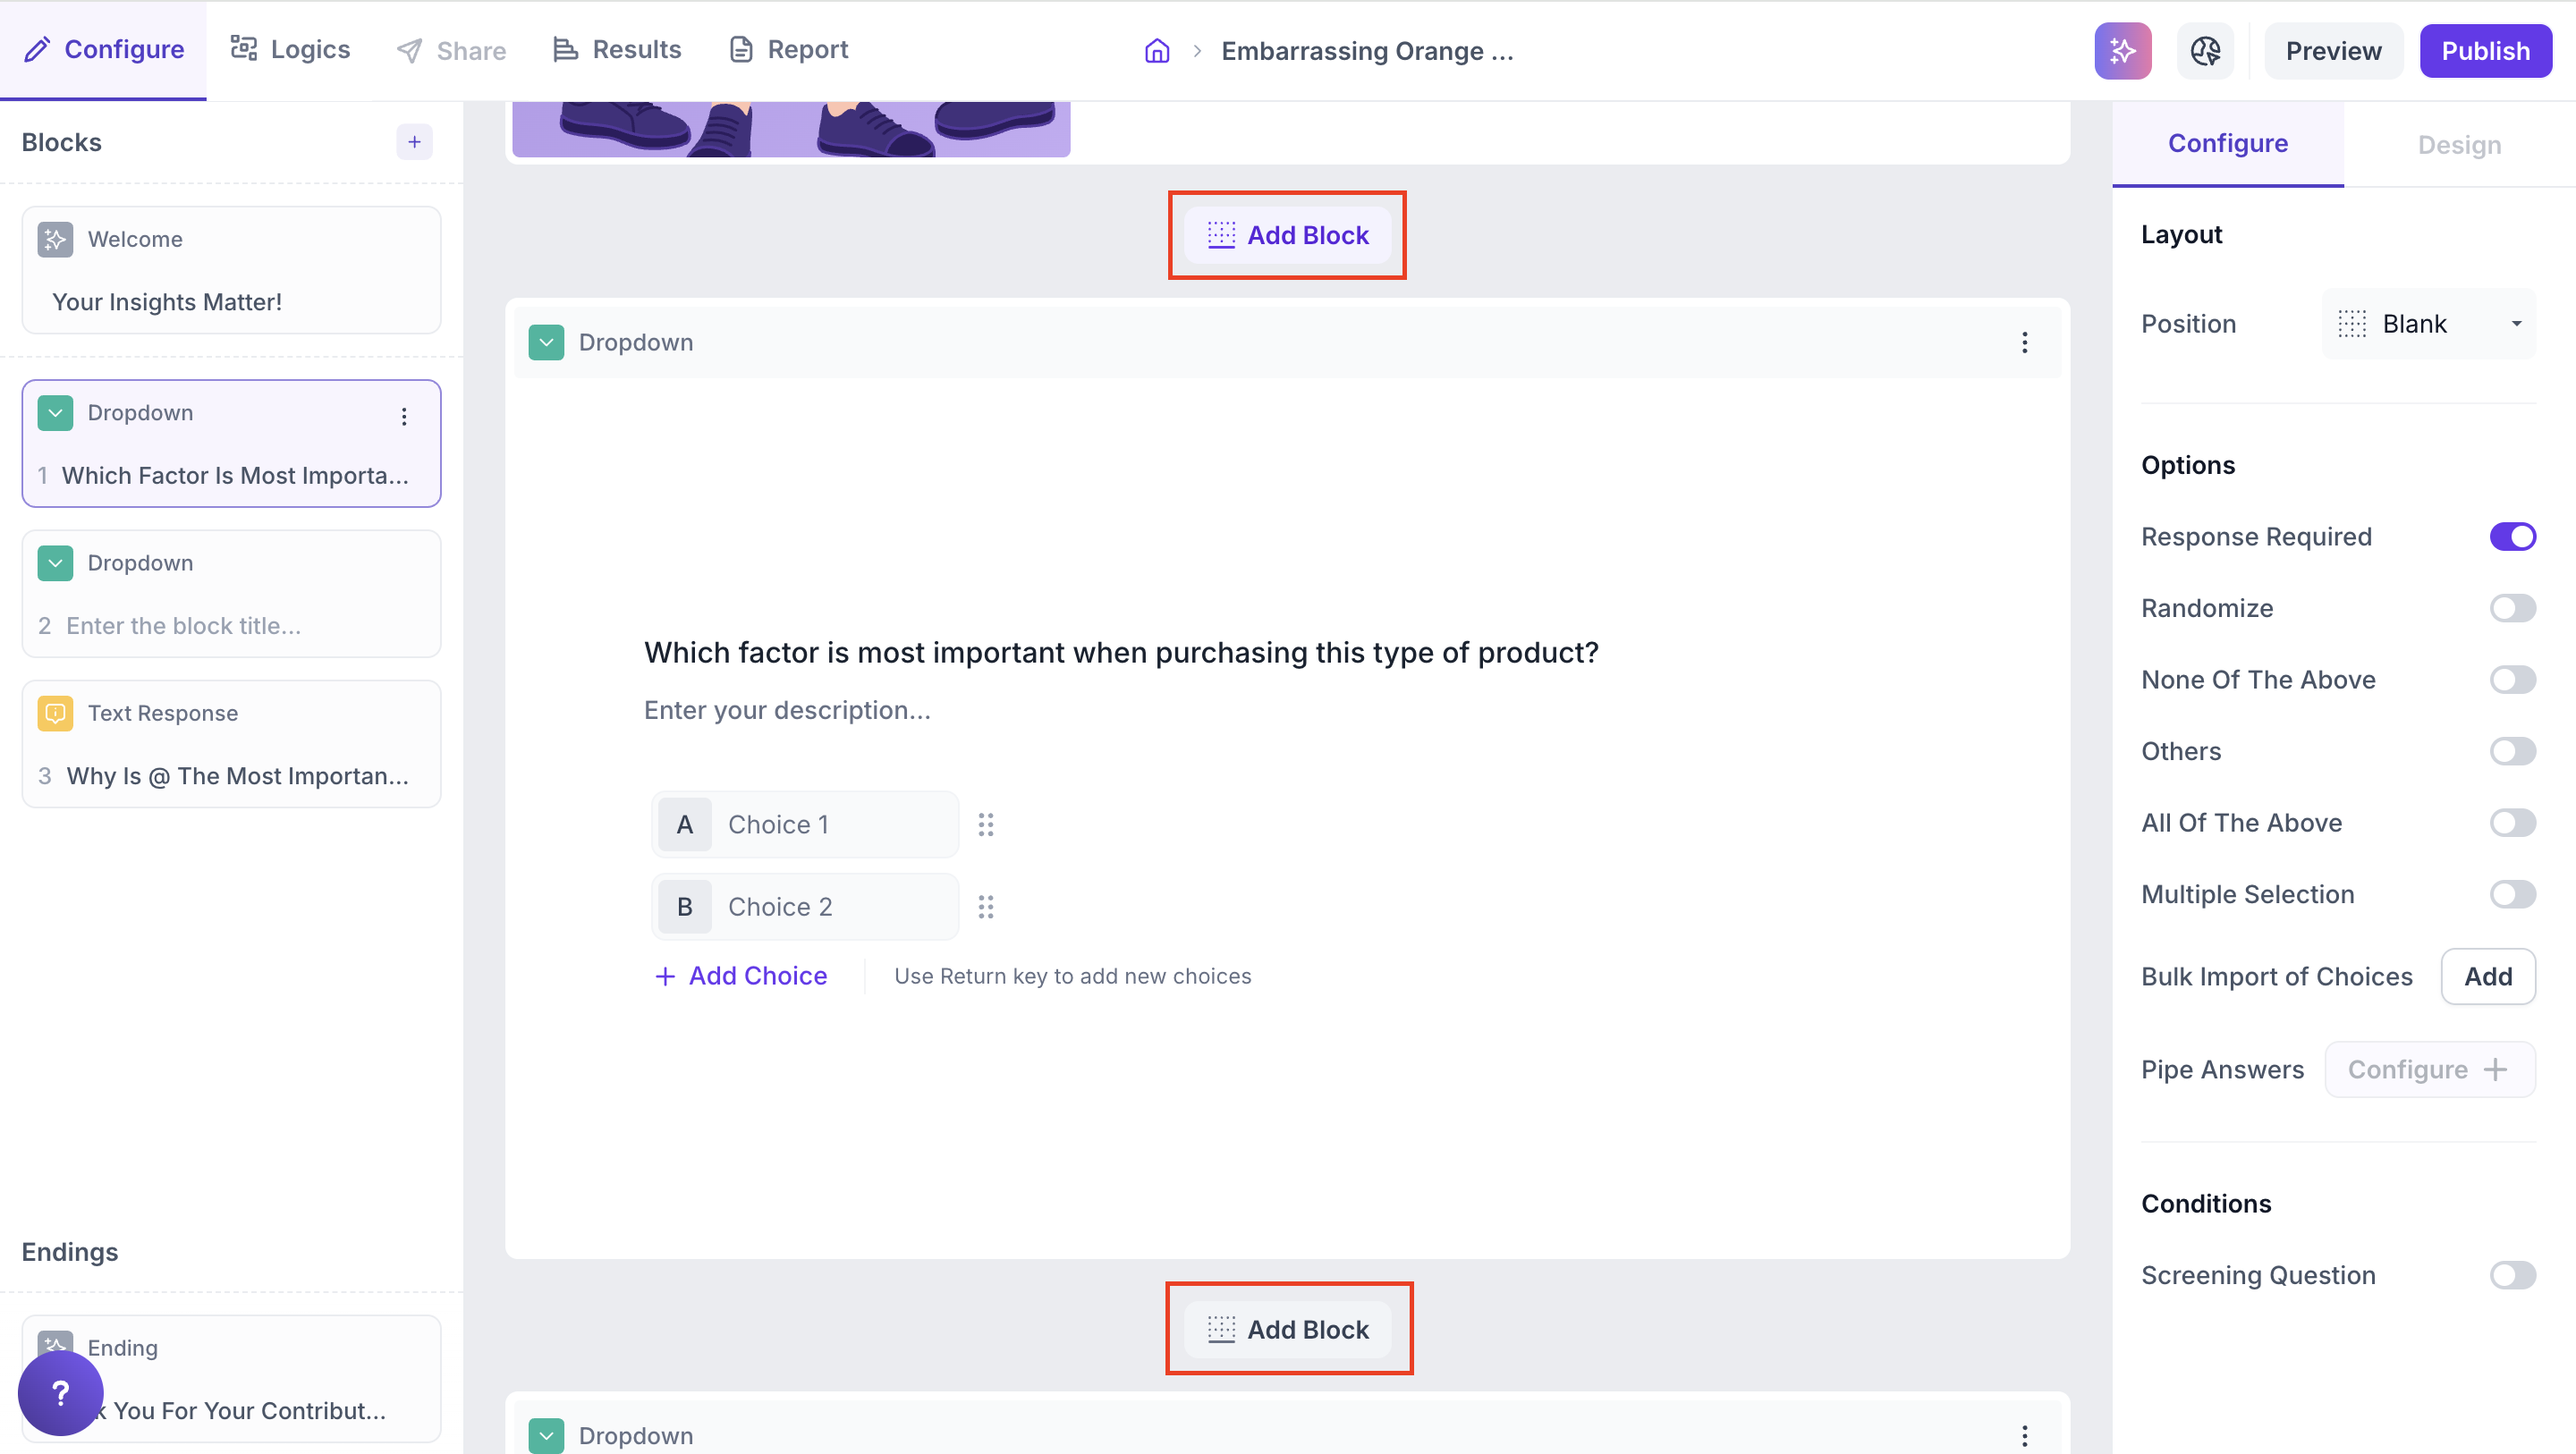
Step 6: Add a New Block/Question
Click the “+” icon in the left navigation panel, just above the Welcome Block, to start adding questions.

Once a block is added, you can:
- Click directly on any block to edit it
- Rearrange or duplicate blocks as needed ( Note: If logic has been configured in a study, you will not be able to rearrange it ).
- Use the " Add block " buttons above or below an existing block to quickly add a new one in the desired position.
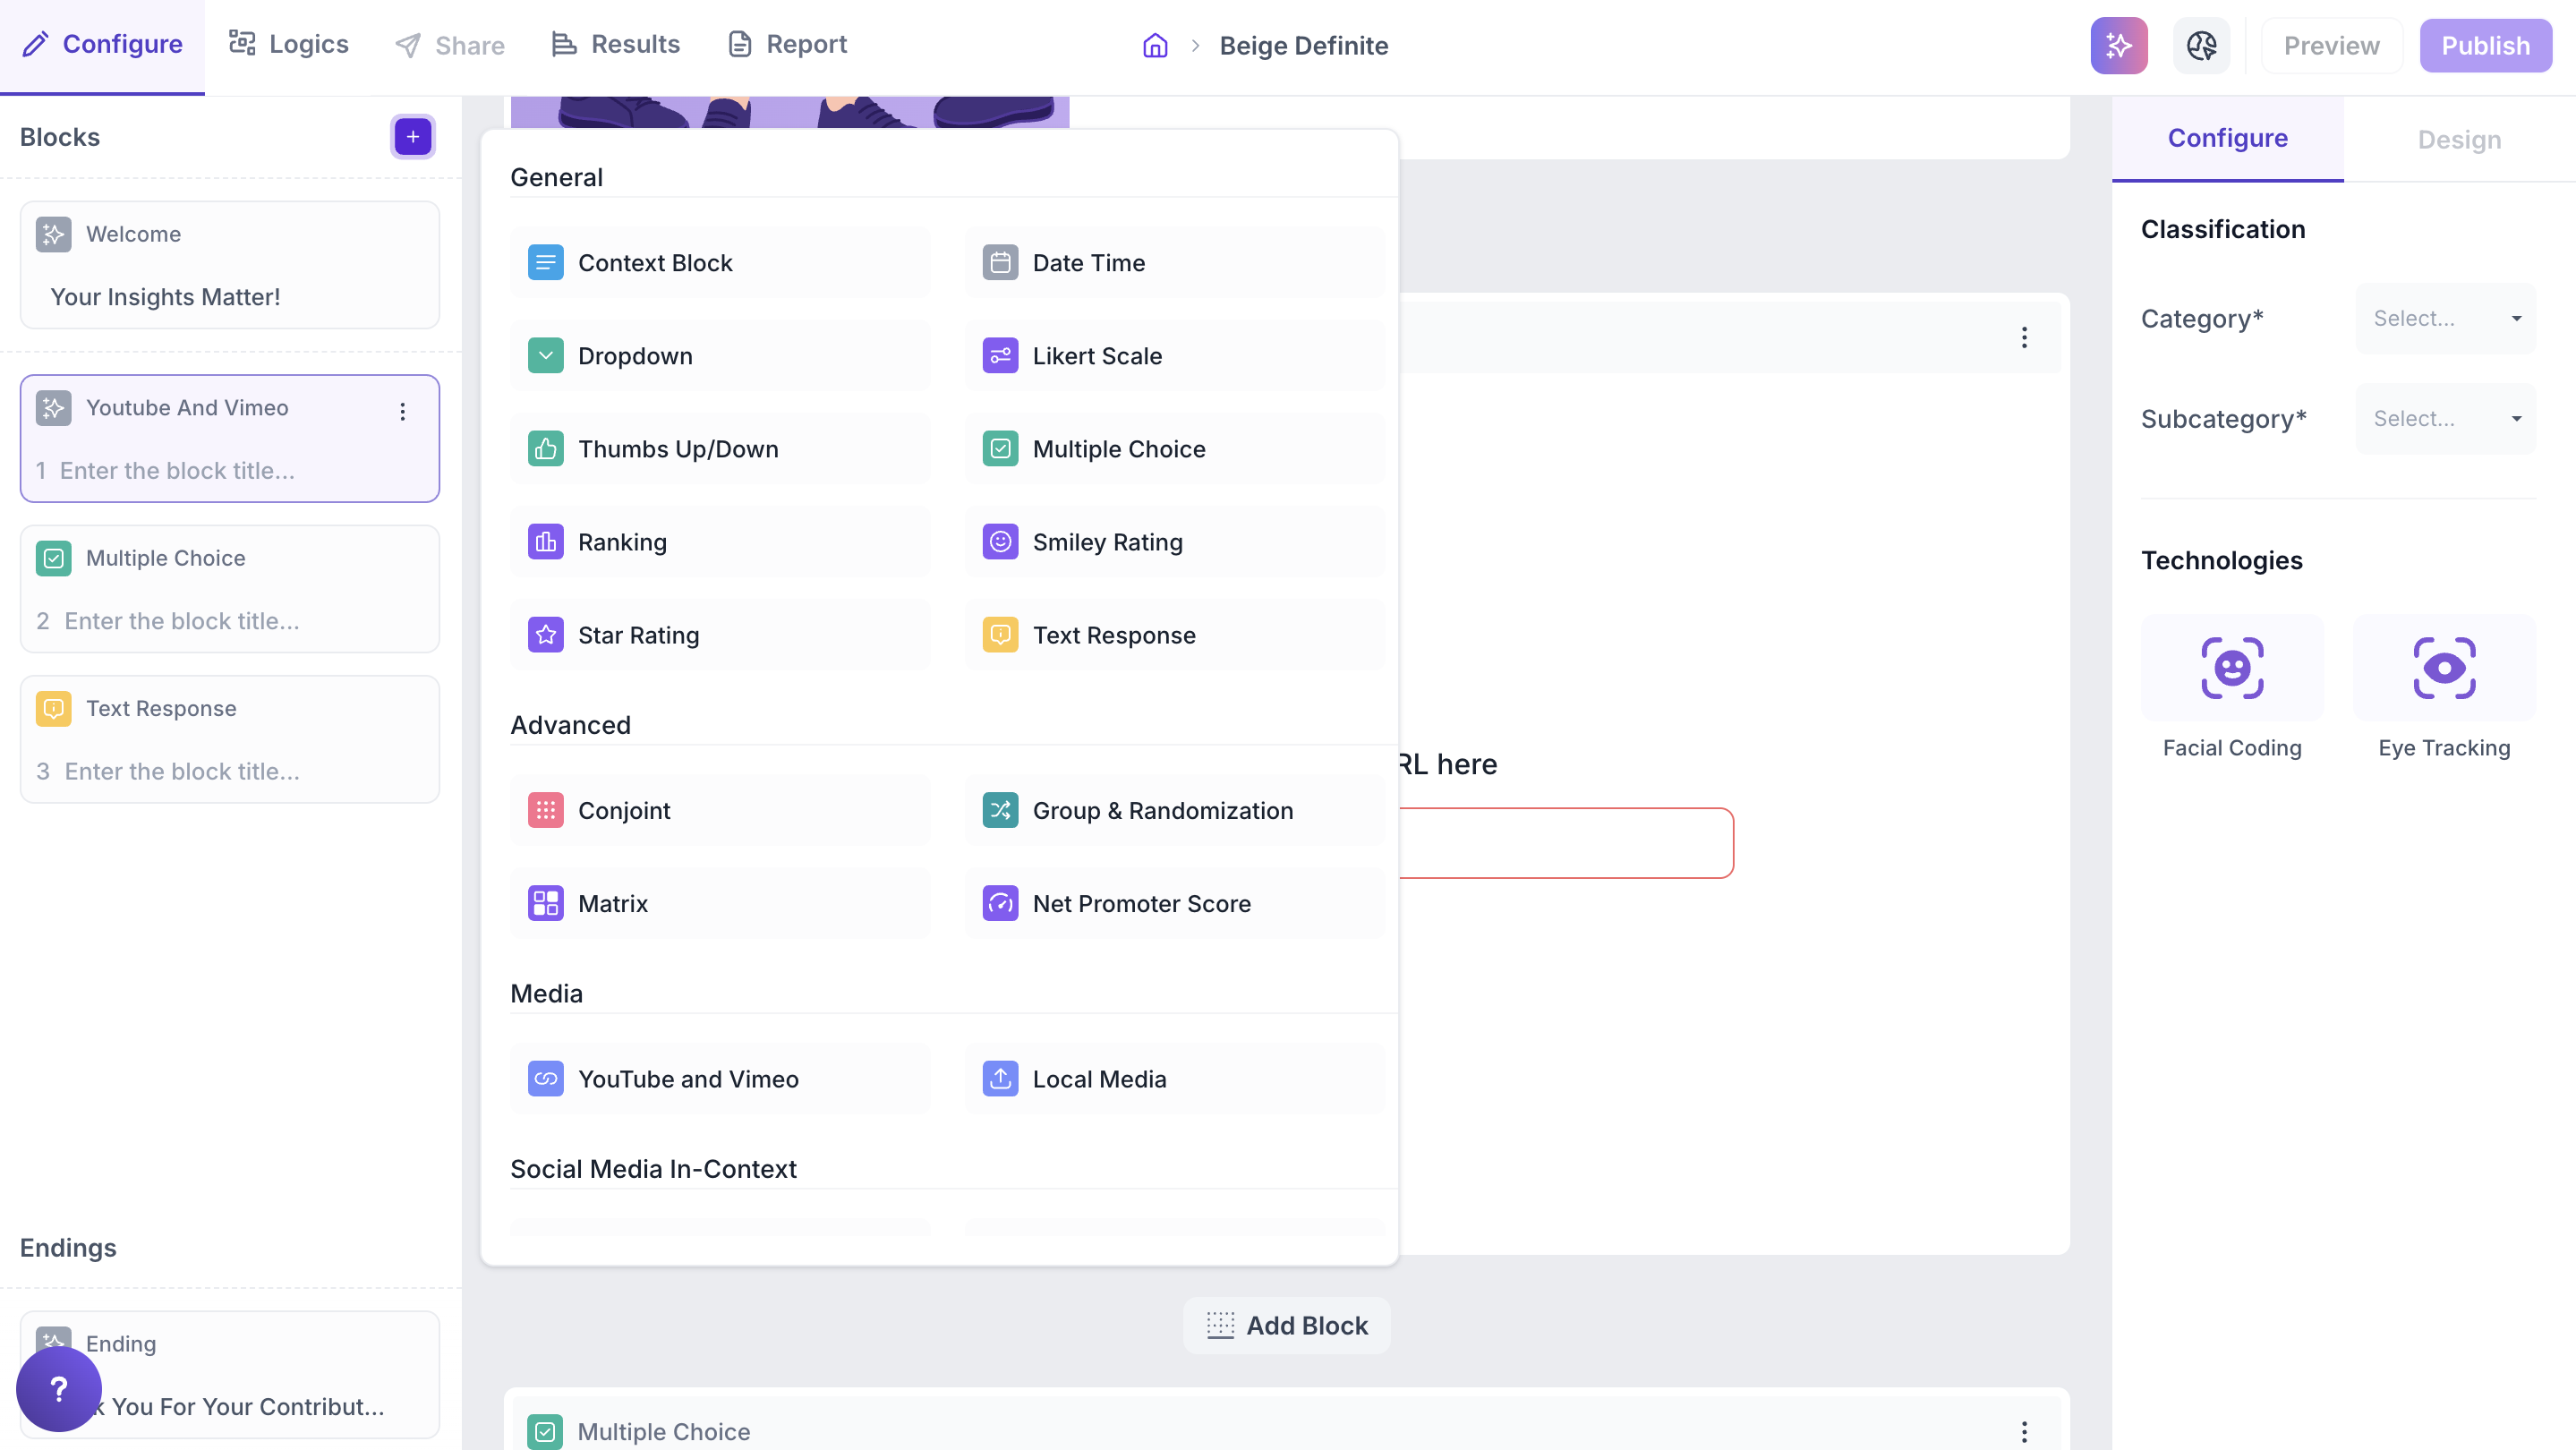
Step 7: Media Blocks
You’ll see different types of blocks grouped into three sections:
- Basic
- Advanced
- Media
In Media section, You’ll find two block types:
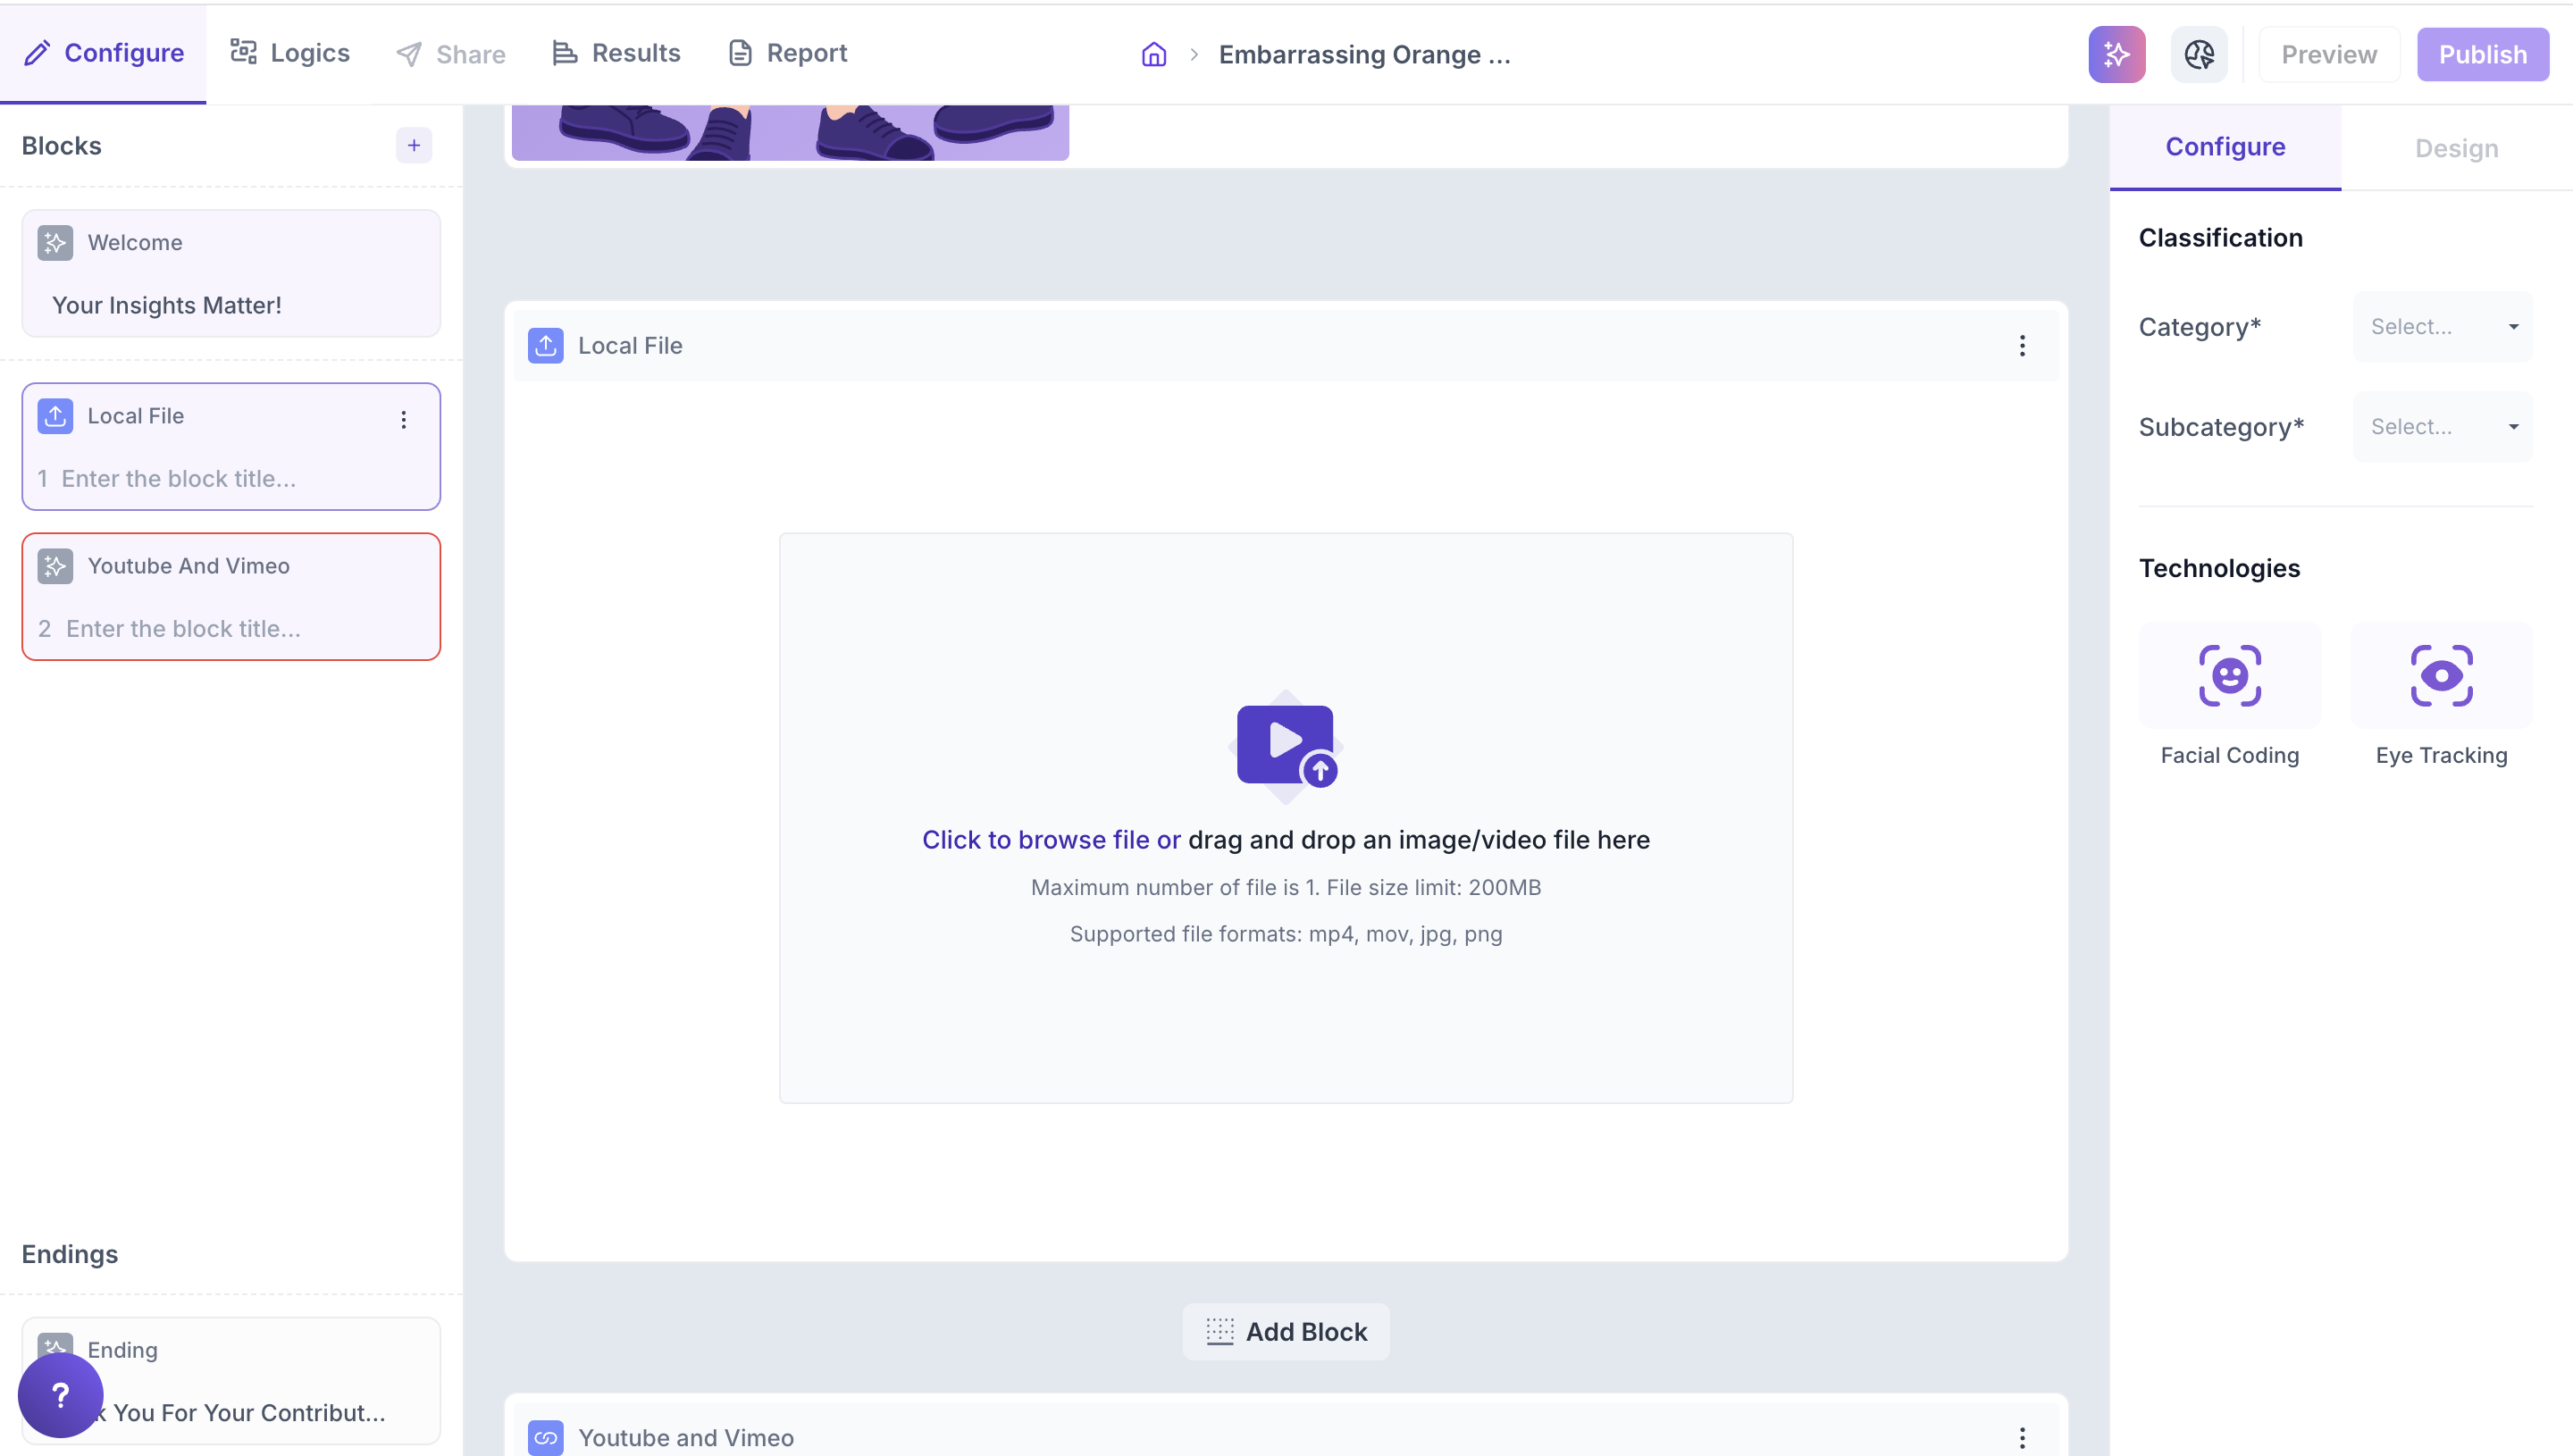
- Local File: Upload media (images/videos) from your computer. Supported formats include MP4, MOV, JPG, PNG (Max 200 MB; one file per block).
- YouTube/Vimeo: Embed public video links by pasting the URL.
Click on any block to add it to your study.
Step 8: Customize Each Media Block
Once added, use the configuration panel to:
- Upload or paste your media link
- Add a title
- Configure block settings using the right-hand Properties panel - you can add categories and enable technologies based on your study’s requirements.
- Combine with a follow-up question (e.g., thumbs up/down, text feedback) if desired
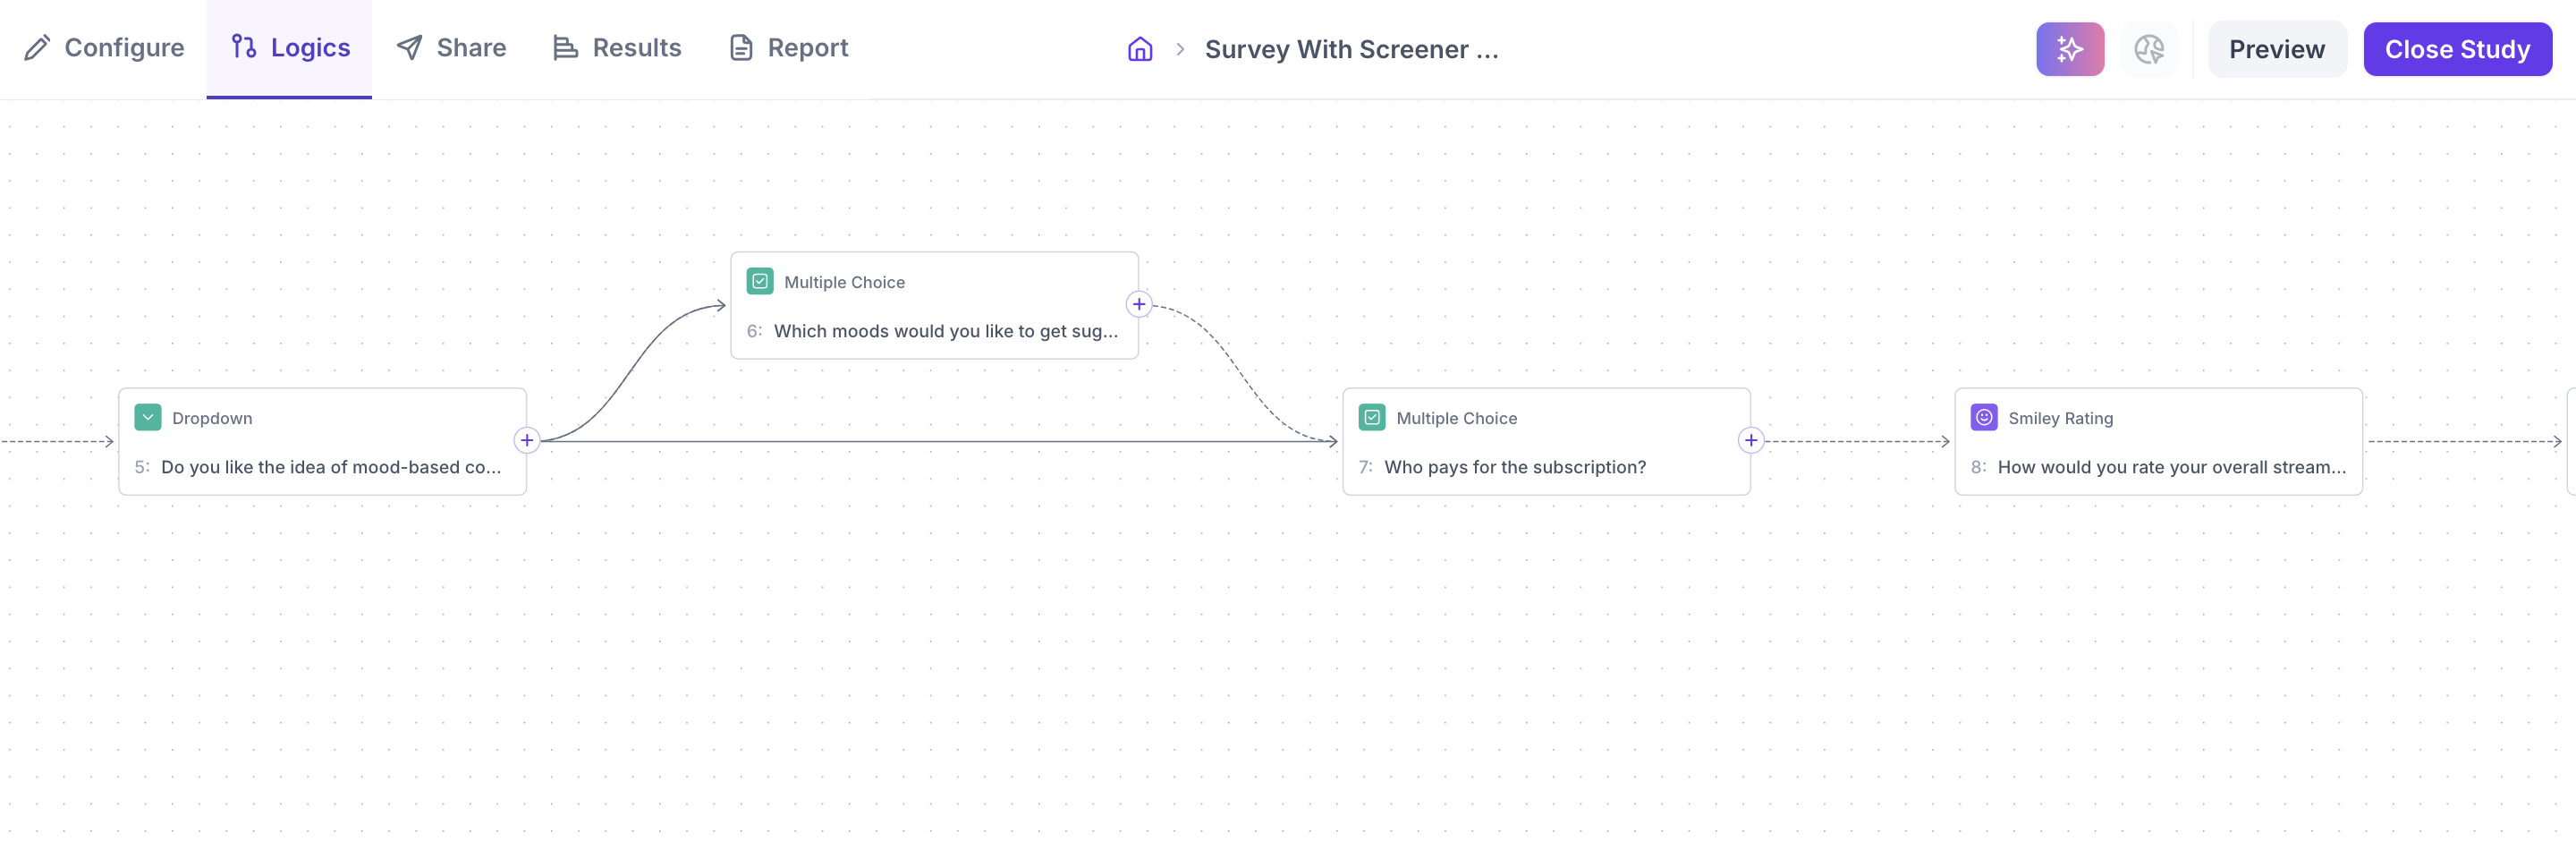
If you’re using Media Blocks along with follow-up questions (e.g., thumbs up/down, open text, etc), you can guide the flow using the Logic tab in the top navigation.
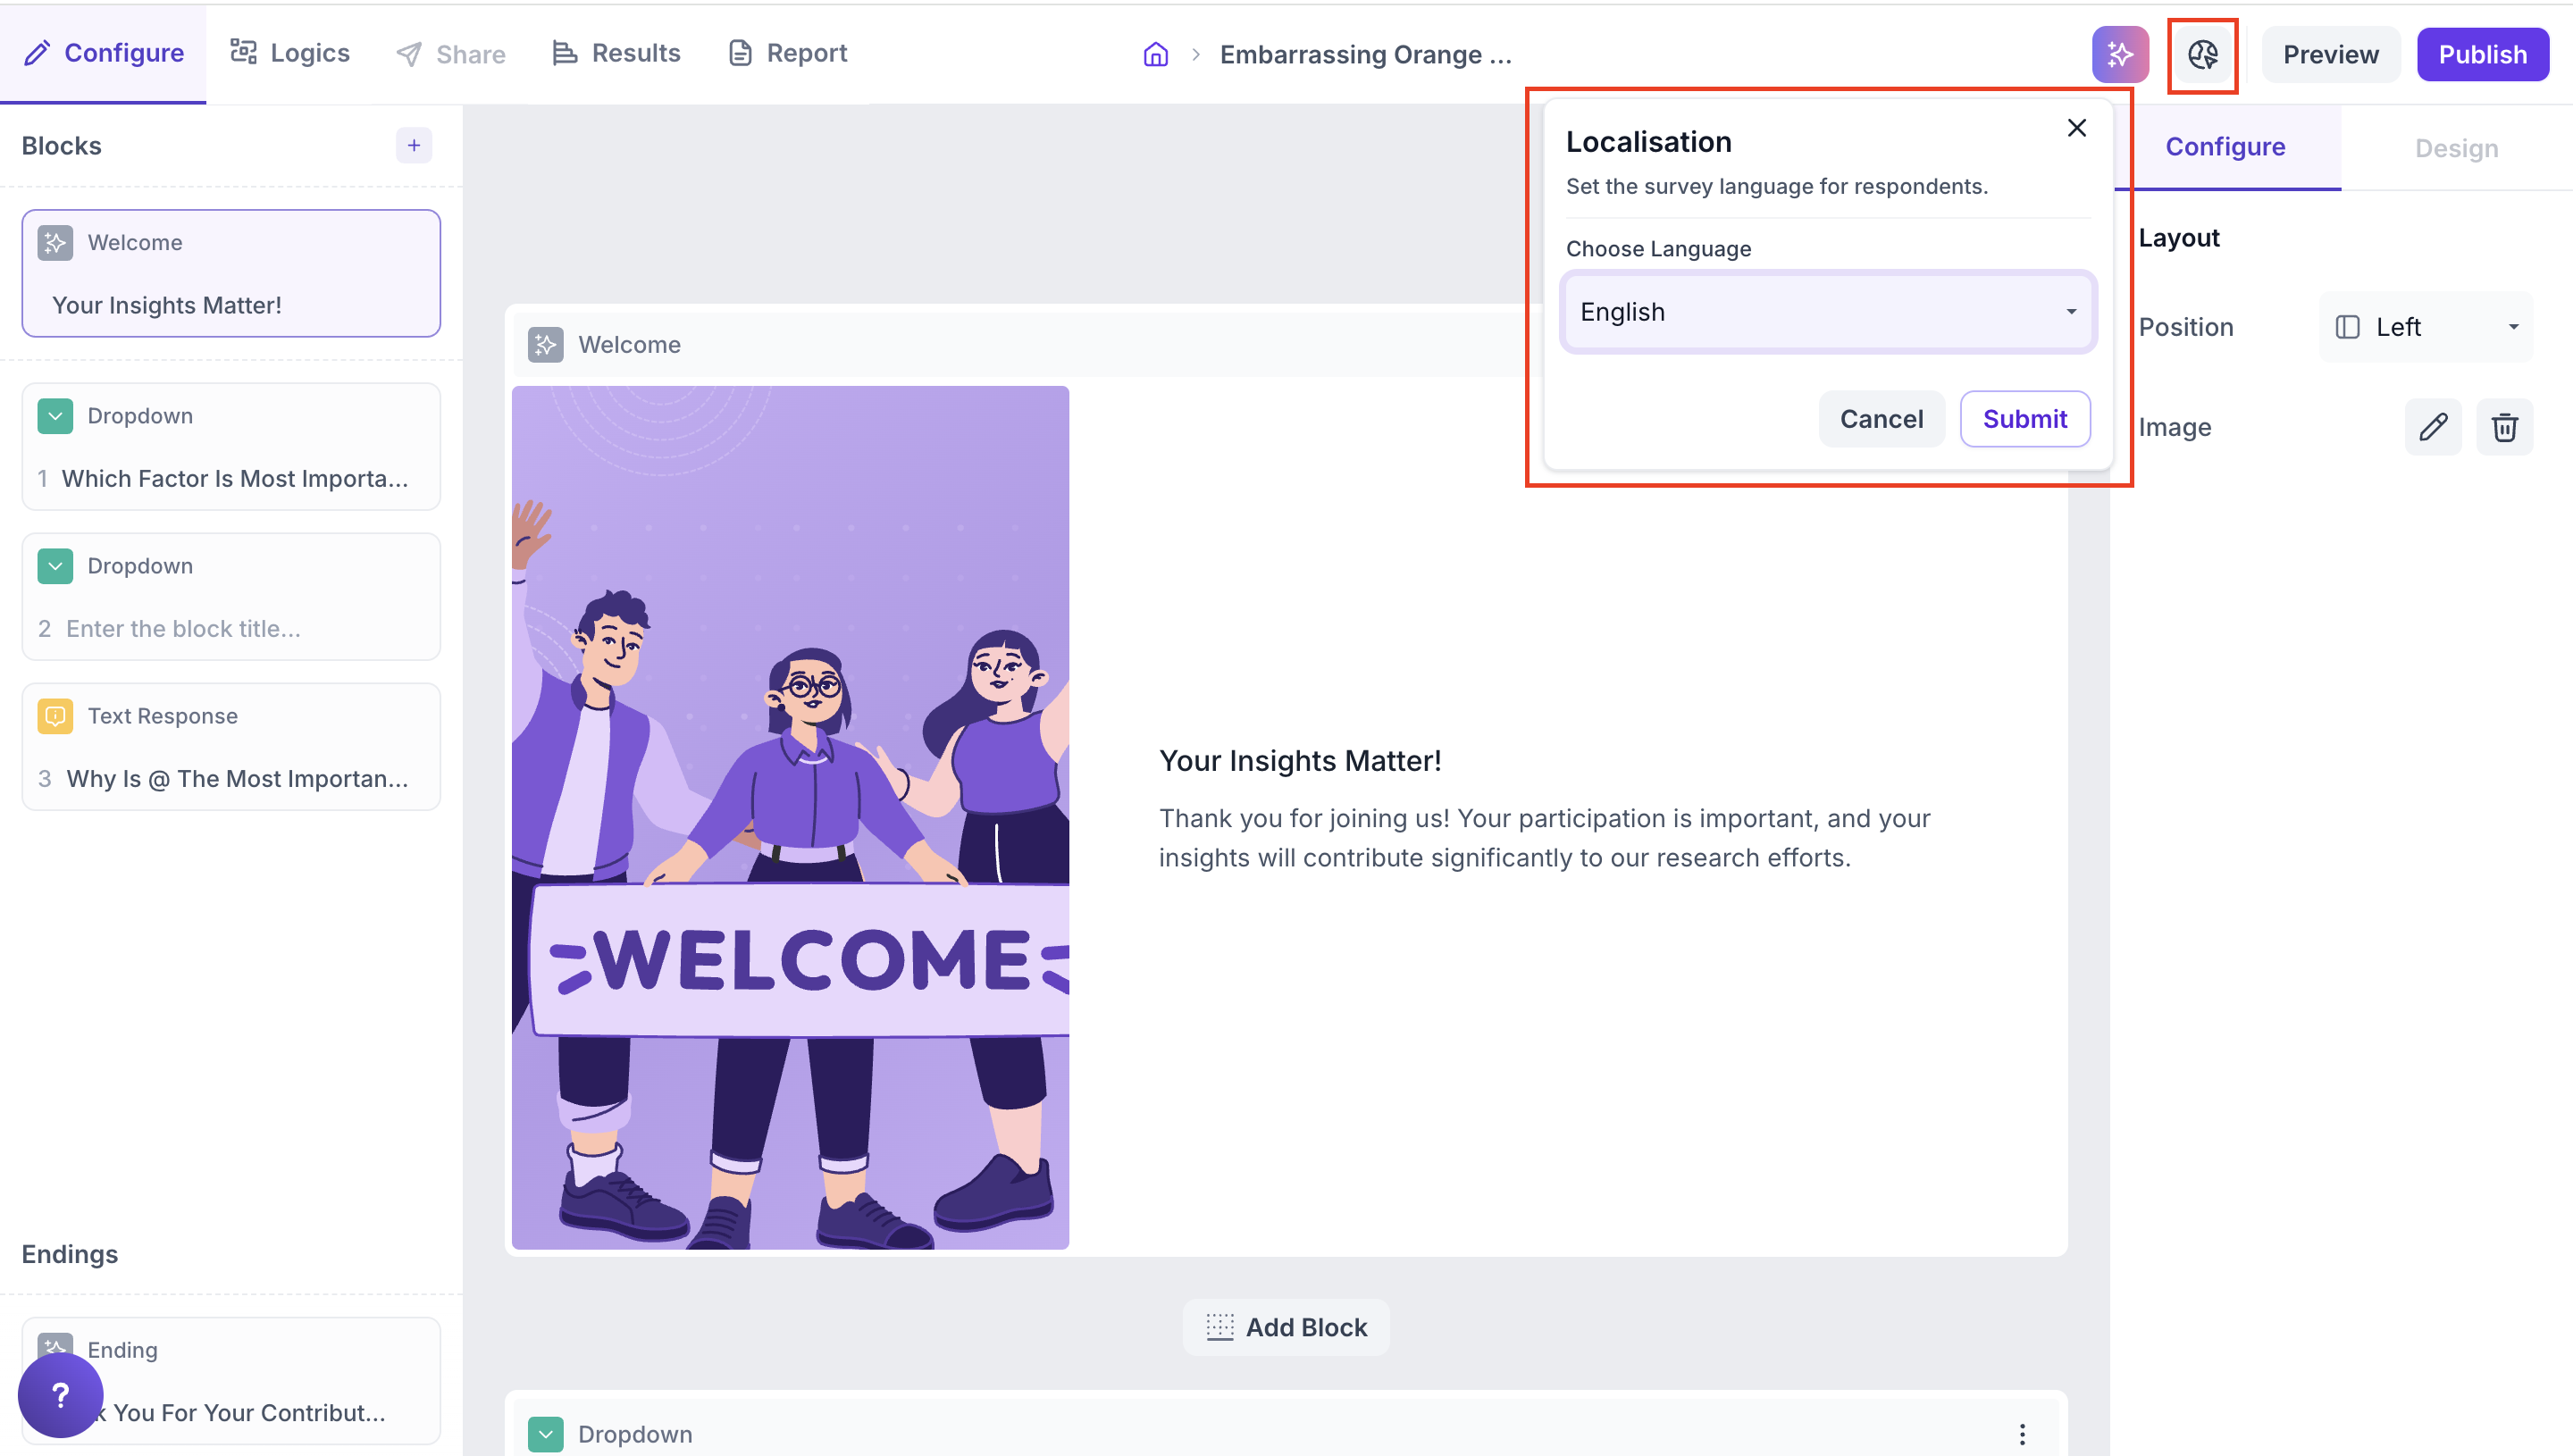
Step 9: Localization in Decode
Decode supports multi-language surveys, enabling you to reach audiences across different regions with localized content.
Supported Languages:
- English (default)
- Japanese
- Simplified Chinese
- French
- Thai
- Swedish
- Algerian Arabic
- Tagalog
Step 10: Preview Your Study
Before publishing, you can preview the survey by clicking the Preview button located at the top-right corner of the page. This lets you test how the survey will appear to participants.

Step 11: Publish Your Study
Once everything looks good, click the Publish button (located at the top-right corner) to make your survey live and ready to share.
