Set up an Image Response block and view results
Overview
This article covers how to add an Image Response block, configure it, and review the responses once they come in.
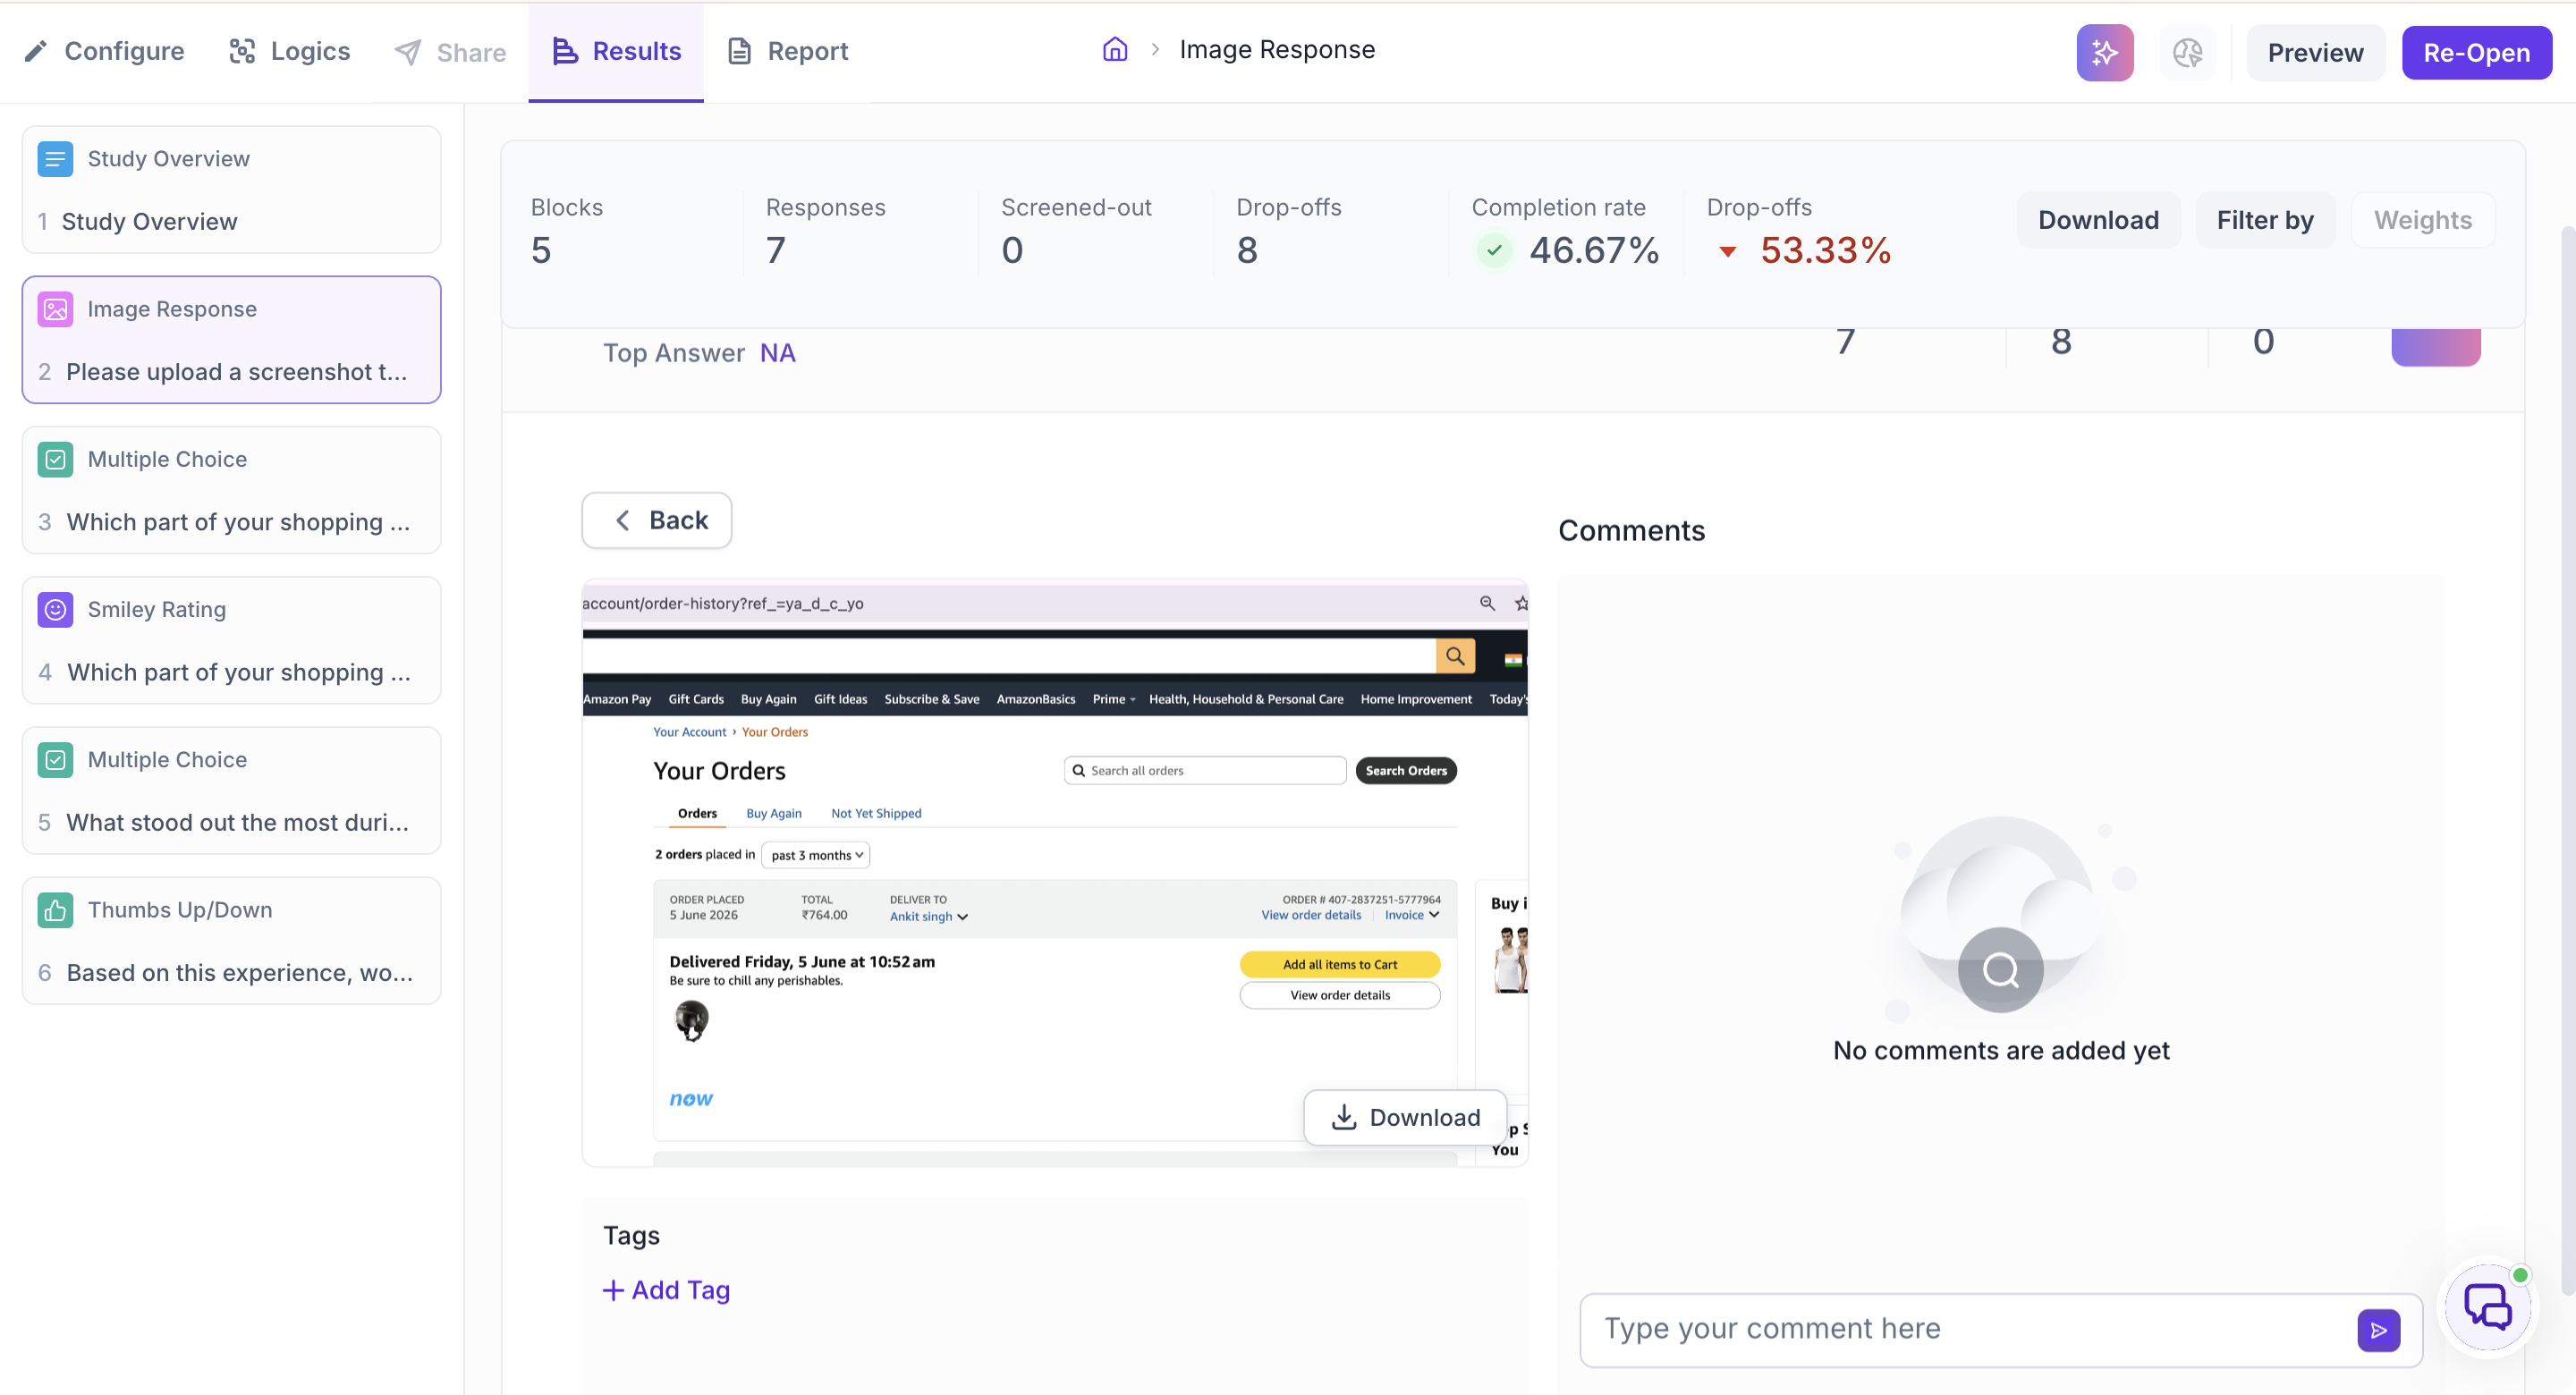
Add the block
Click the + icon in the left panel to open the block selection panel, and select Image Response.
Write your question
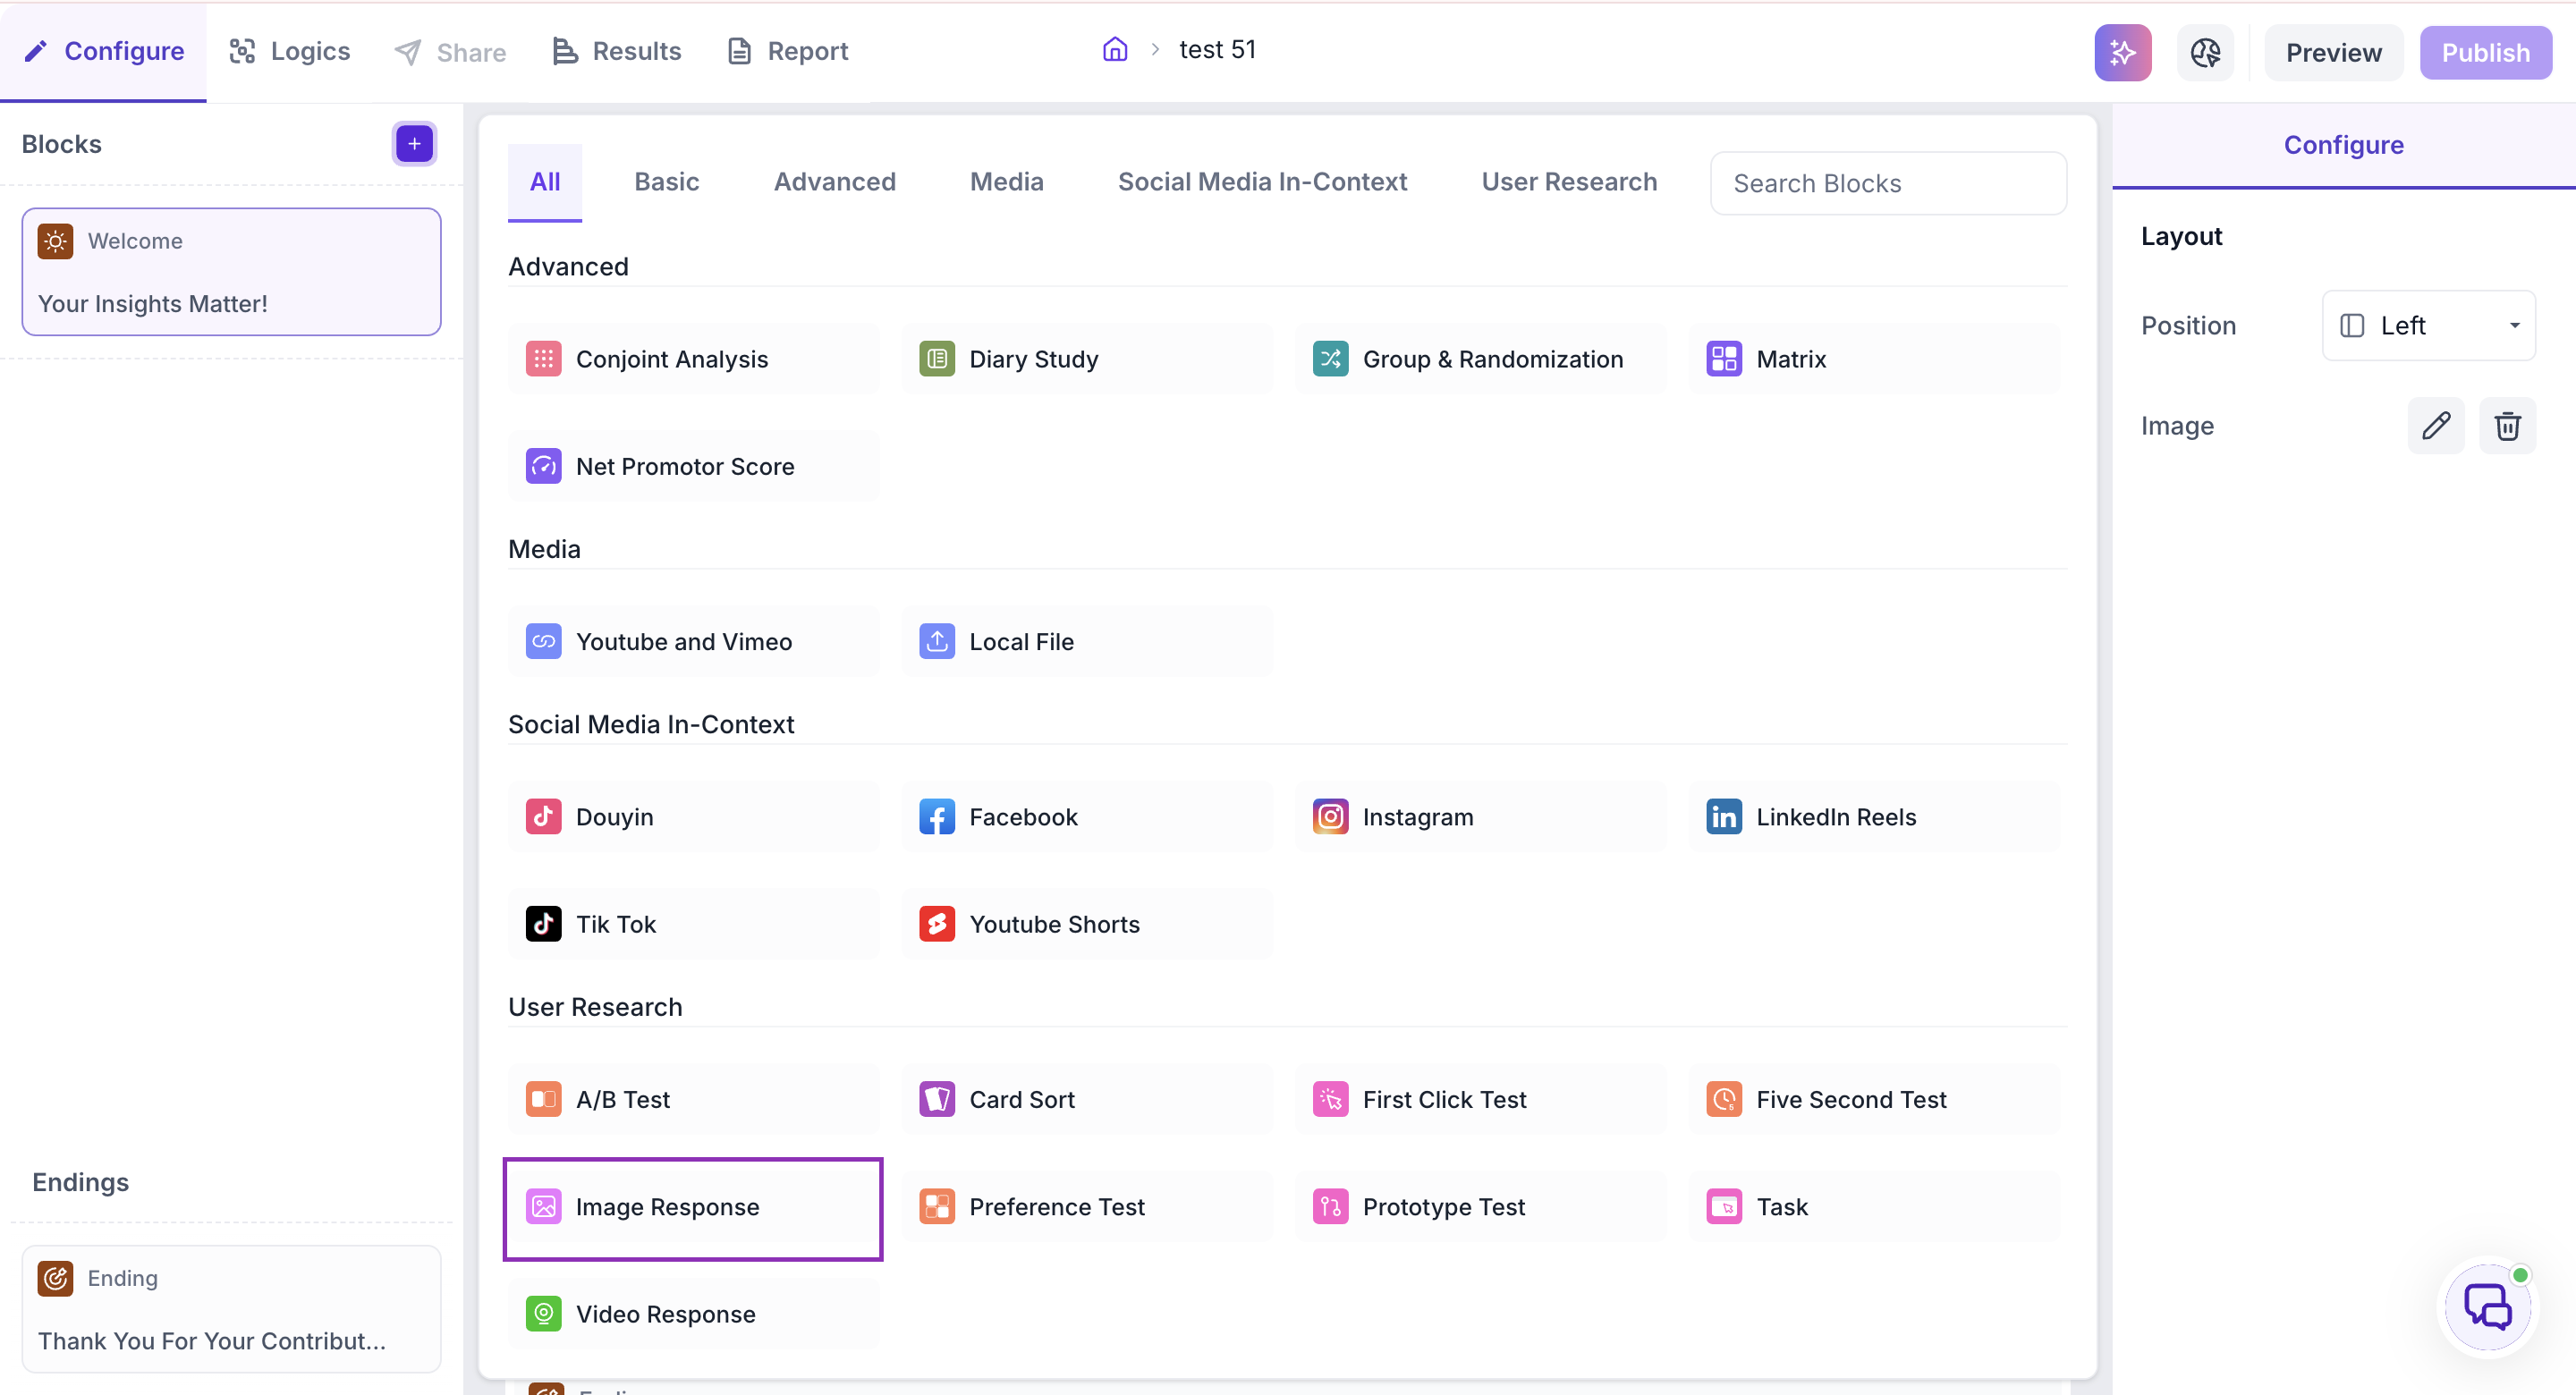
Enter the block question, this is what participants see above the upload area, along with an optional description if you want to give participants more context or instructions.
Configure properties
Under Options:
- Response Required — when enabled, participants must submit an image before proceeding to the next block
- Allow Upload Image — when enabled, participants can upload an existing image from their device, rather than only capturing one on the spot
Review your results
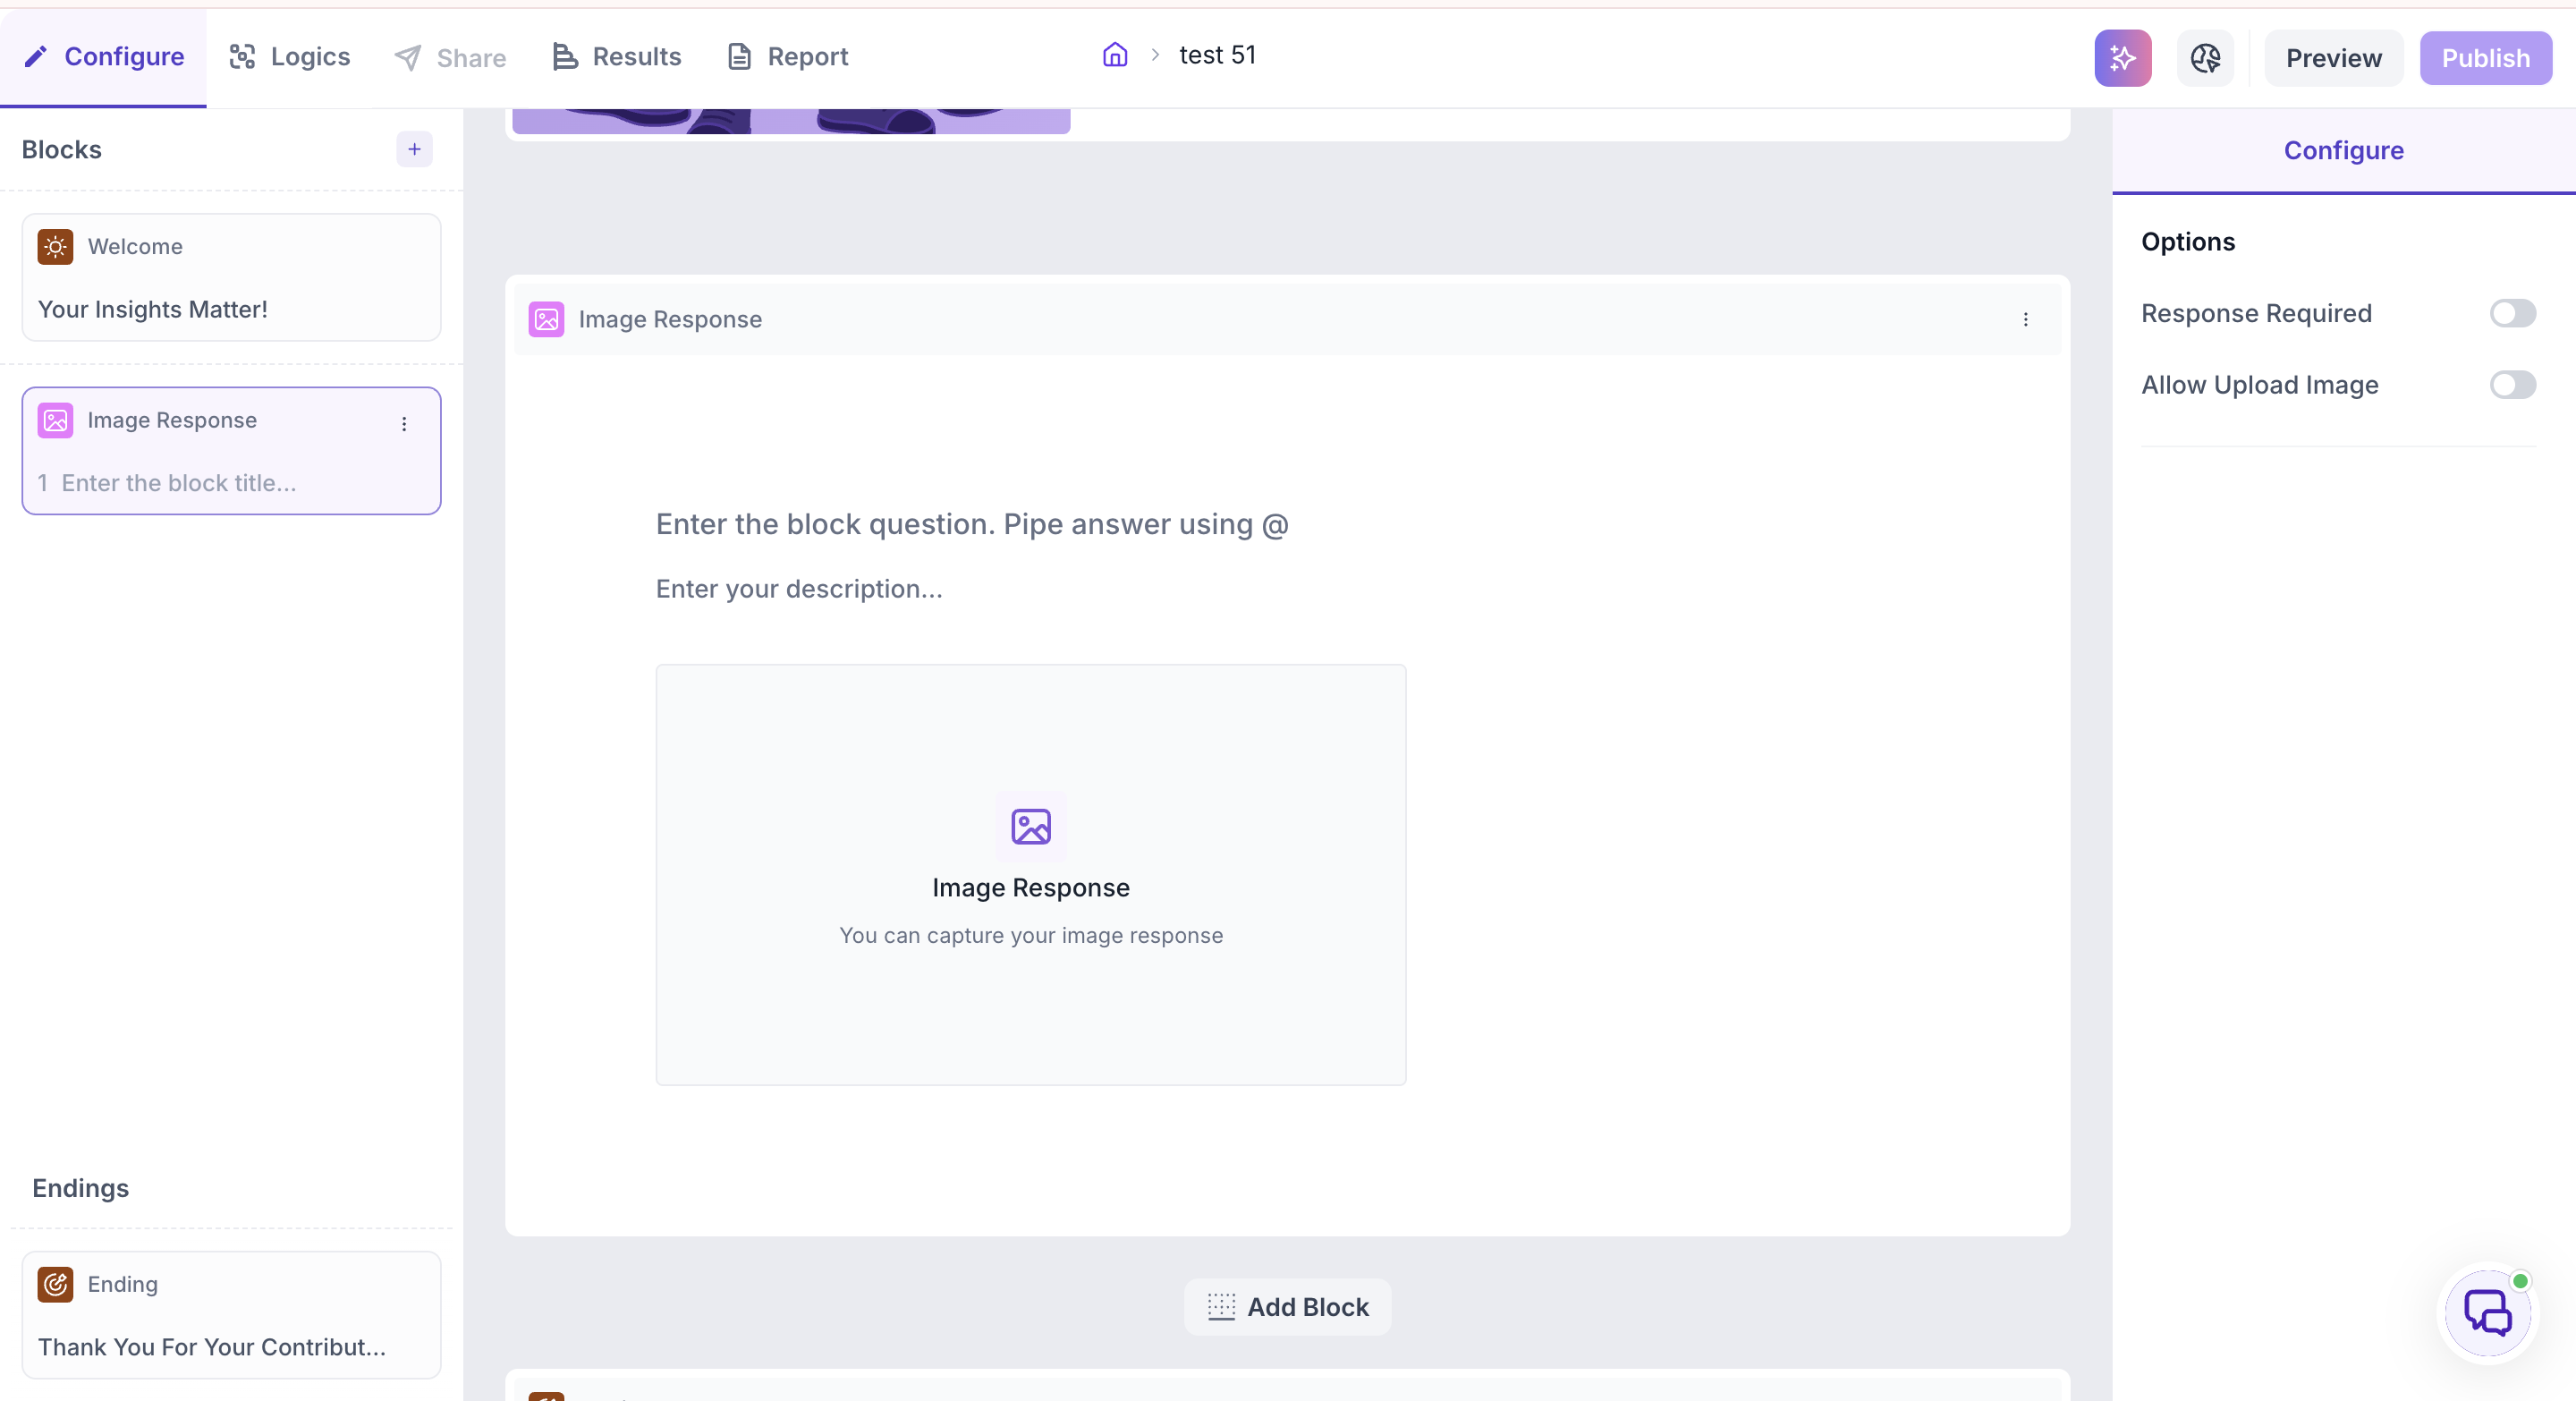
Once your study is live, go to the Results tab and select the Image Response block. The top of the block shows Completes, Drop-offs, and Skipped, along with the Top Answer if applicable.
Below this, every submitted response is listed with its Response ID, a thumbnail of the image, and submission date. Click View Response to open an individual response.
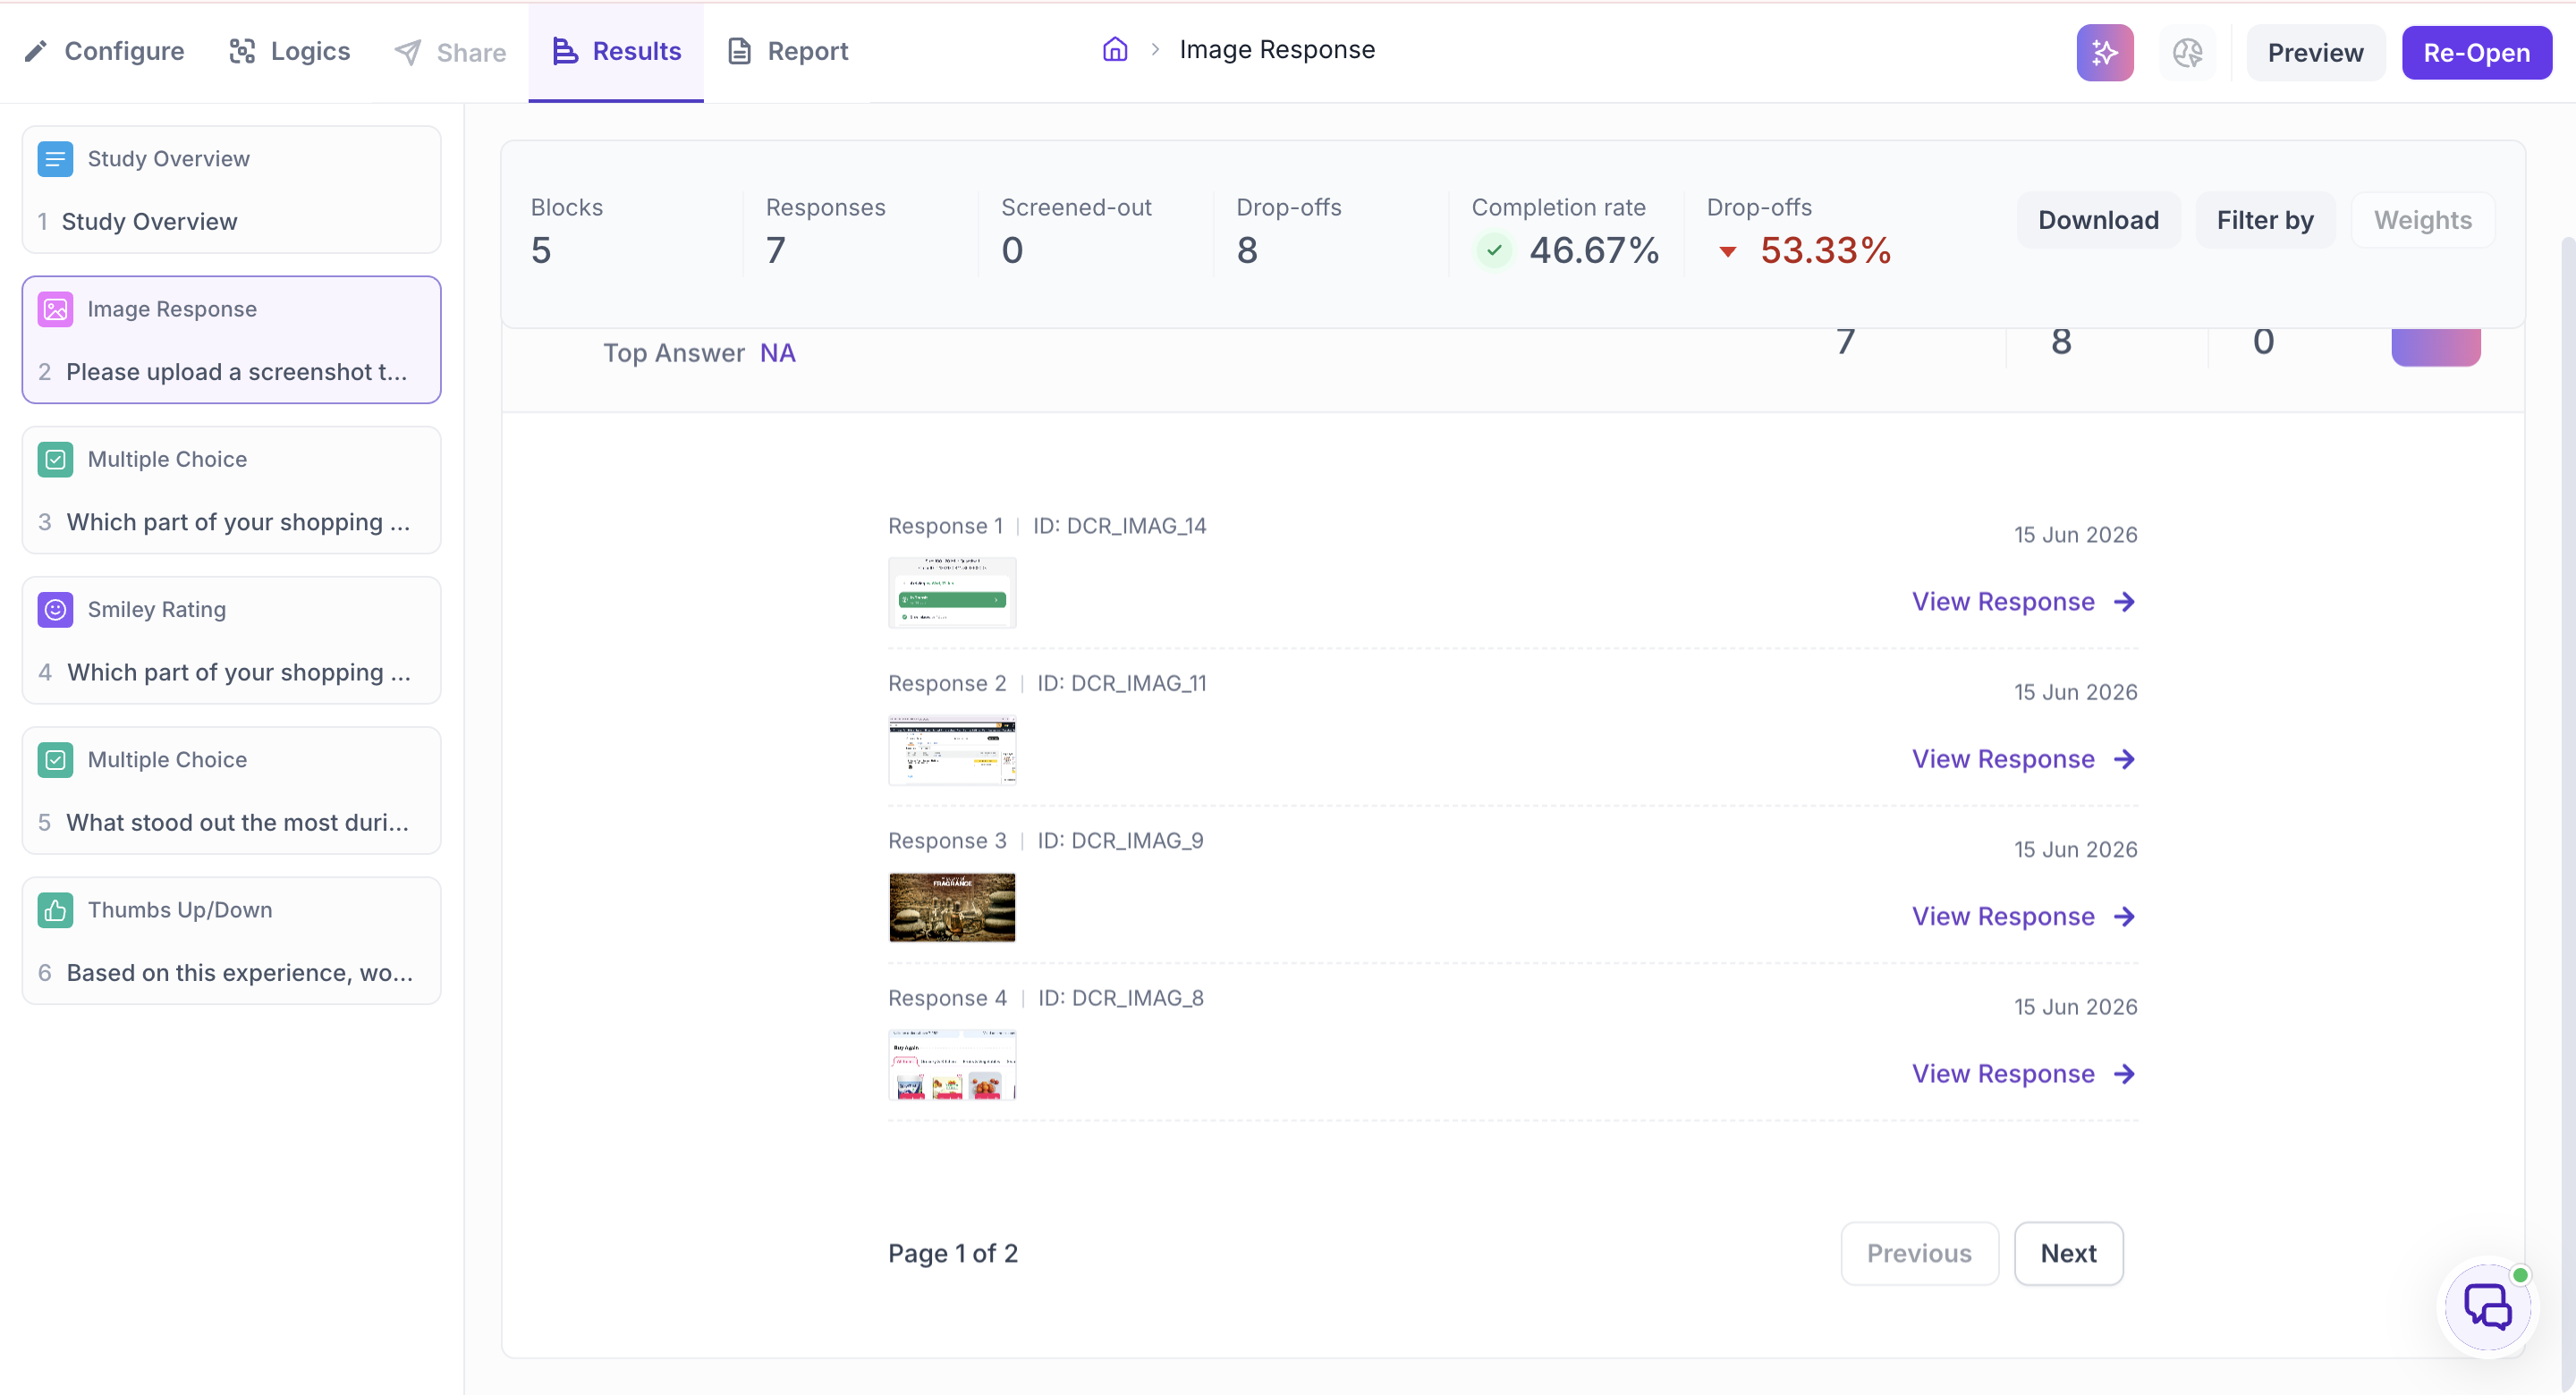
The individual response view shows the full image, along with:
- Download — download the image directly
- Tags — click Add Tag to label the response for your own organisation or later filtering
- Comments — leave comments on a specific response, useful for team collaboration when reviewing results together