Study Approvals
The approval process lets a nominated person review a study before it goes live. Once an approval manager is assigned, studies are sent for review rather than published directly, so a manager or colleague can check the setup before participants see it.
This article covers assigning an approval manager, requesting approval on a study, and reviewing requests.
Turning on the approval process
The approval process is controlled by whether anyone in your workspace is assigned as an approval manager.
With no approval manager assigned, studies publish directly. Assign at least one approval manager and the approval process applies to all new studies in the workspace.
Enable it where a manager or someone else on your team should review a study before it is published and participants are recruited.
Assigning an approval manager
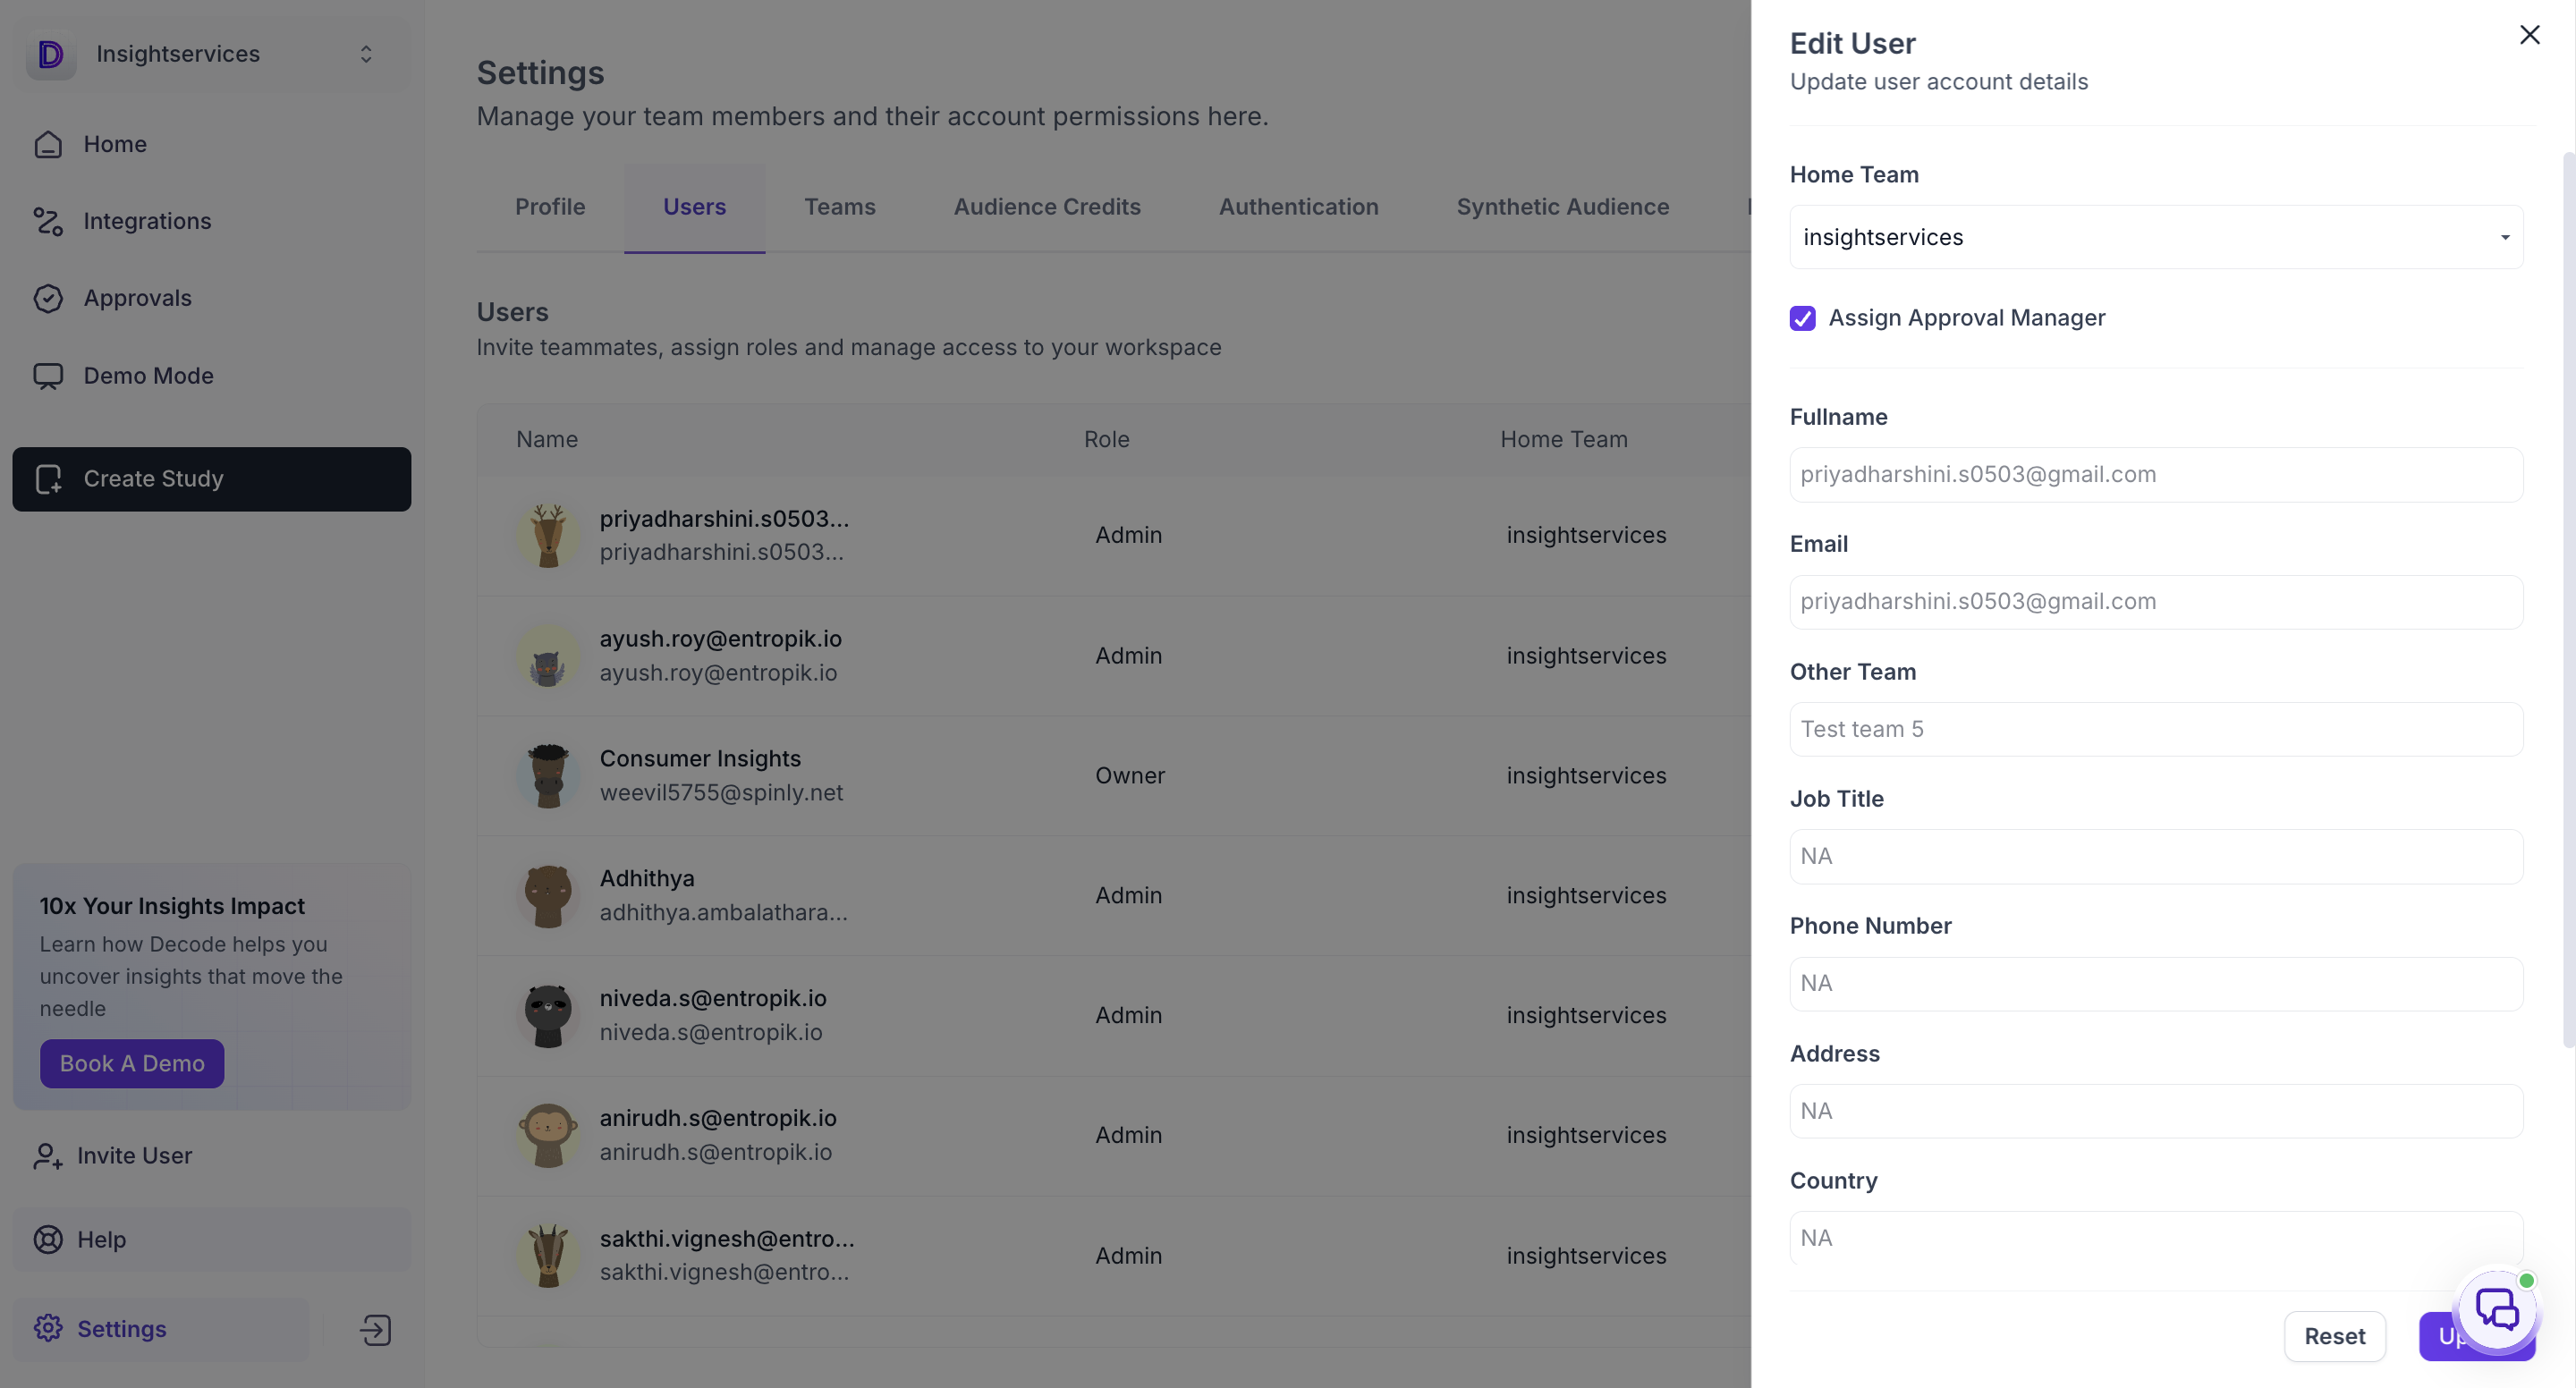
Step 1: Go to Settings and open the Users tab.
Step 2: Find the person you want to assign and open their record to edit it.
Step 3: Select the Assign Approval Manager checkbox.
Step 4: Click Update.
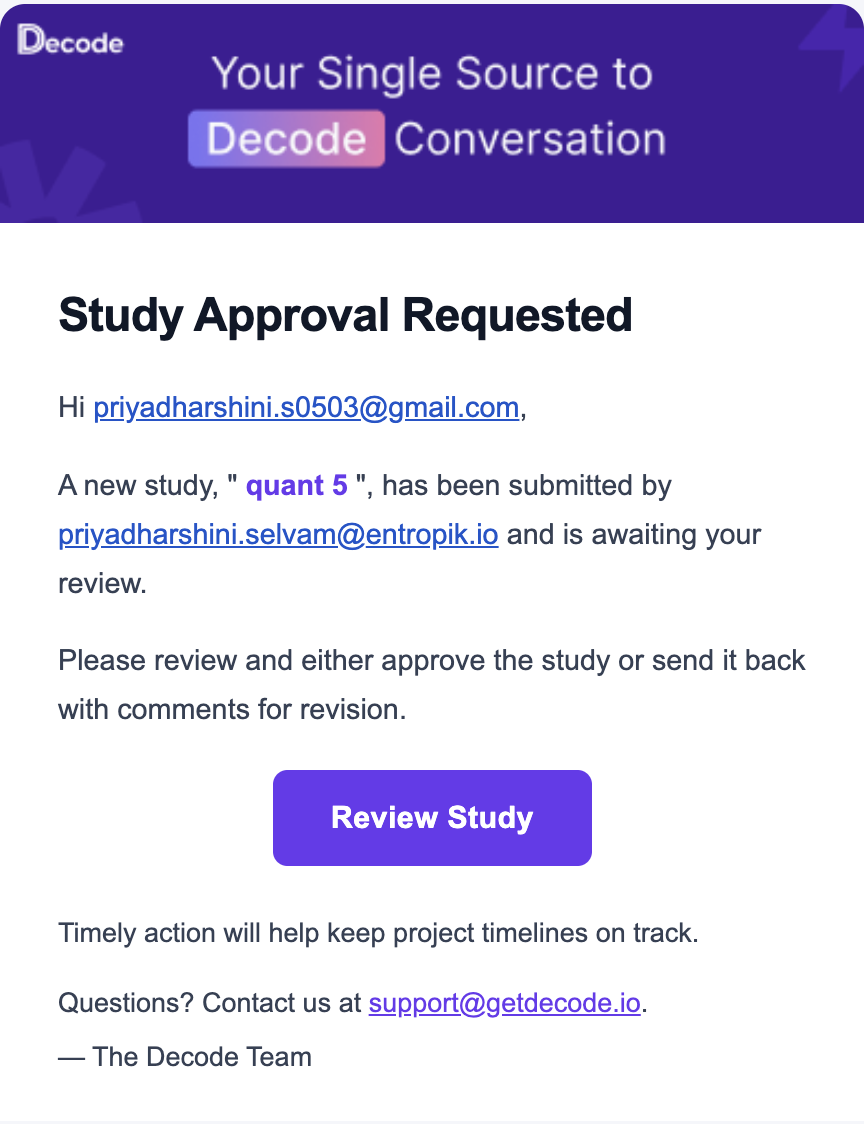
Approval managers are notified by email when a study is sent for approval.
Requesting approval on a study
With an approval manager assigned, the Publish button on a study is replaced by Request Approval.
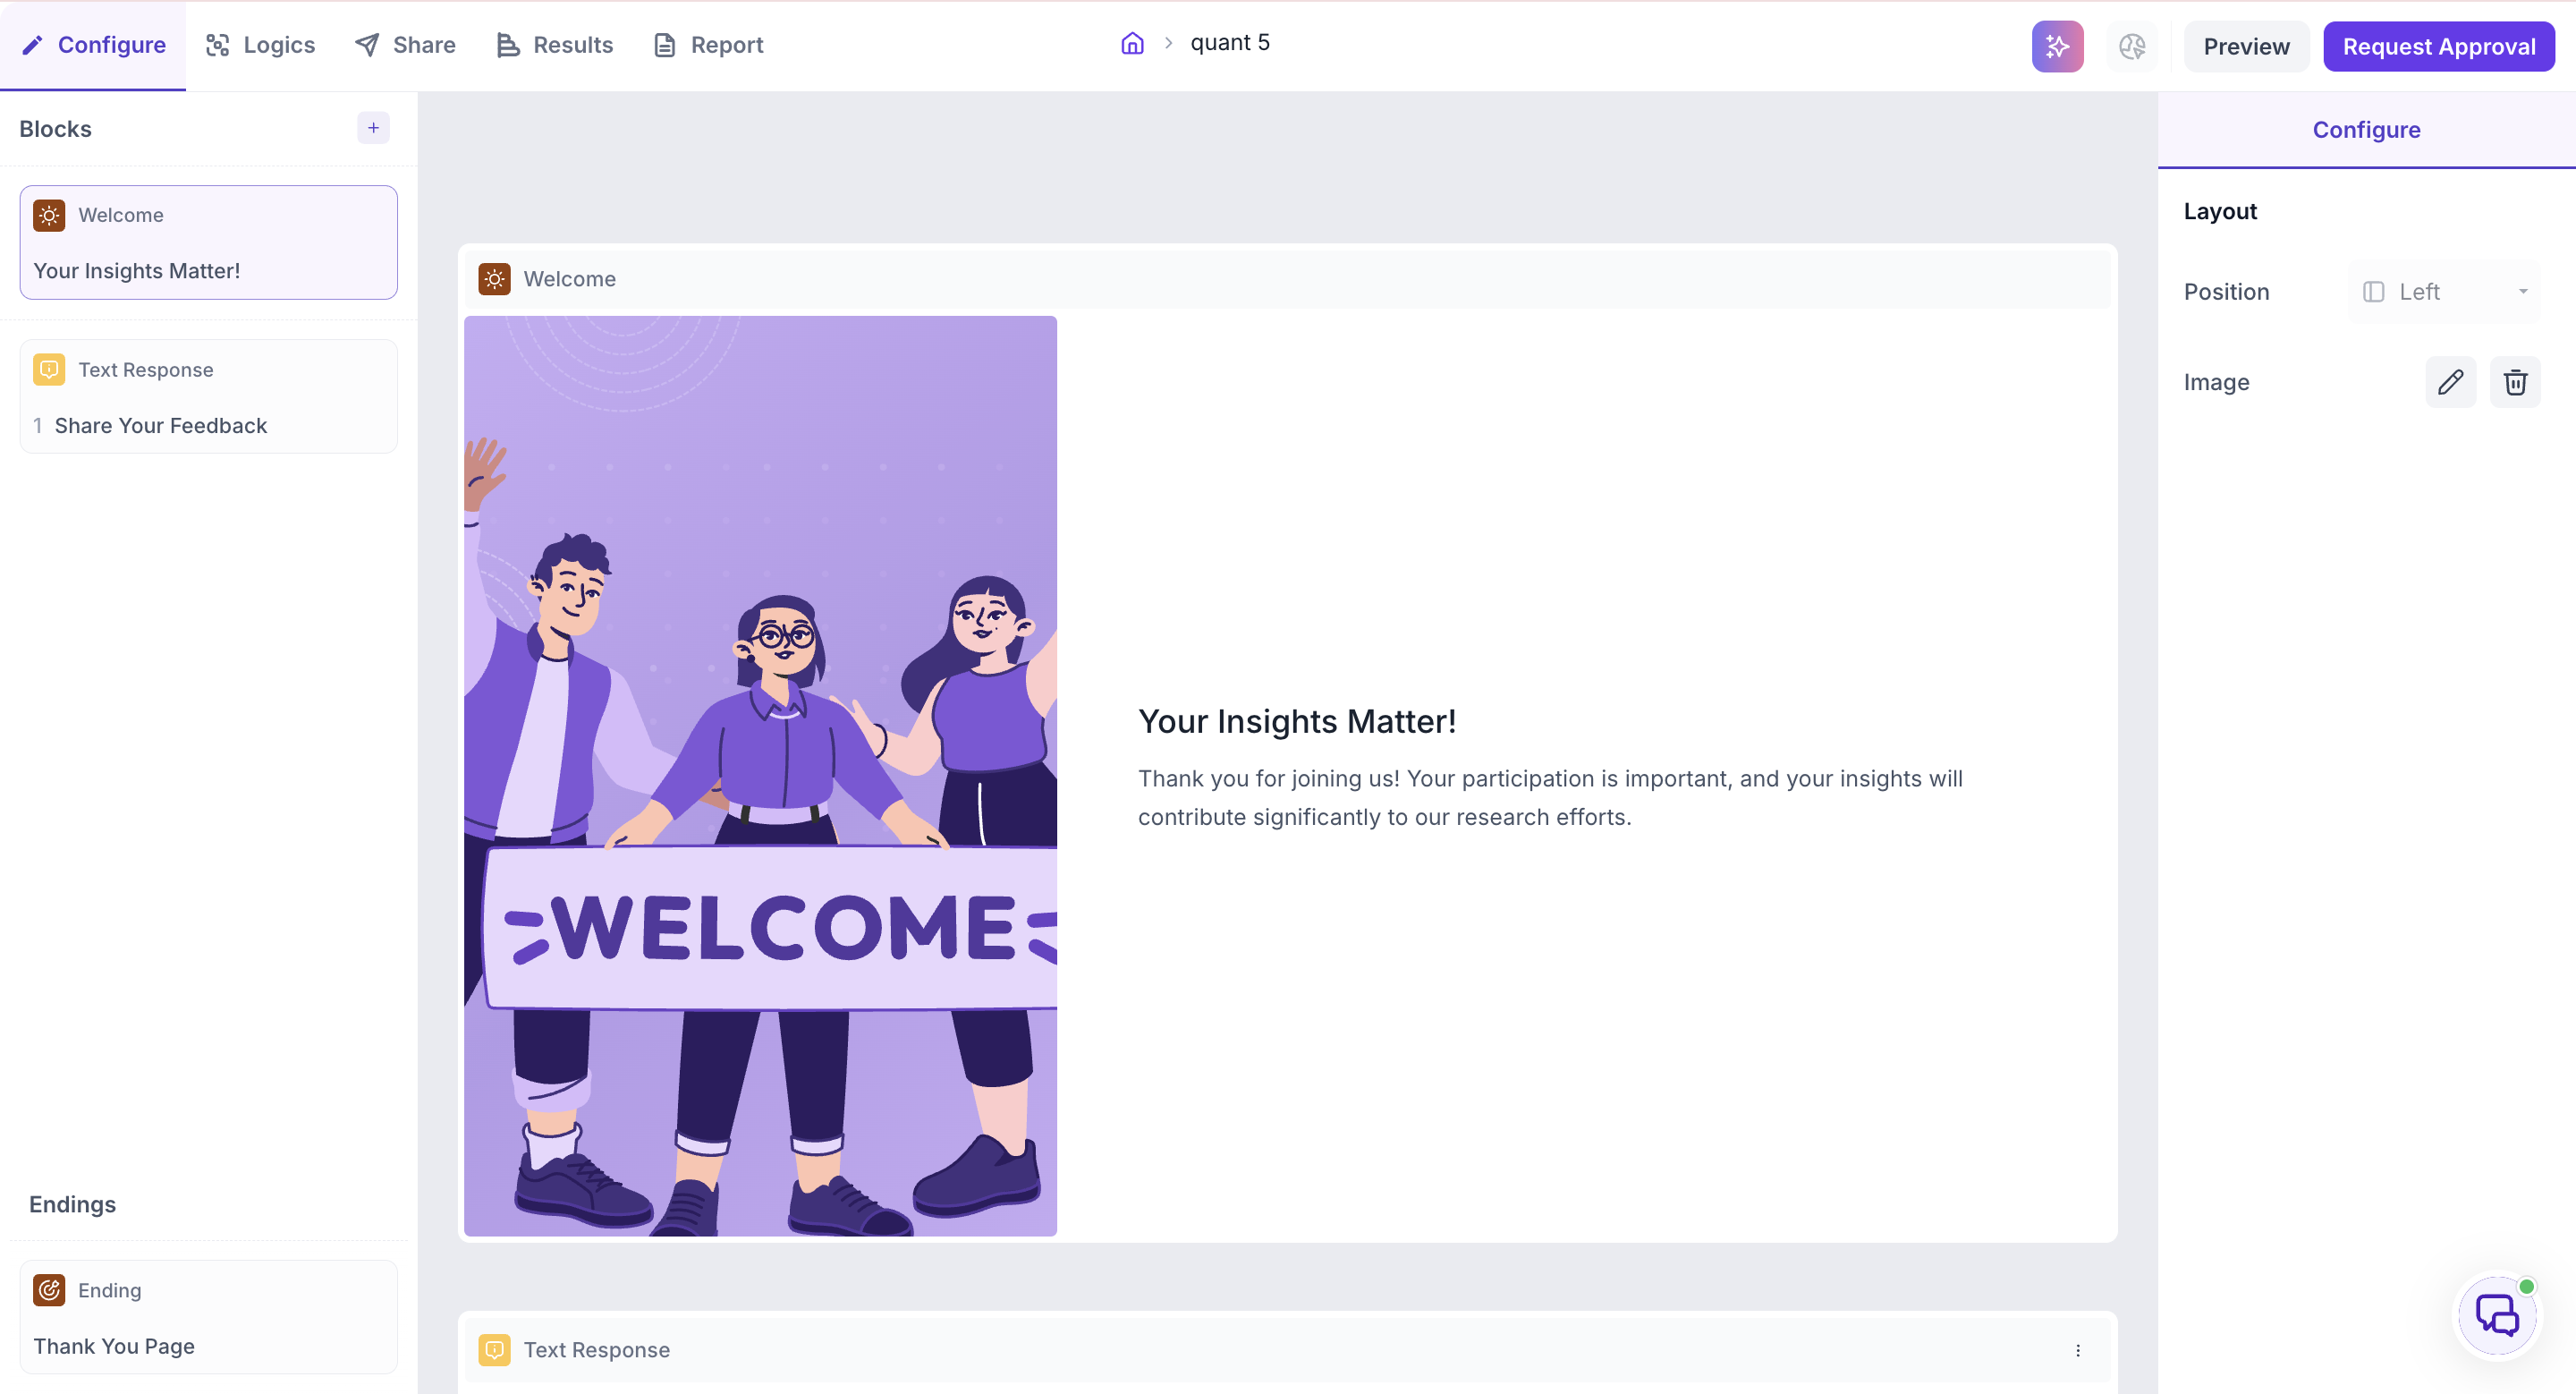
Finish setting up your study, then click Request Approval. The study is sent to the approval managers in your workspace and they are notified by email.
Reviewing a study
Approval managers can review a study in two places.
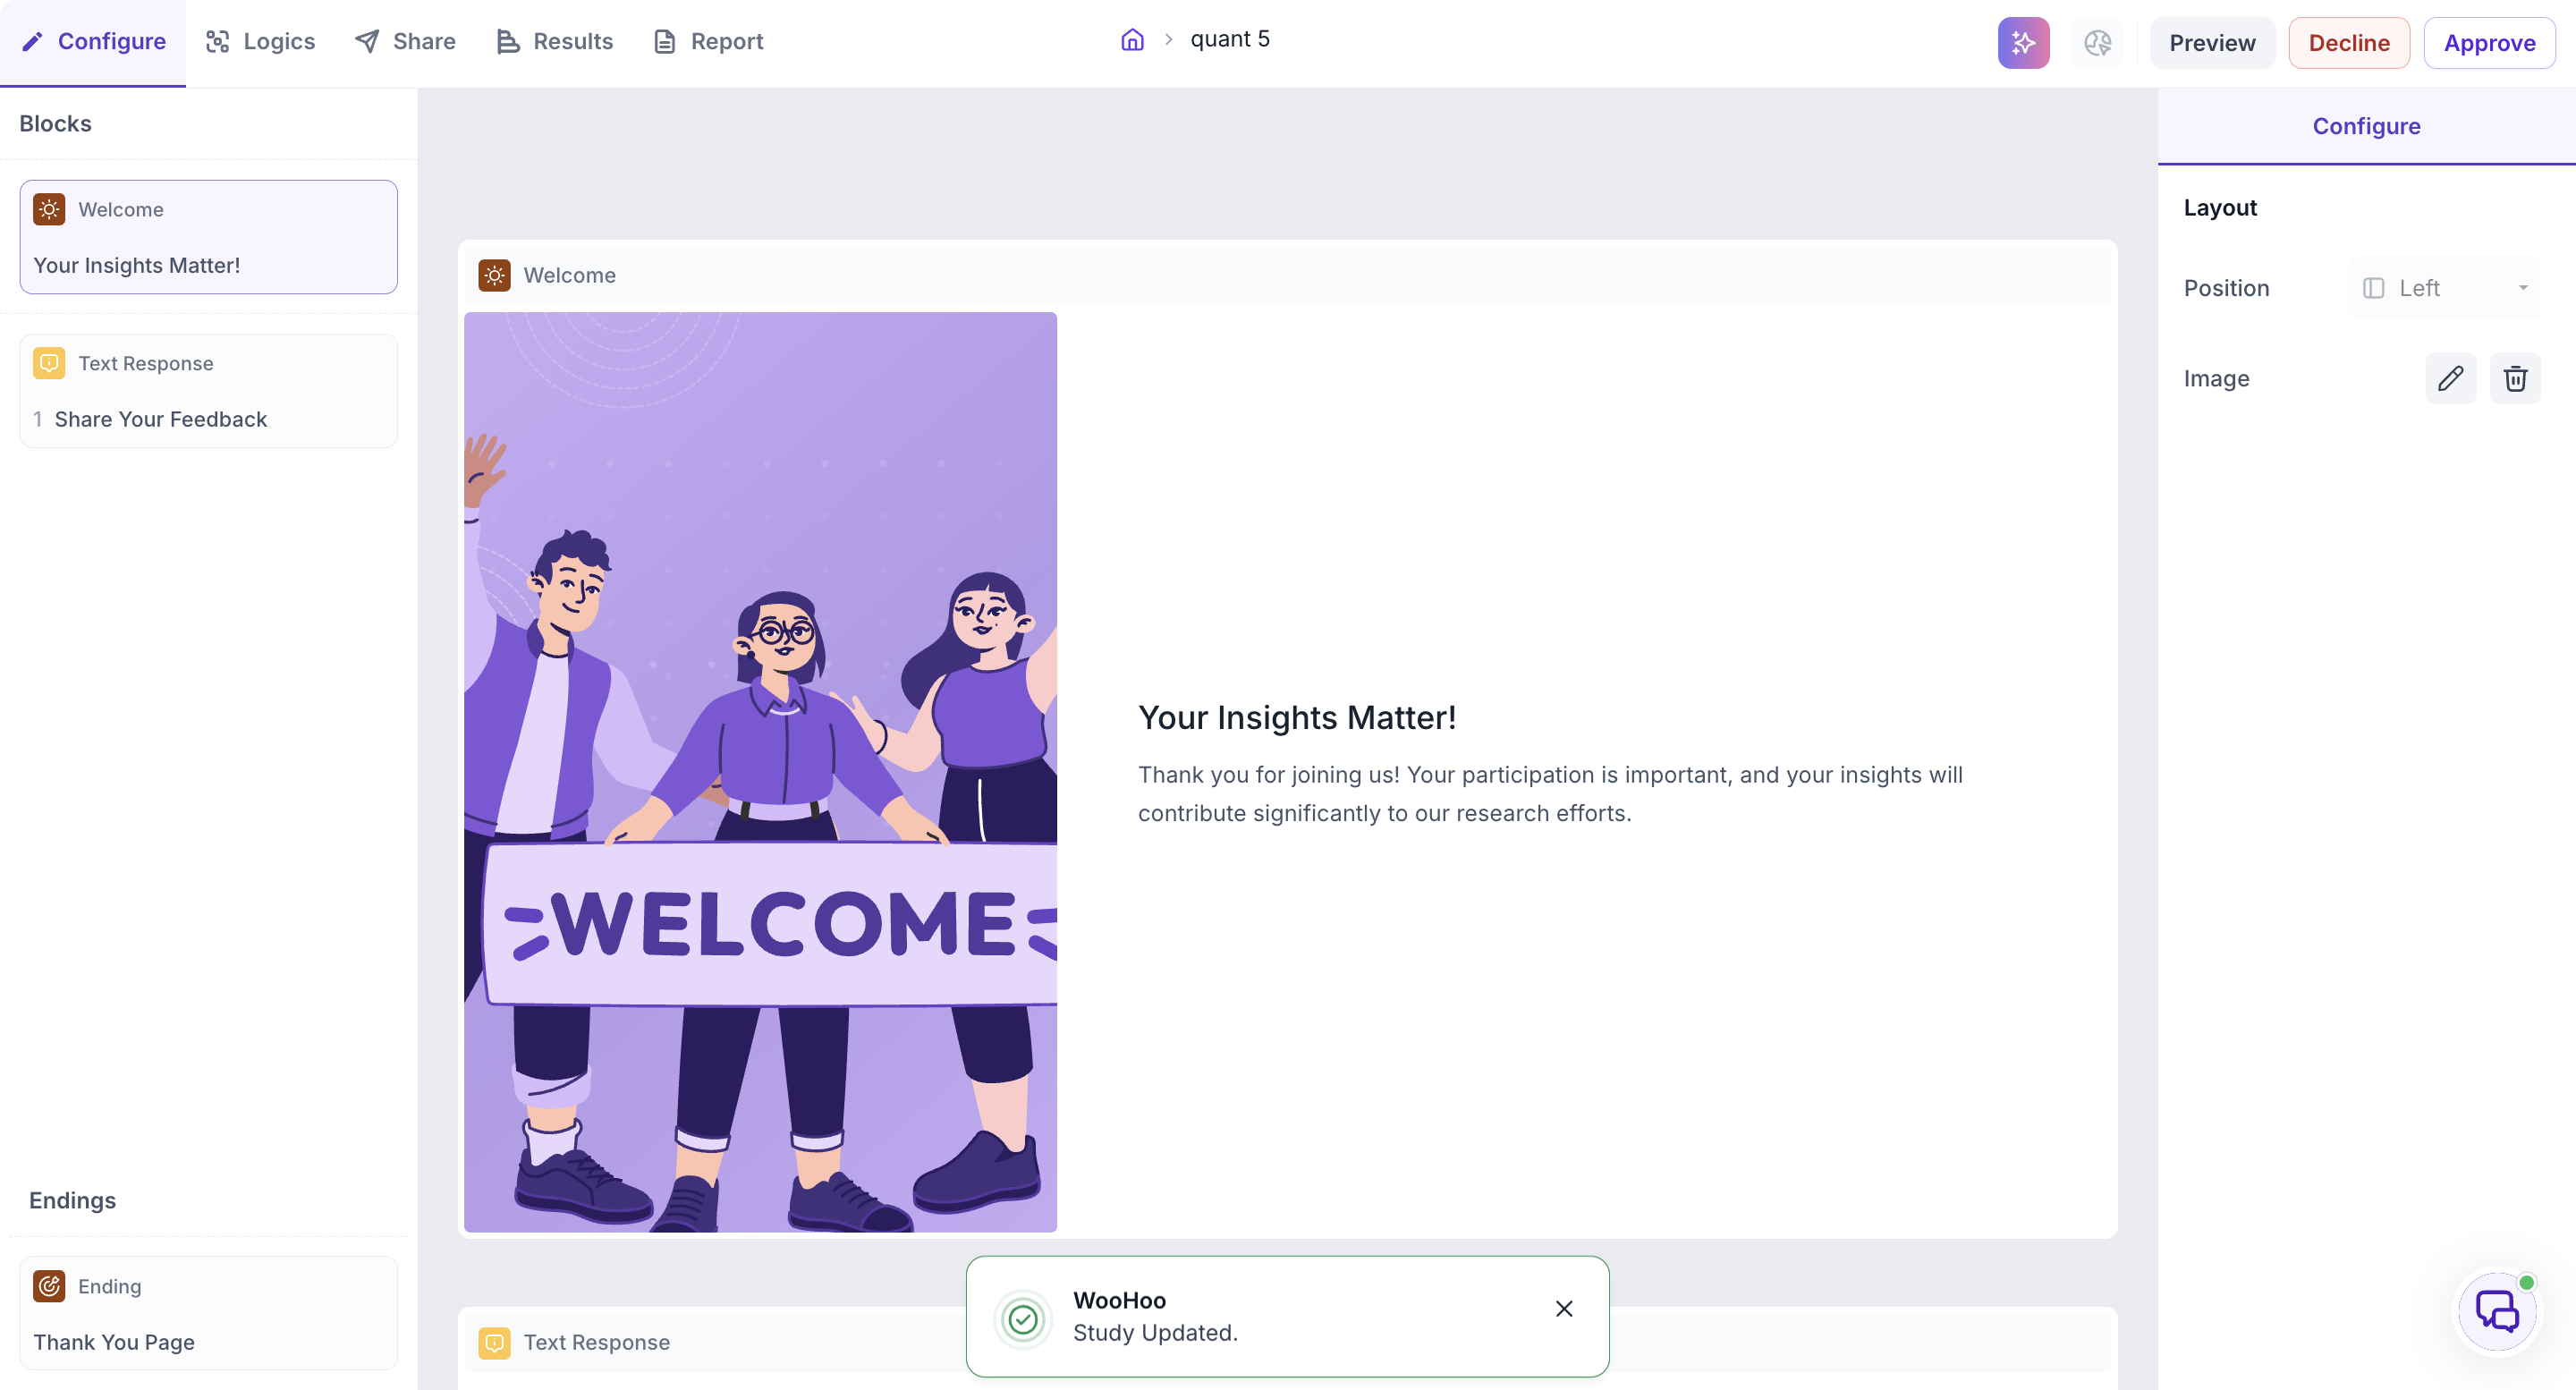
From the study
Open the study from the approval email or from your dashboard. Approve and Decline appear in the top right, alongside Preview so you can see the study as a participant will.
Reviewing inside the study is the more thorough route, since you can work through the blocks and preview the participant experience before deciding.
From the Approvals section
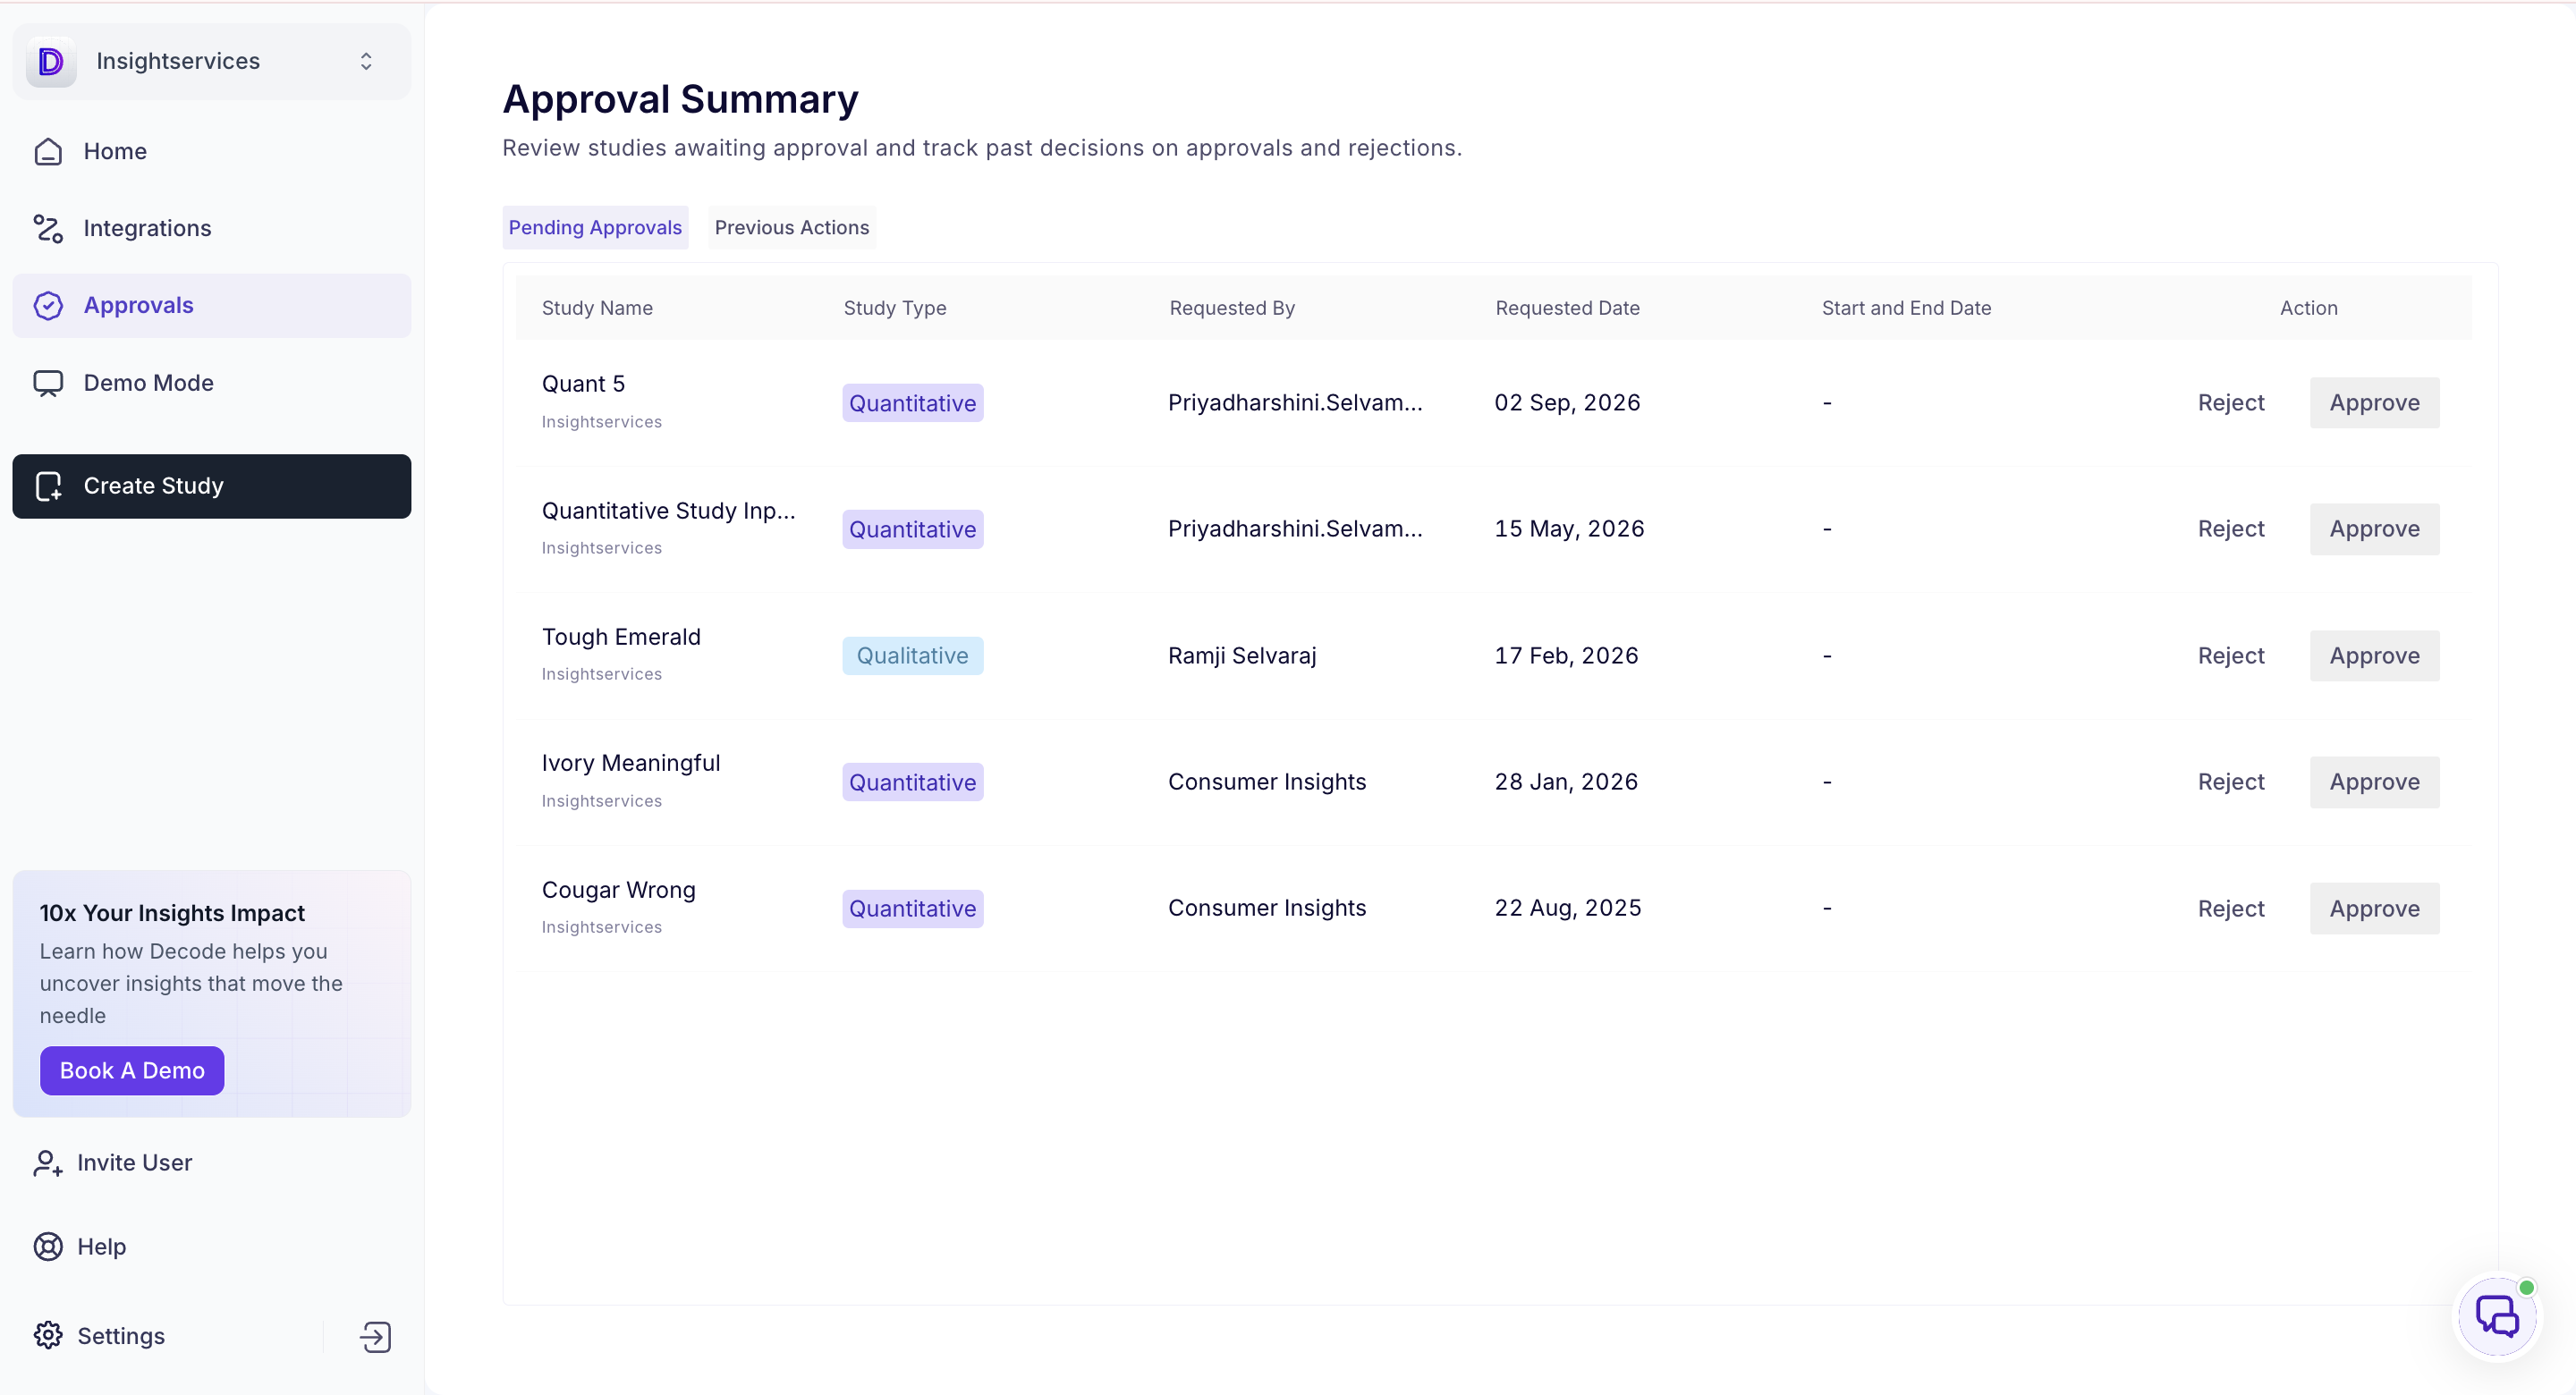
Click Approvals in the left navigation to open the Approval Summary.
The Pending Approvals tab lists every study awaiting review, showing the study name, study type, who requested it, the requested date, and the start and end dates. Approve and Reject sit on each row.
Use this when you have several studies to work through, or to see what is outstanding across the workspace.
Approving a study
Click Approve. The study moves to publishing and can go live.
Rejecting a study
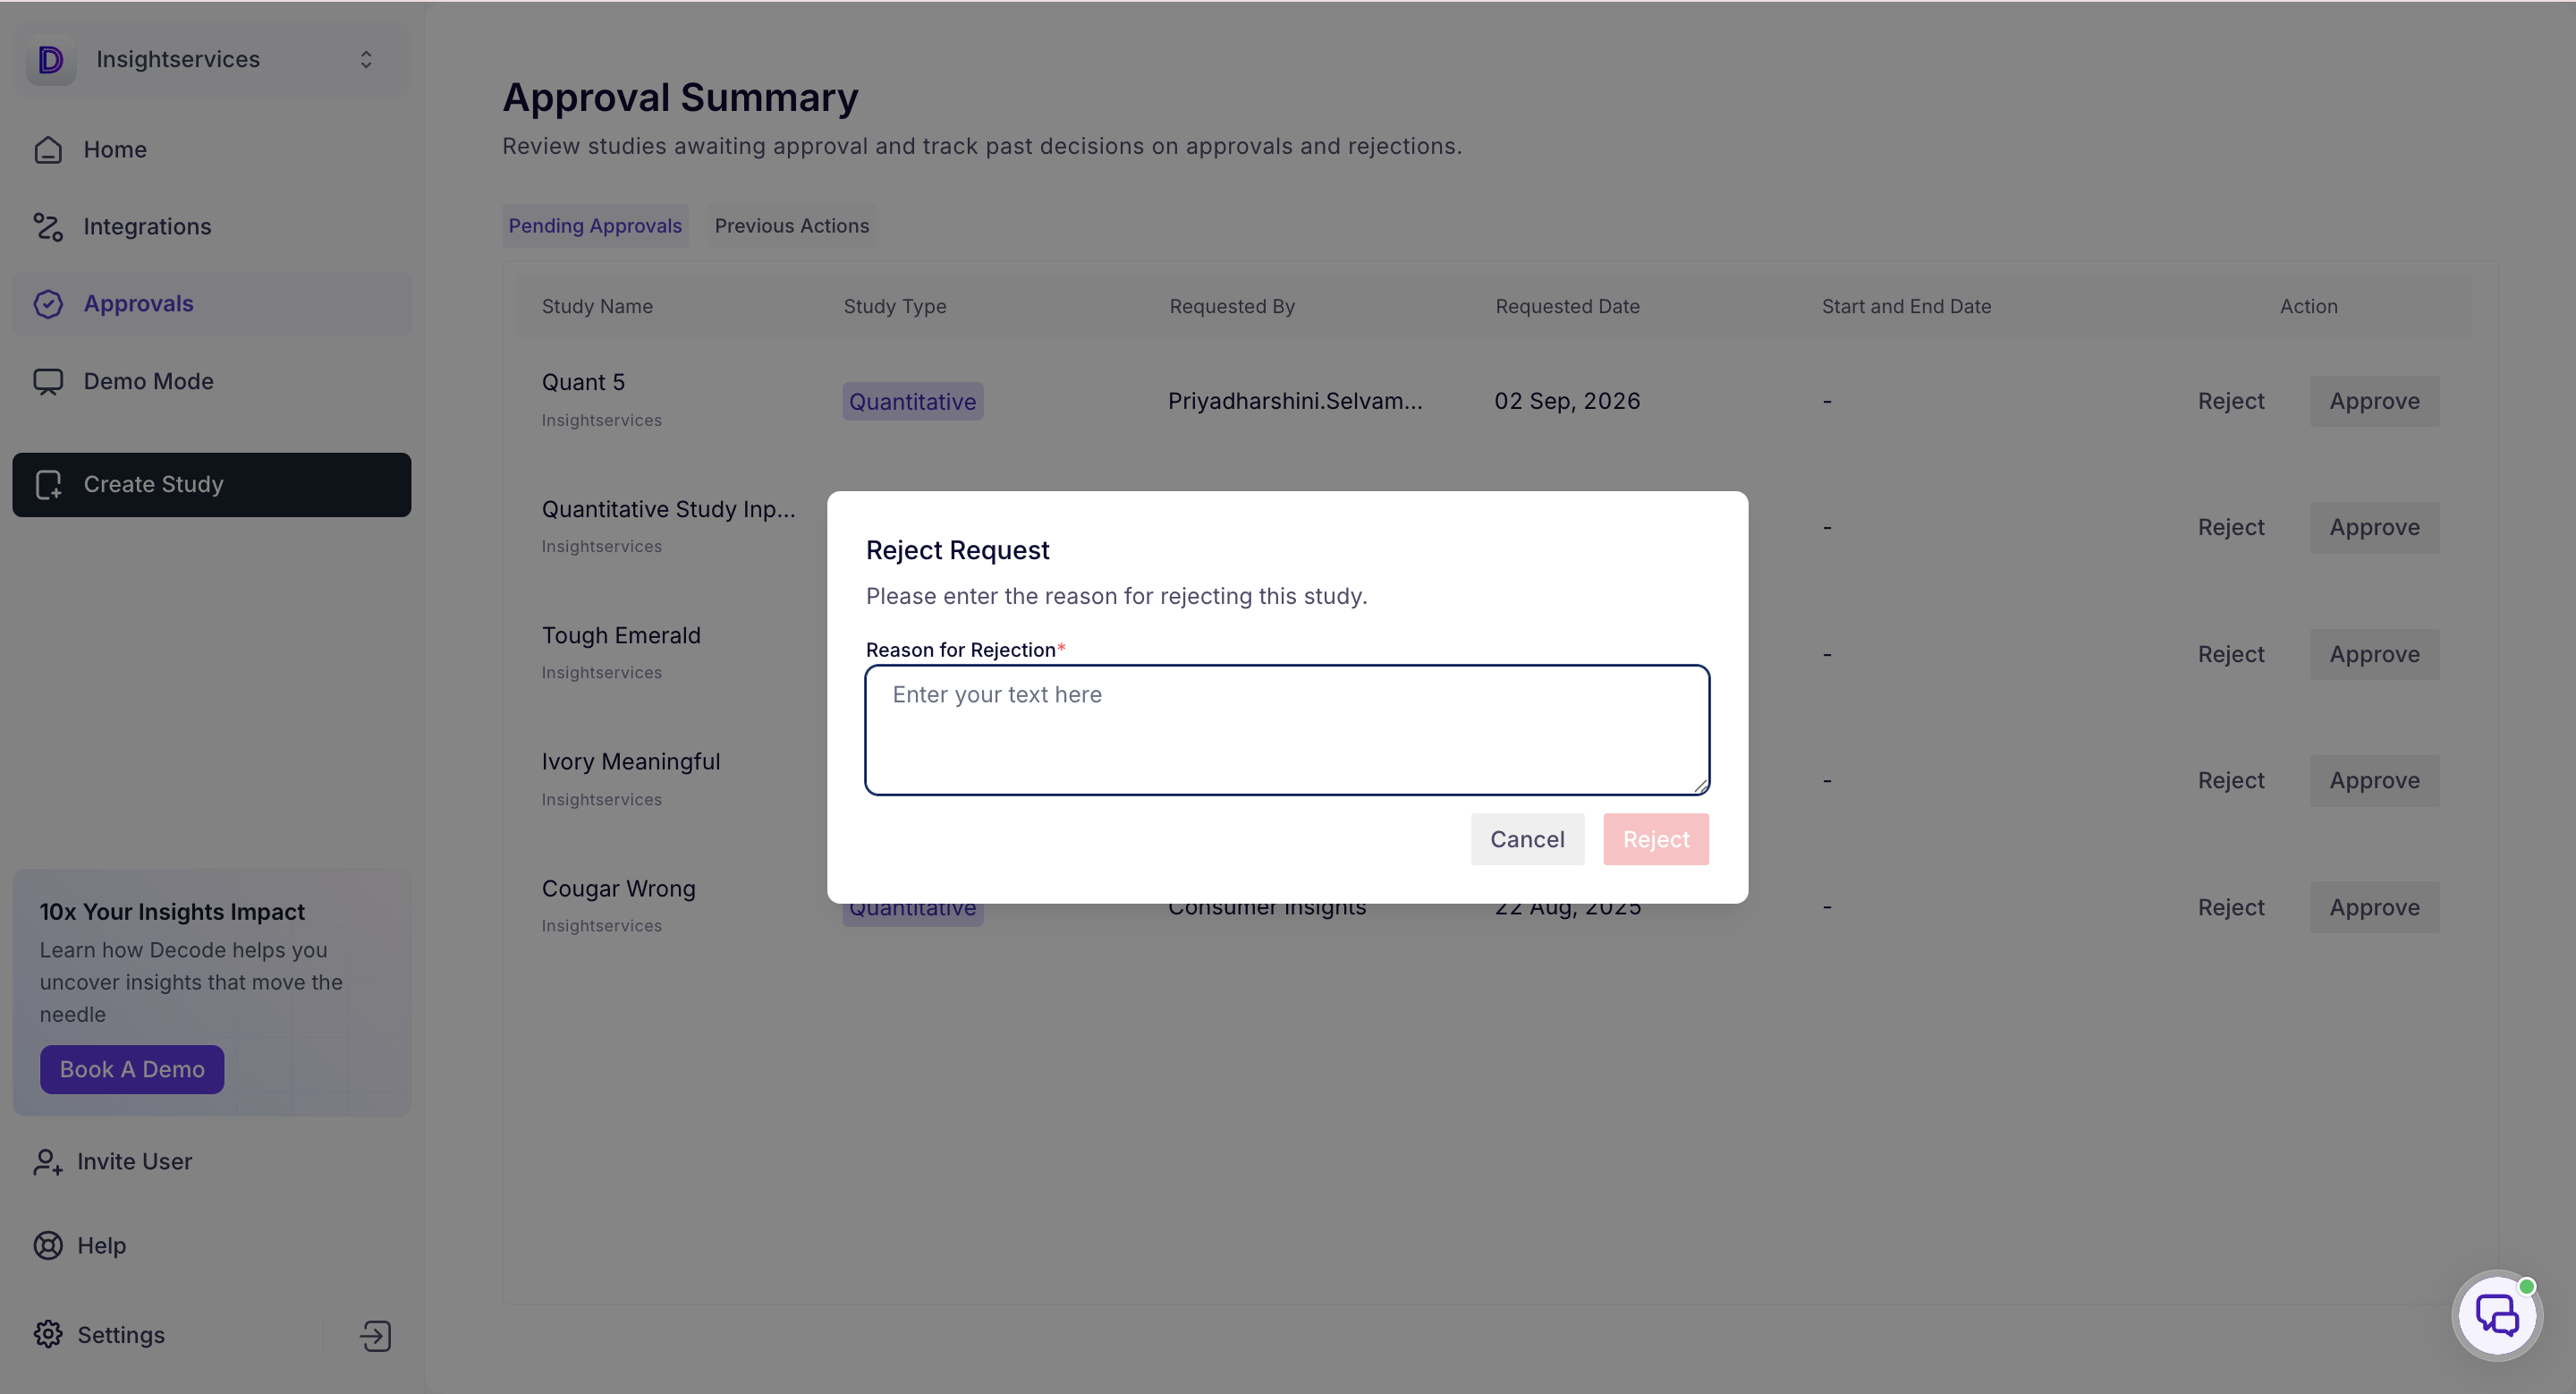
Click Reject or Decline. The Reject Request dialog opens.
Enter the reason for rejection. This field is required, so the person who requested approval knows what to change before requesting again.
Click Reject to confirm, or Cancel to go back without rejecting.
Tracking past decisions
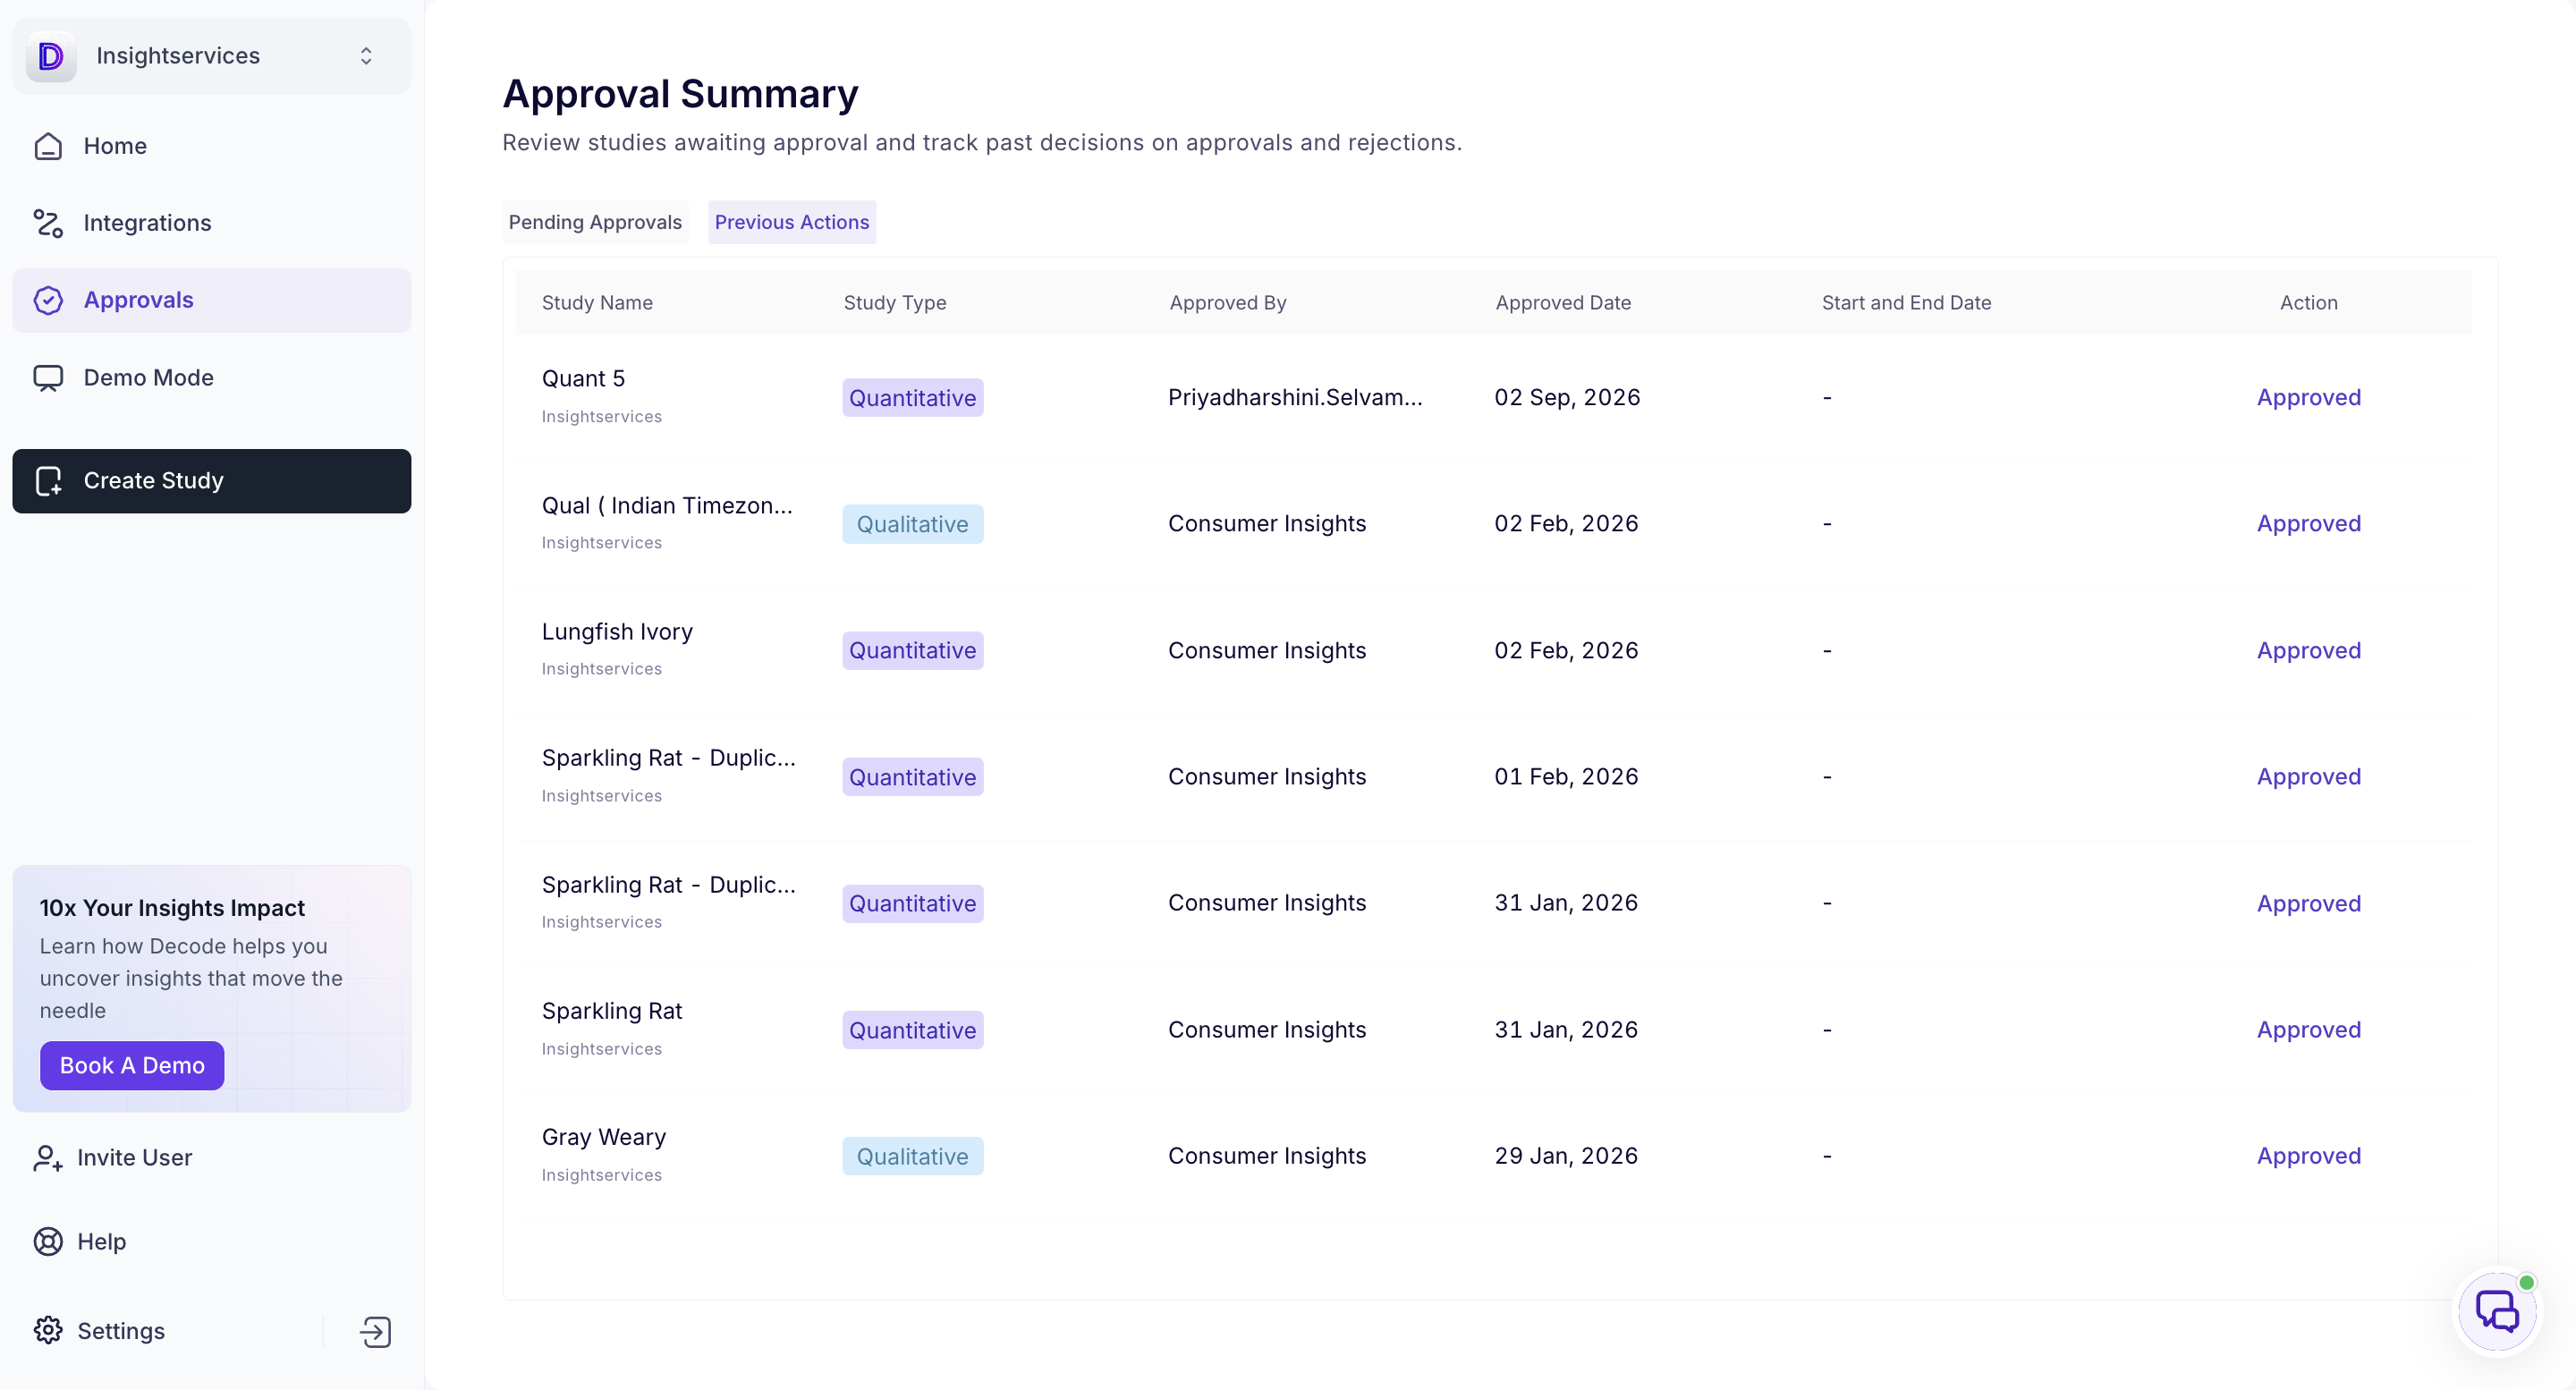
The Previous Actions tab in the Approval Summary shows studies that have already been approved or rejected, so you can see what has been decided and by whom.