
Your First Study in 10 Minutes
Overview
This article walks you through running your first study in Decode. Each step links to a dedicated article if you want full instructions.
The exact steps and screens you see will vary depending on the research type you choose.
Step 1: Choose your research type
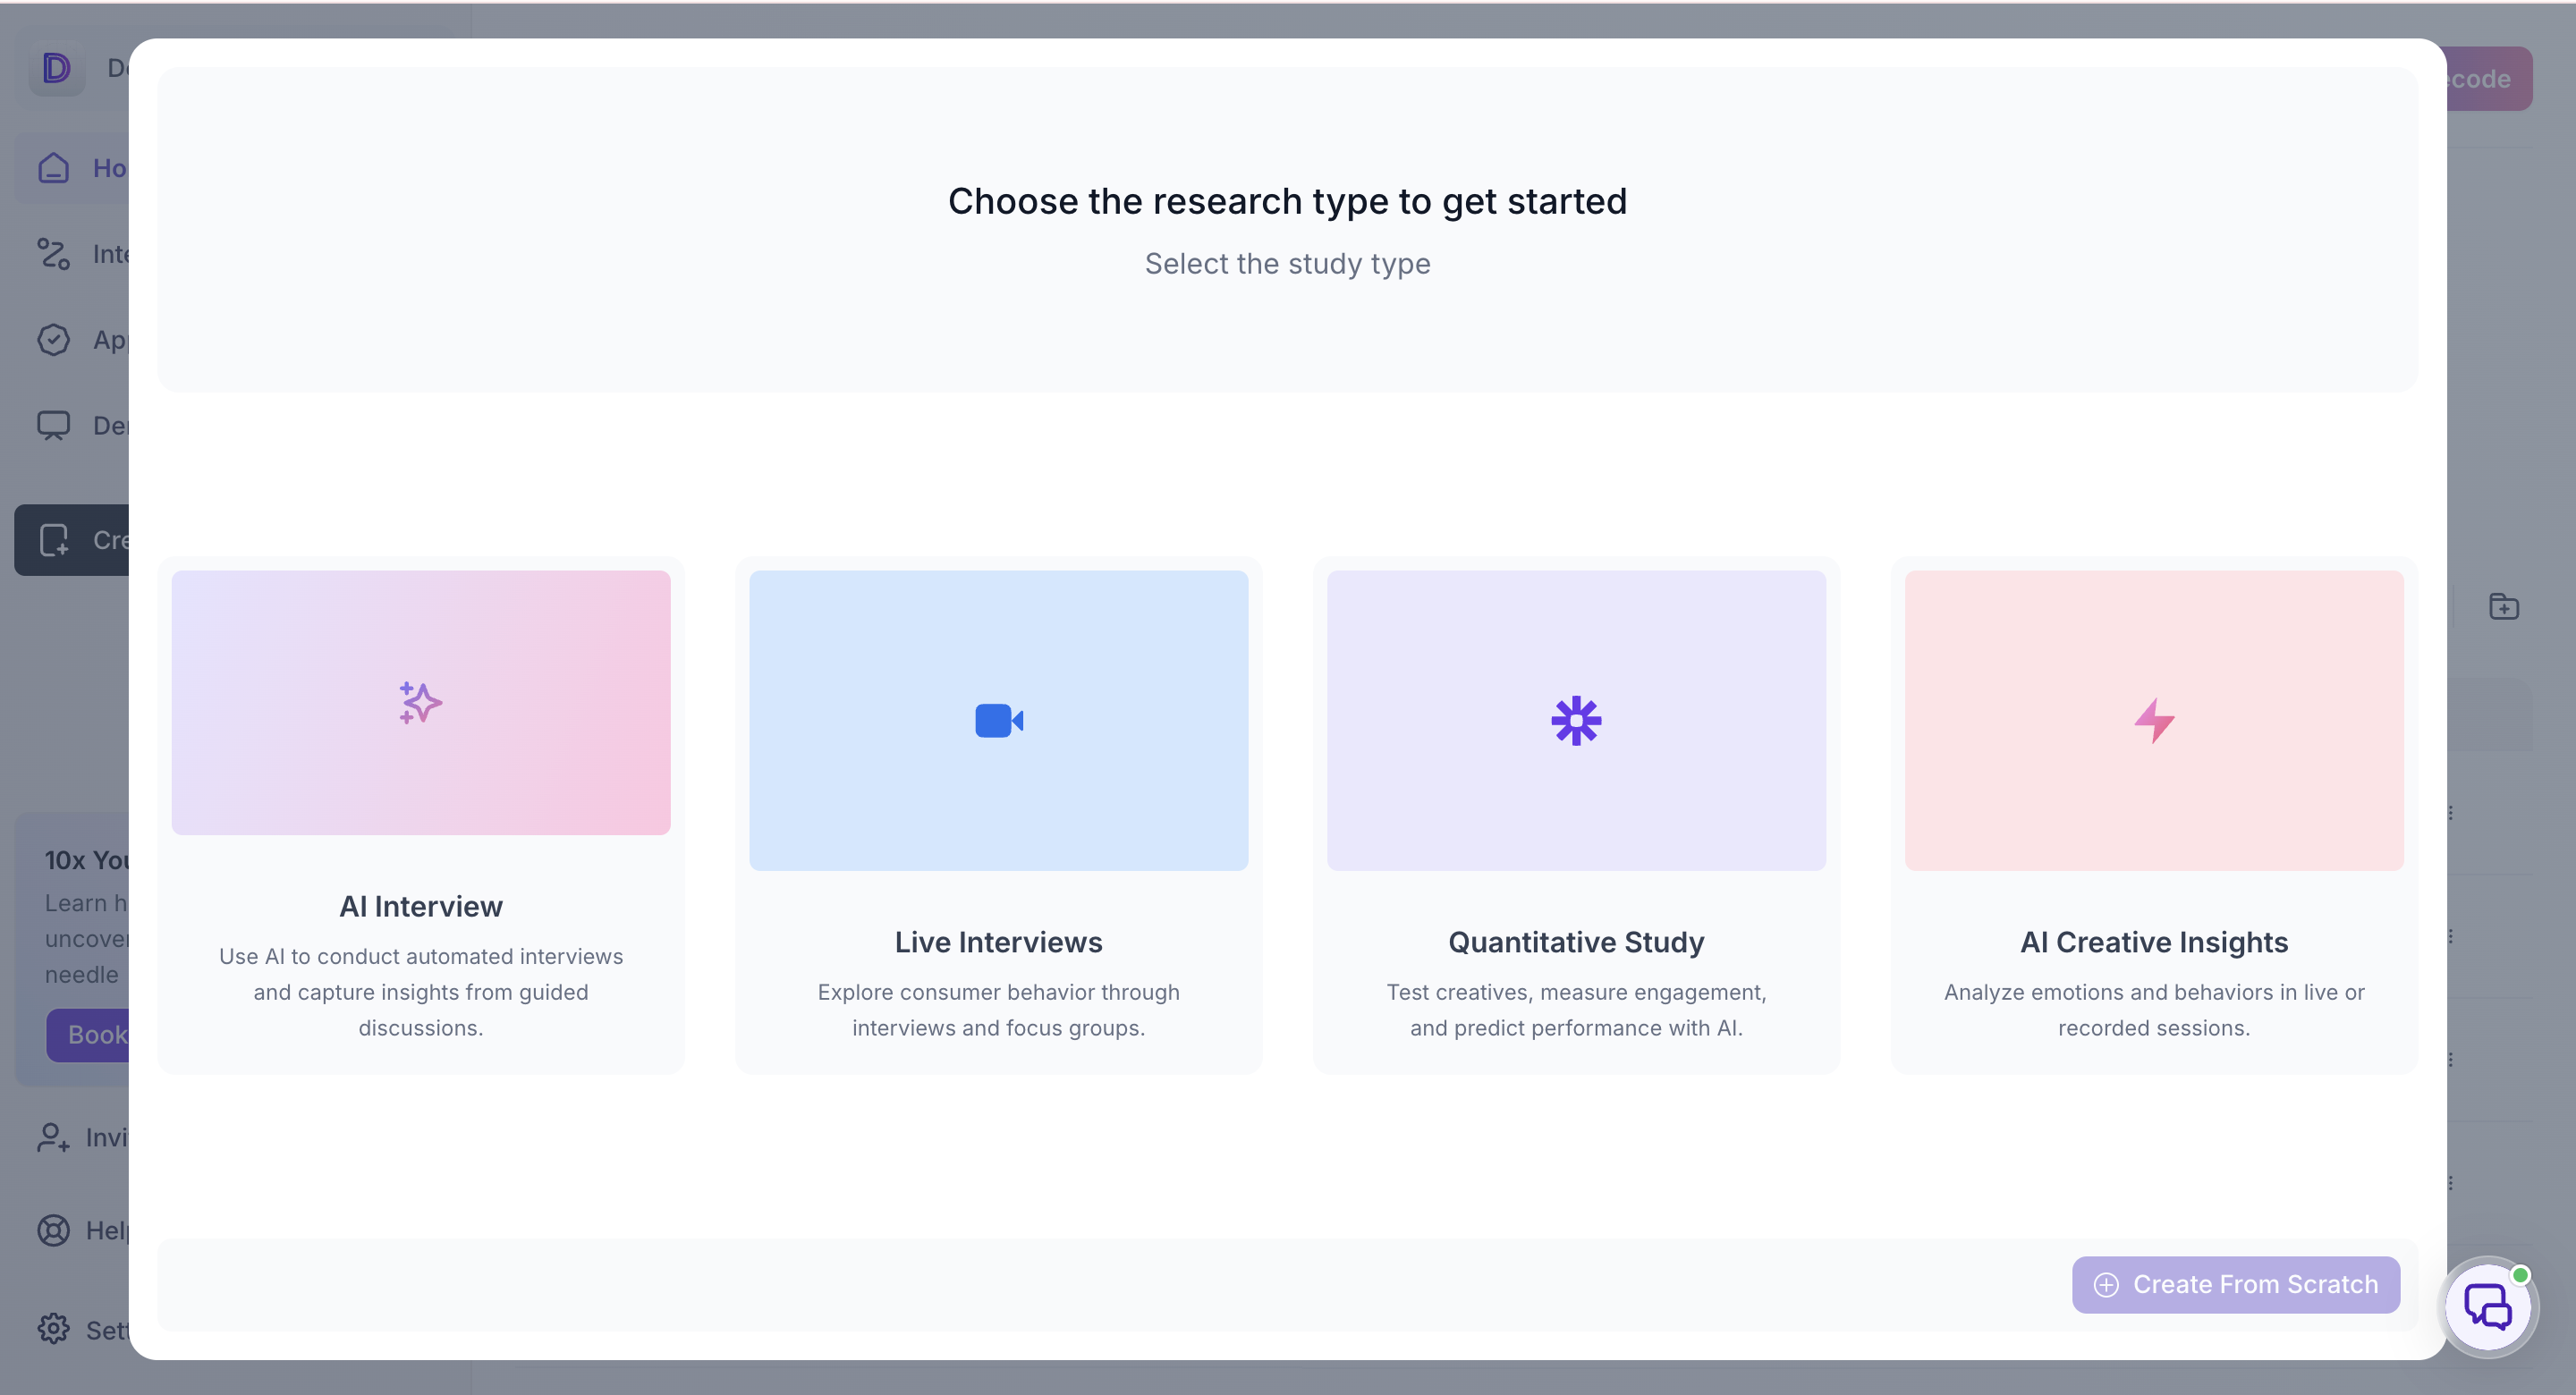
From your Dashboard, click Create Study. Choose AI Interview, Live Interviews, Quantitative Study, or AI Creative Insights depending on what you want to create.
If you are not sure which one fits, see Getting Started with Decode or Choose Your Starting Point by Role.
Step 2: Build it
Click Create From Scratch to start building your study. Add your questions, upload your creative, or set up your discussion guide, depending on the research type you chose. Preview your progress as you go to see how it will appear to a participant or viewer.
For full setup instructions specific to your research type, see the dedicated article for that type.
Step 3: Review before you publish
Preview your study the way a participant or viewer will see it. Confirm that:
- Your questions or content are in the right order
- Any logic or screening works as expected
- Your uploaded files are correct
Once everything looks good, proceed to publishing.
Step 4: Bring in your audience
Share a link with your own audience, recruit through the Decode Panel, or test against a Synthetic Audience ( for AI Creative insights ), depending on your research type and goal.
Step 5: Launch
Publish your study. If your workspace uses an Approval Manager, your study will be reviewed there first before going live.
Step 6: Collect Responses
Check your Dashboard to see how many responses you have received and your study's current status.
Step 7: Analyse your results
Open your study from the Dashboard once you have responses. Review the results, including charts, scores, transcripts, or heatmaps, depending on your research type to get more insights.